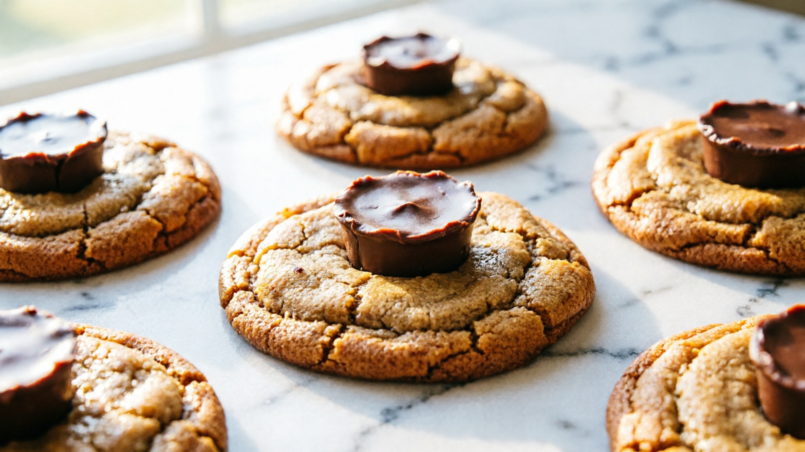
Pull a tray of warm peanut butter cookies out of the oven. Press a peanut butter cup into the center of each one. Now watch what happens: the chocolate softens just enough to grip the cookie, the edges of the cup stay neat, and by the time everything cools, you have a cookie with its own built-in candy. That’s the whole idea behind these peanut butter cup cookies — and it’s much simpler to pull off than it looks.
Table of Contents
- Why This Recipe Works
- Ingredients
- How to Make Peanut Butter Cup Cookies
- Pro Tips
- Variations
- How to Store and Freeze
- Frequently Asked Questions
- Nutrition
- More Recipes You’ll Love
Why This Recipe Works
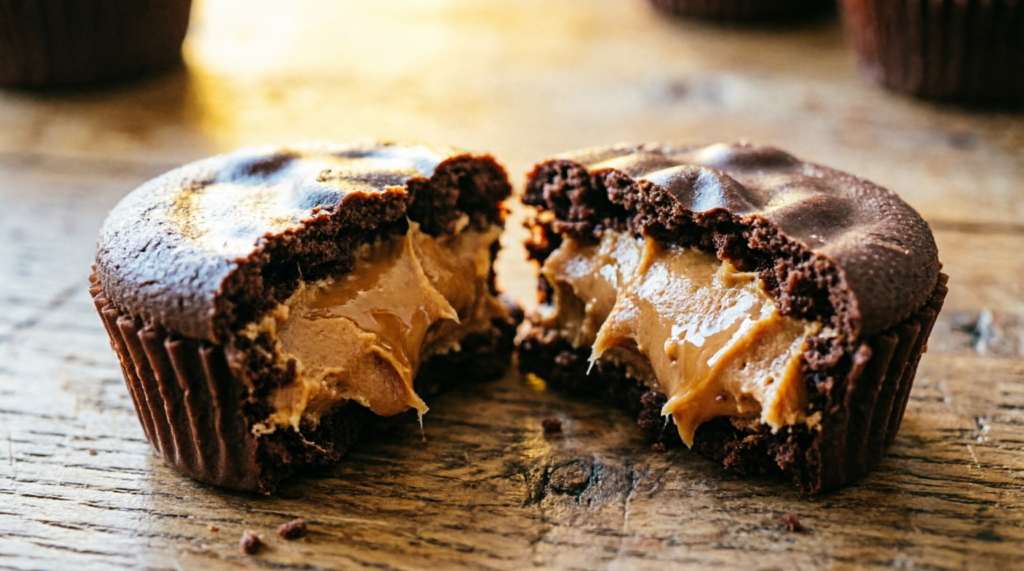
The peanut butter cup itself has an interesting backstory. It was created in 1928 by H.B. Reese, a former dairy farmer who worked for Milton Hershey, and according to the Hershey Community Archives, he started out making candy in his own kitchen at night. Nearly a century later, it’s still one of the best-loved candies in the country — which is exactly why it works so well inside a cookie.
Three simple choices keep these cookies soft and make the cups stay put:
- Regular creamy peanut butter, not natural. Conventional peanut butter is thicker and more stable, which helps the cookie hold its shape. Natural peanut butter has more oil, and the dough can turn greasy and spread too much.
- Pressing the cup in right after baking. The heat from the cookie softens the bottom of the candy just enough to stick, without melting the whole thing into a puddle the way it would if it baked inside the dough.
- Freezing the cups first. A cold cup holds its shape better against a hot cookie, so you get a clean, neat finish.
Ingredients
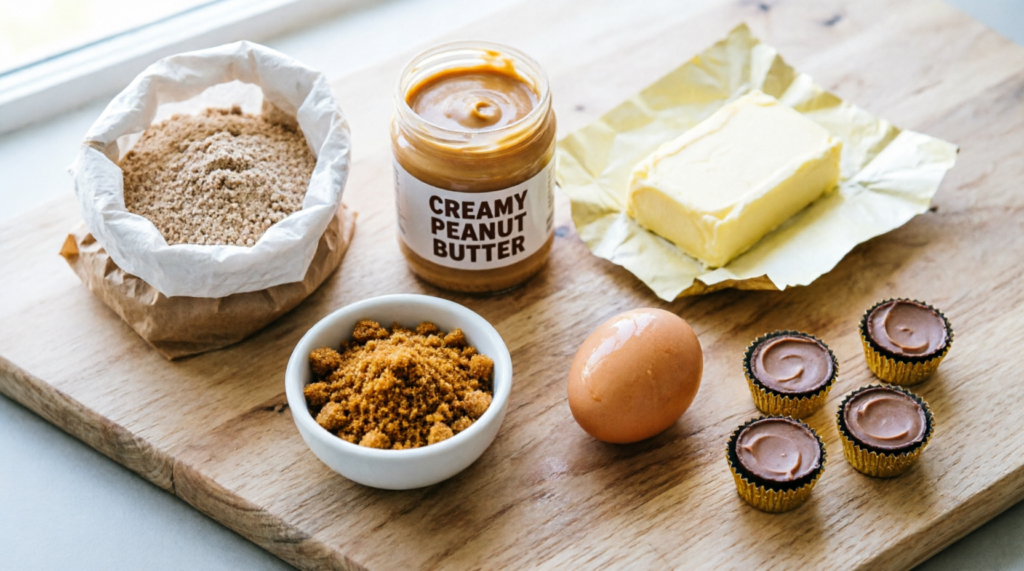
- 1 ½ cups (190g) all-purpose flour
- ½ tsp baking soda
- ¼ tsp salt
- ½ cup (113g) unsalted butter, softened
- ½ cup (130g) creamy peanut butter (regular, not natural)
- ½ cup (100g) granulated sugar
- ½ cup (100g) brown sugar, packed
- 1 large egg
- 1 tsp vanilla extract
- 1 tbsp milk
- 36 mini peanut butter cups, unwrapped
How to Make Peanut Butter Cup Cookies
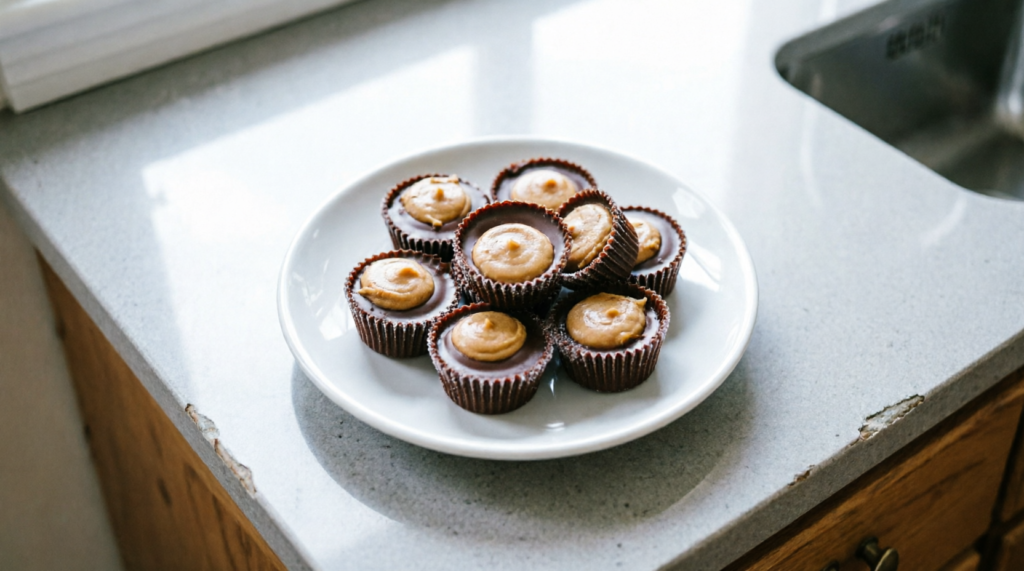
- Unwrap the peanut butter cups and place them on a plate in the freezer while you make the dough.
- Preheat your oven to 350°F (175°C) and line two baking sheets with parchment paper.
- Whisk together the flour, baking soda, and salt in a bowl; set aside.
- Cream the butter, peanut butter, and both sugars together until light and fluffy, about 2–3 minutes.
- Beat in the egg, vanilla, and milk until smooth.
- Mix in the dry ingredients until just combined.
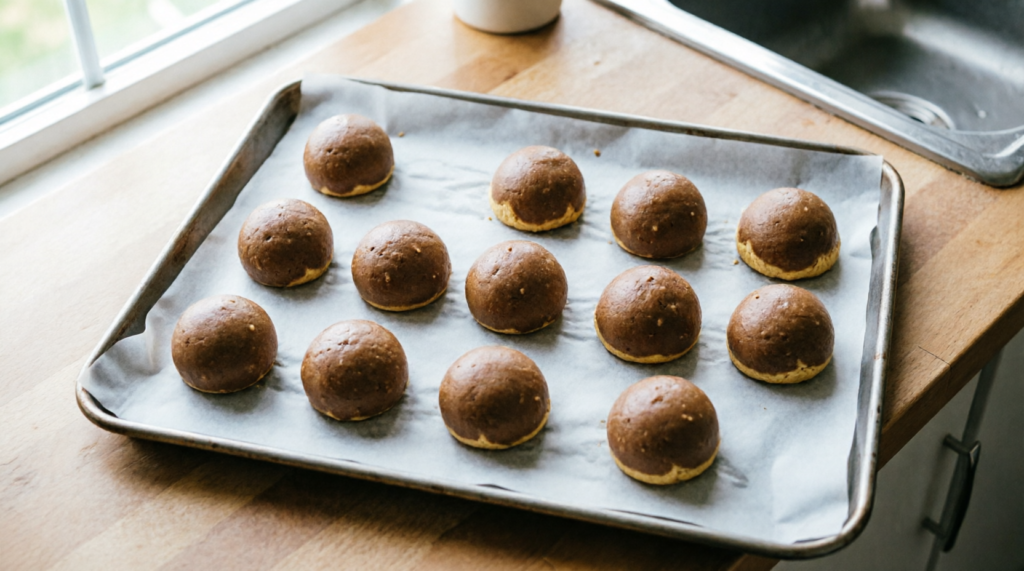
- Roll the dough into 1-inch balls and place 2 inches apart on the trays.
- Bake for 8–9 minutes, until the edges are just set and the tops look slightly puffed.
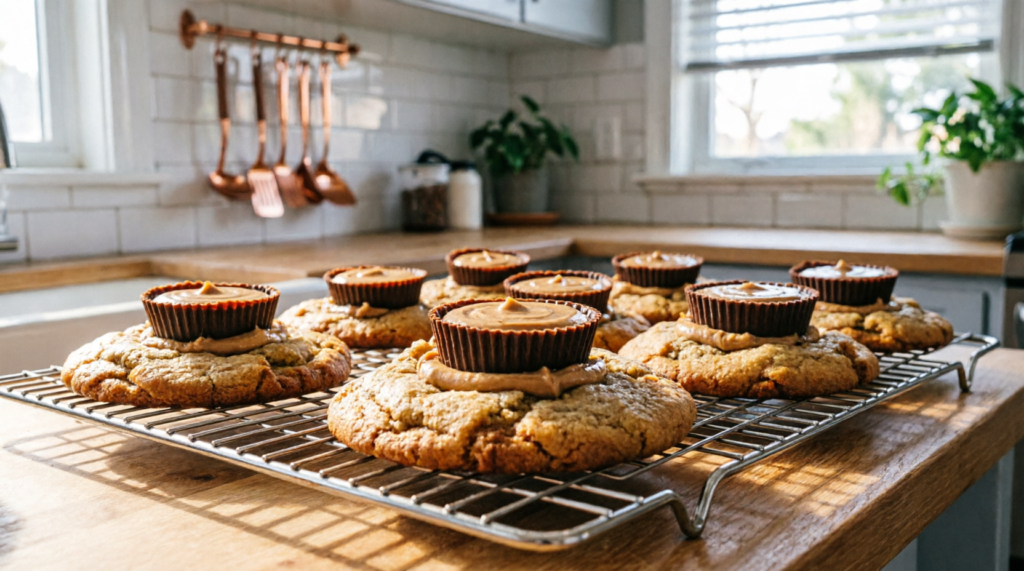
- Press a frozen peanut butter cup into the center of each cookie right away, while they’re still hot out of the oven.
- Cool on the tray for 10 minutes, then move to a wire rack to finish cooling.
Pro Tips
- Work quickly at the pressing step. The cups need to go in while the cookies are hot, so unwrap them ahead of time and keep them within arm’s reach.
- Don’t overbake. These cookies firm up as they cool, so pull them while the centers still look slightly soft.
- Press gently but firmly. You want the cup to sink in about halfway so it stays put once the cookie sets.
- If your cups start to melt too much, put the whole tray in the fridge for 10 minutes to firm everything back up.
Variations
- Mini muffin pan version: Press each dough ball into a greased mini muffin tin and bake for 8–10 minutes. Press the cup in right after baking for a neat “cookie cup” shape.
- Chopped-in version: Chop the cups into quarters and fold about 1 cup into the dough instead, just like you would with chocolate chips.
- Chocolate lover’s version: Use dark chocolate or white chocolate peanut butter cups instead.
- Want more chocolate flavor? Try our Double Chunk Chocolate Cookies for a fudgy, cocoa-based option.
How to Store and Freeze
Room temperature: Store in an airtight container for up to 5 days.
Freezing baked cookies: Freeze in a single layer, then transfer to a freezer bag for up to 3 months.
Freezing cookie dough: Roll into balls, freeze on a tray until solid, then store in a freezer bag. Bake straight from frozen, adding 1–2 extra minutes, and press the cups in right after baking.
Frequently Asked Questions
Can I use natural peanut butter?
It’s not recommended here. Natural peanut butter has more oil and the dough tends to turn greasy and spread too much. Regular creamy peanut butter gives much better results.
Why did my peanut butter cups melt?
This usually happens when the cups weren’t cold enough, or they were pressed in too late after the cookies had already sat on a very hot tray. Freeze the cups first, and press them in as soon as the cookies come out of the oven.
Is this recipe safe for someone with a peanut allergy?
No. Mayo Clinic notes that peanut allergy is one of the most common causes of life-threatening food allergic reactions, so this recipe should never be served to anyone with a peanut allergy.
Can I make these without eggs?
This recipe uses egg for structure. For an egg-free option, try our Eggless Chocolate Chip Cookies instead.
Nutrition (Per Cookie, Approximate)
Calories: 125 | Carbohydrates: 14g | Protein: 3g | Fat: 7g | Sugar: 9g
Nutrition values are estimated and may vary based on exact ingredients used.
More Recipes You’ll Love
| Recipe | Category |
|---|---|
| Keto Peanut Butter Cookies | Dietary Friendly Cookies |
| No Bake Peanut Butter Oatmeal Cookies | Classic Cookies & Holiday |
| Double Chunk Chocolate Cookies | Chocolate Chip Cookies |