Last updated on November 10, 2026
There’s a moment every home baker knows, and it’s not a good one. You pipe that first beautiful swirl onto a cupcake, step back to admire your work, take a bite — and grit. Tiny, sandy granules of powdered sugar that no amount of extra beating seems to fix. The frosting looks like a bakery dream and eats like sweetened sand.
I’ve been there more times than I’d like to admit. For years, my chocolate buttercream was a coin flip: sometimes silky, sometimes sandy, and I couldn’t tell you why. Then one afternoon, frustrated after a particularly gritty batch destined for my nephew’s birthday cupcakes, I did the thing every recipe technically tells you to do and nobody actually does. I sifted the powdered sugar.
That was the whole fix. Ninety seconds through a fine-mesh sieve, and the next batch came out like velvet — smooth, pipeable, deeply chocolatey, and (this surprised me most) noticeably less sweet-tasting. Lumps of powdered sugar don’t just feel gritty; they hit your tongue as concentrated pockets of raw sweetness. Remove them, and the chocolate flavor steps forward.
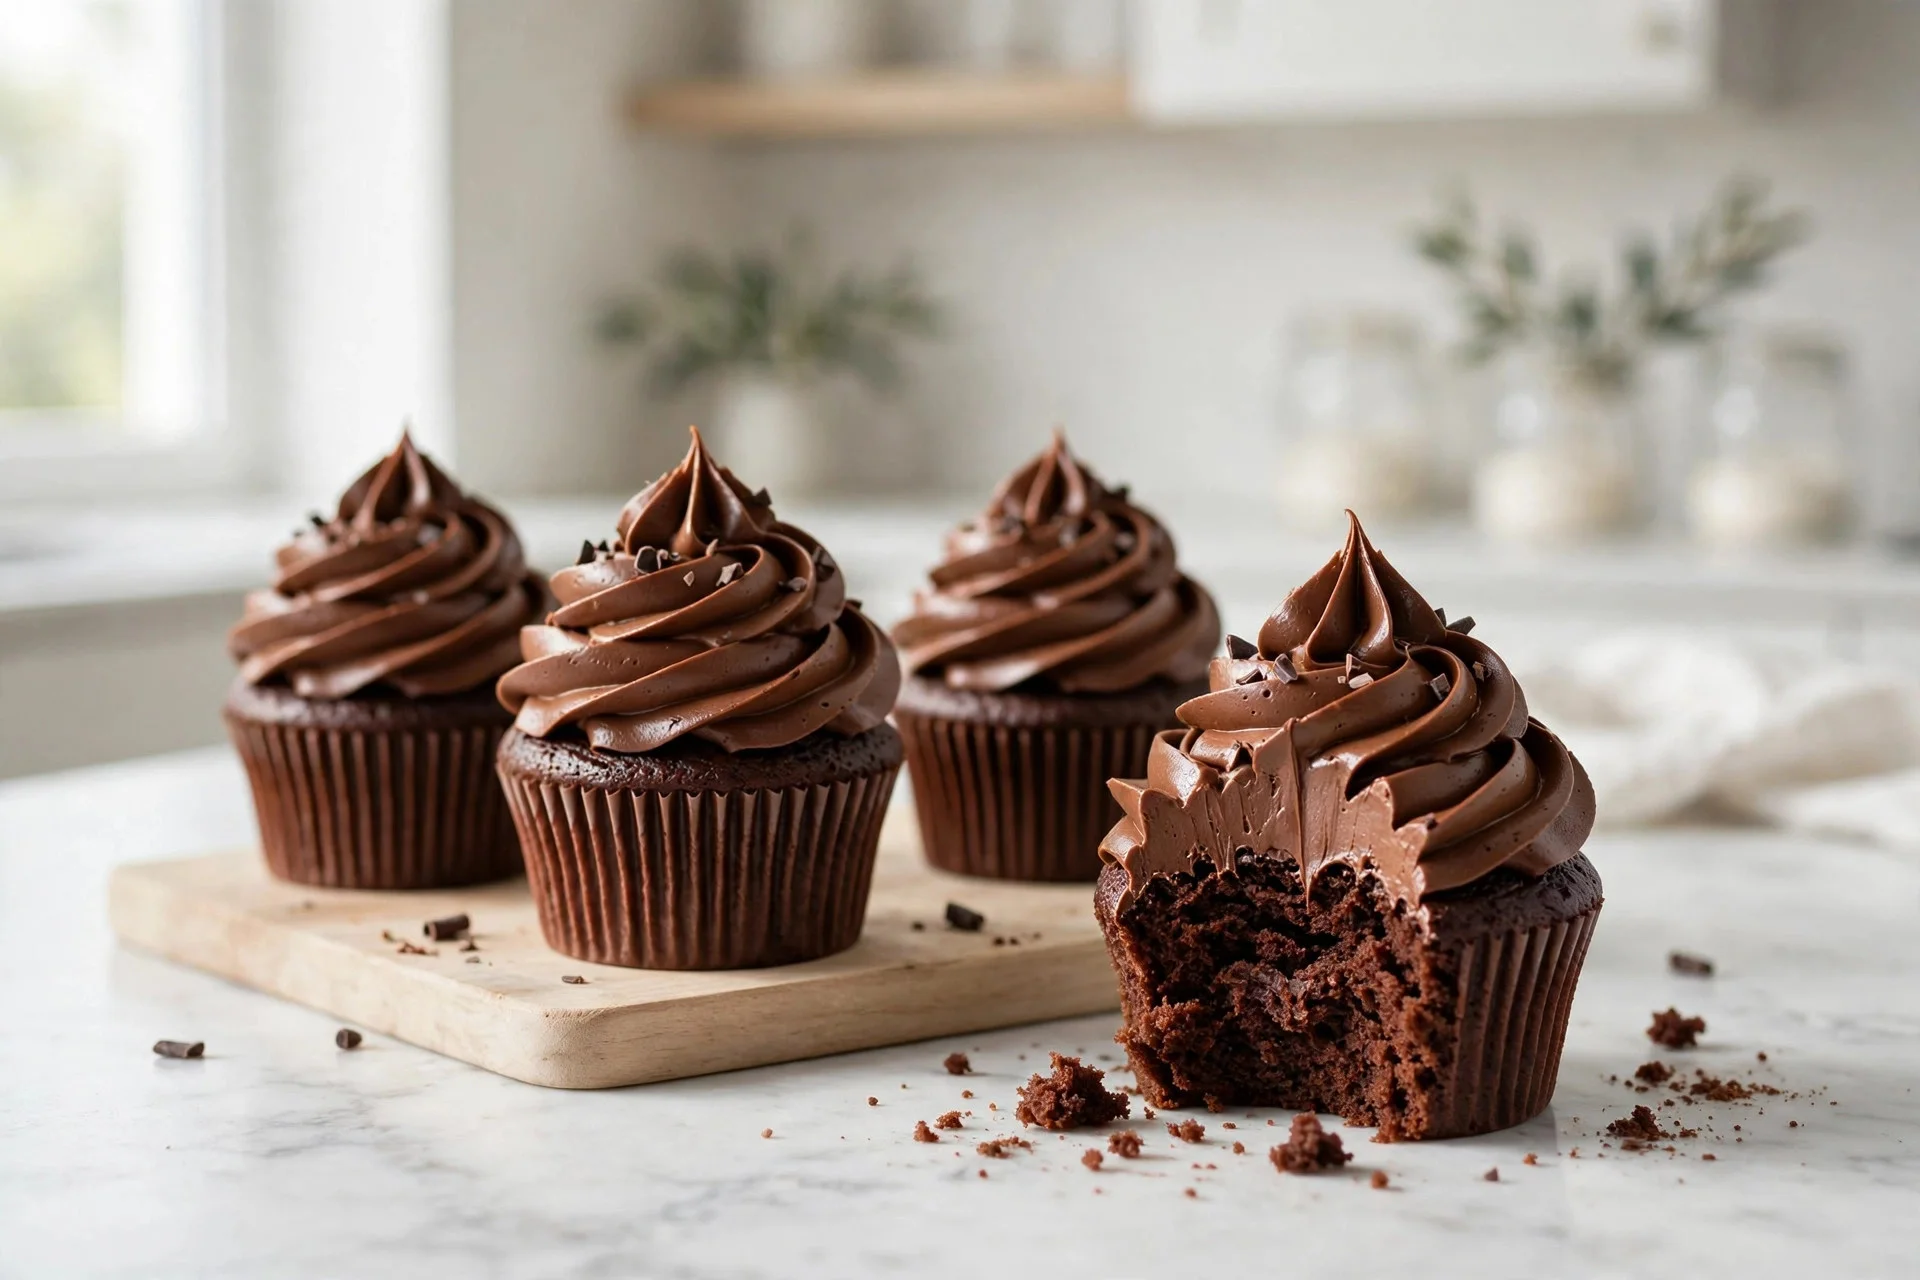
So this is my definitive chocolate buttercream frosting: classic American buttercream — butter, powdered sugar, cocoa — tested until it’s the version I reach for every single time. It pipes like a dream, holds its shape on the counter, and it’s the exact frosting on my chocolate cake and cupcakes.
Why This Recipe Works
Room-temperature butter, beaten first and beaten well. Everything starts here. Butter beaten alone for a full 2-3 minutes becomes pale, creamy, and full of tiny air pockets — that’s the foundation of fluffy frosting. Cold butter gives you lumps that never fully smooth out; melted or microwaved butter gives you greasy, soupy frosting. True room temp (about 65-68°F, cool to the touch but yielding to a finger press) is the sweet spot.
Sifted powdered sugar + cocoa. The non-negotiable step. Sifting removes the tiny hardened lumps that cause graininess and aerates the sugar so it incorporates evenly. Sift the two together and the cocoa distributes perfectly — no dark streaks, no bitter pockets.
Heavy cream instead of milk. Cream’s extra fat makes the frosting richer, smoother, and more stable for piping. It also gives you precise control over consistency: a teaspoon more or less is the difference between “spreads beautifully” and “holds a tall swirl.”
Salt — the quiet hero. American buttercream has a reputation for being tooth-achingly sweet, and honestly, most versions earn it. Salt doesn’t make the frosting salty; it rounds off the sharp edge of the sugar and lets the chocolate flavor come through. Don’t skip it.
A full final whip. Two to three minutes on medium-high after everything’s combined. This isn’t just mixing — it’s aerating. The frosting lightens in color, increases slightly in volume, and turns truly silky.
Ingredients You’ll Need
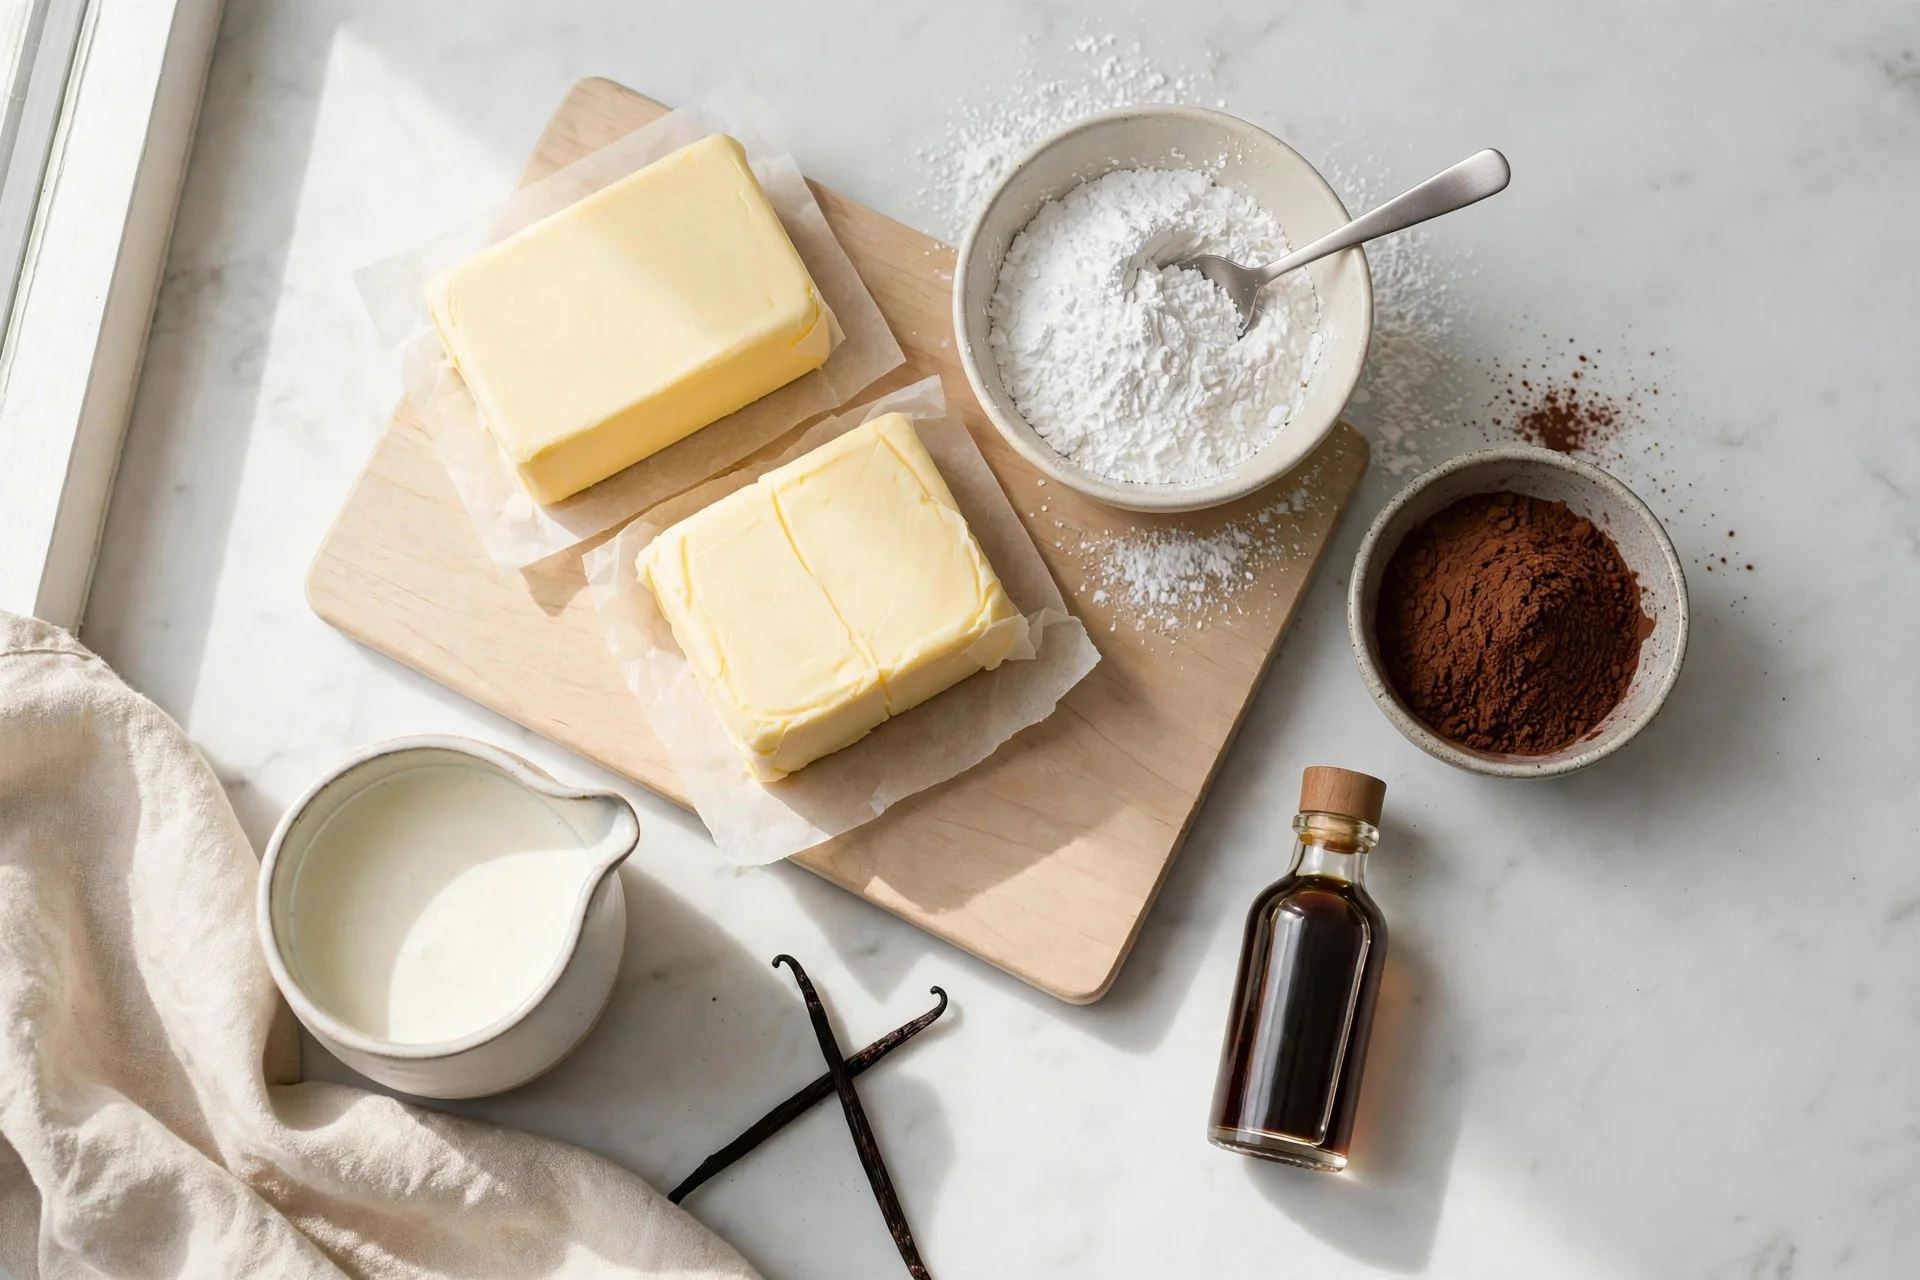
- 1 cup (226g) unsalted butter, softened to room temperature
- 3 1/2 cups (420g) powdered sugar
- 1/2 cup (45g) unsweetened cocoa powder (natural or Dutch-process)
- 1/4 cup (60ml) heavy cream, plus more as needed
- 2 teaspoons vanilla extract
- 1/4 teaspoon fine salt
- Really sift. Not a whisk-through-the-bowl situation — an actual sieve. The lumps you’re removing are the exact things that make frosting grainy.
- Butter temperature is everything. Too cold and it won’t aerate; too warm and the frosting turns greasy and won’t hold a piped shape. The finger-press test: it should dent easily but still hold its shape, not feel oily.
- Start slow with the sugar. I know it’s tempting to crank the mixer. Don’t. Low speed for the additions, then high speed only for the final whip.
- Scrape the bowl. Butter hides at the bottom. Scrape down at least twice — unmixed butter pockets are another source of weird texture.
- Taste and adjust. Every cocoa is different. After the final whip, taste: want more chocolate punch? Beat in another tablespoon of sifted cocoa. Too sweet? A tiny extra pinch of salt works wonders.
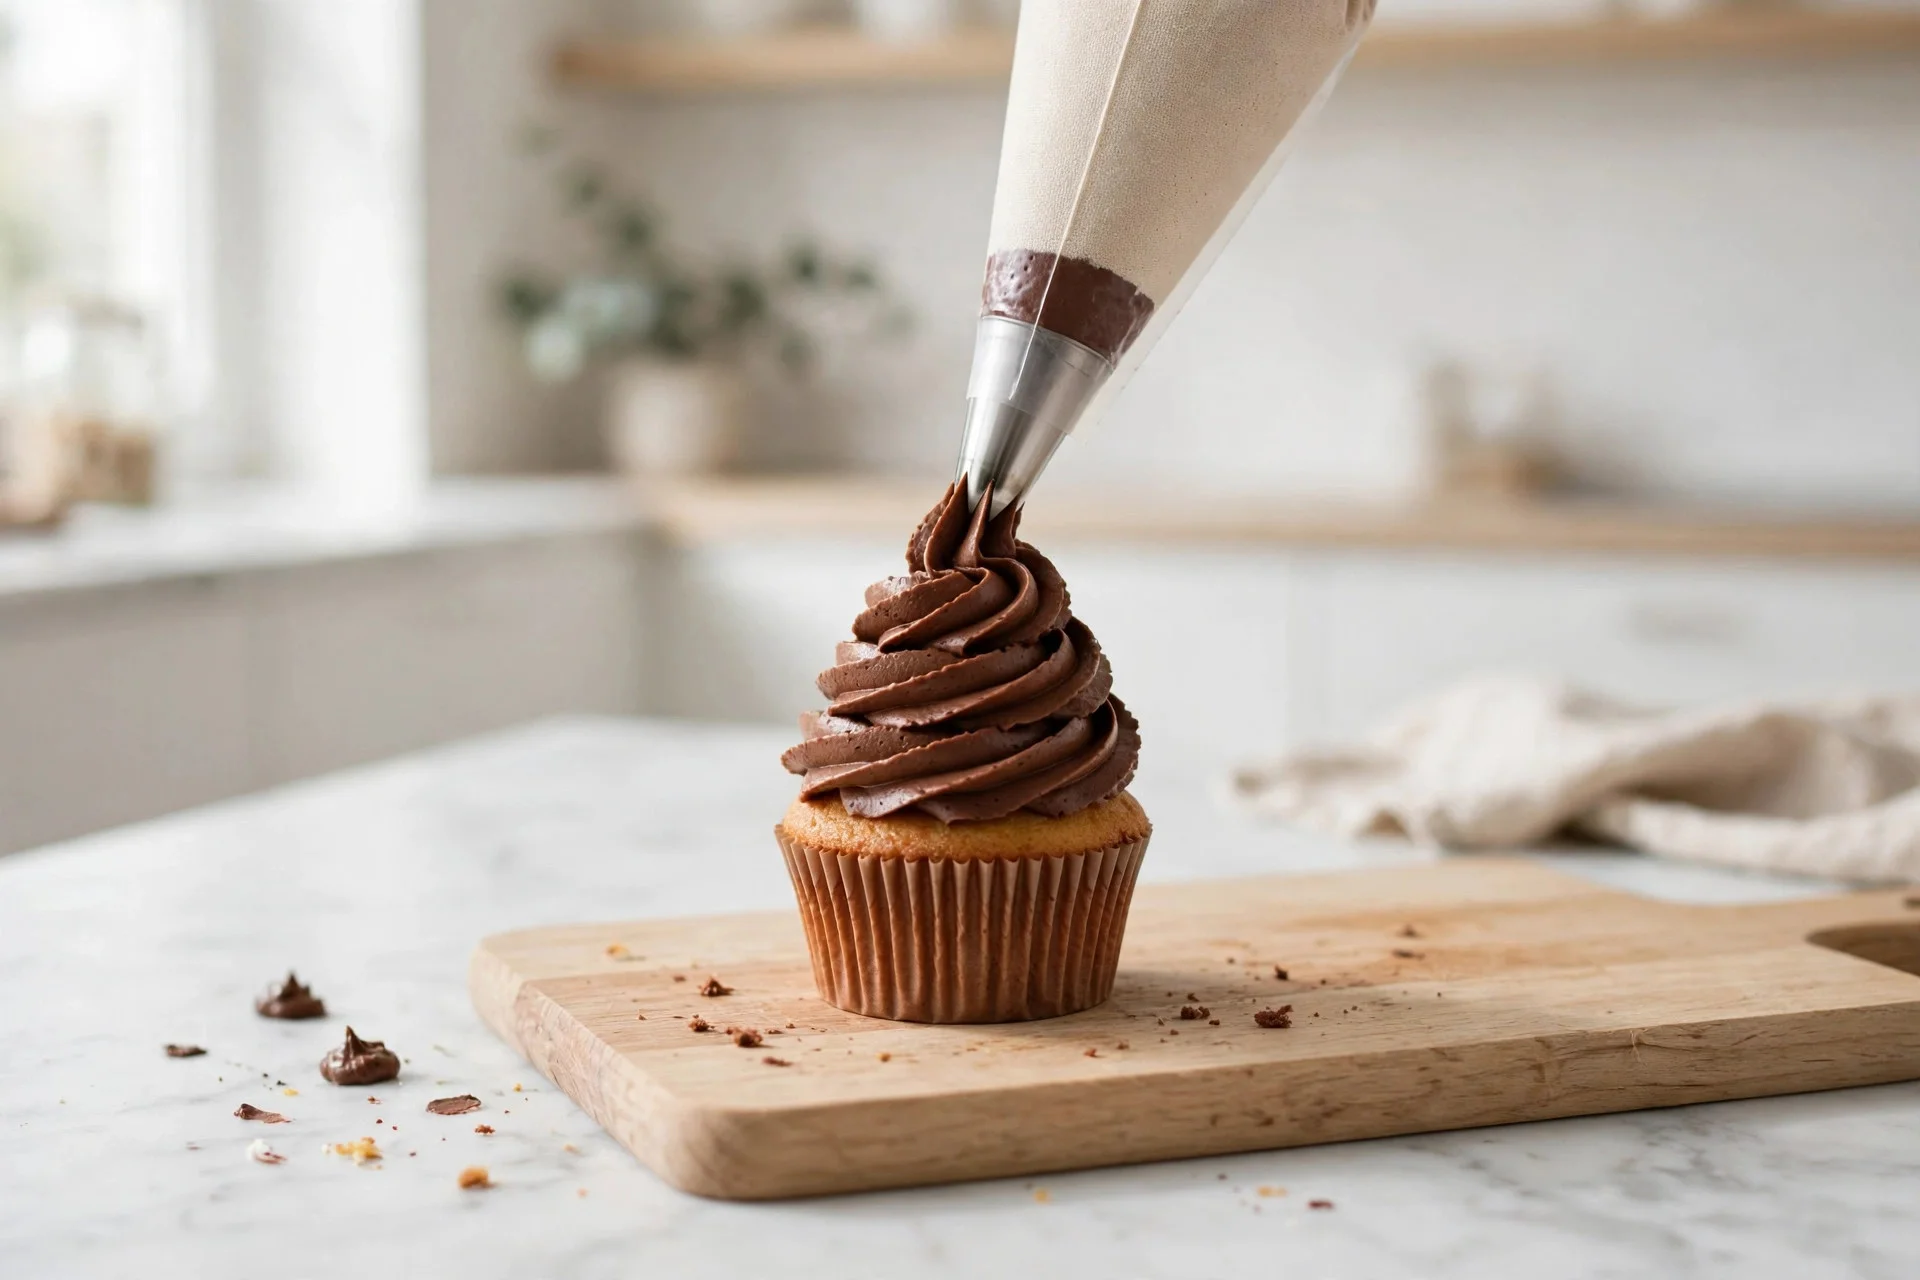
- Wilton 1M (open star) — the classic bakery swirl. Start at the outer edge of the cupcake and spiral upward and inward.
- Wilton 2D (closed star) — deeper grooves, fancier ruffles. Gorgeous on celebration cakes.
- Wilton 12 (round) — for writing, dots, and simple borders.
A note on cocoa: Dutch-process cocoa gives you a darker, almost black frosting with a smooth, mellow chocolate flavor. Natural cocoa gives a lighter milk-chocolate brown and a slightly fruitier edge. Both work beautifully here — I’ve made it dozens of times each way. Pick Dutch for drama, natural for classic.
Can I use salted butter? Yes — just skip the added salt. I keep unsalted on hand because it gives me control, but salted works fine in a pinch.
How to Make Chocolate Buttercream Frosting
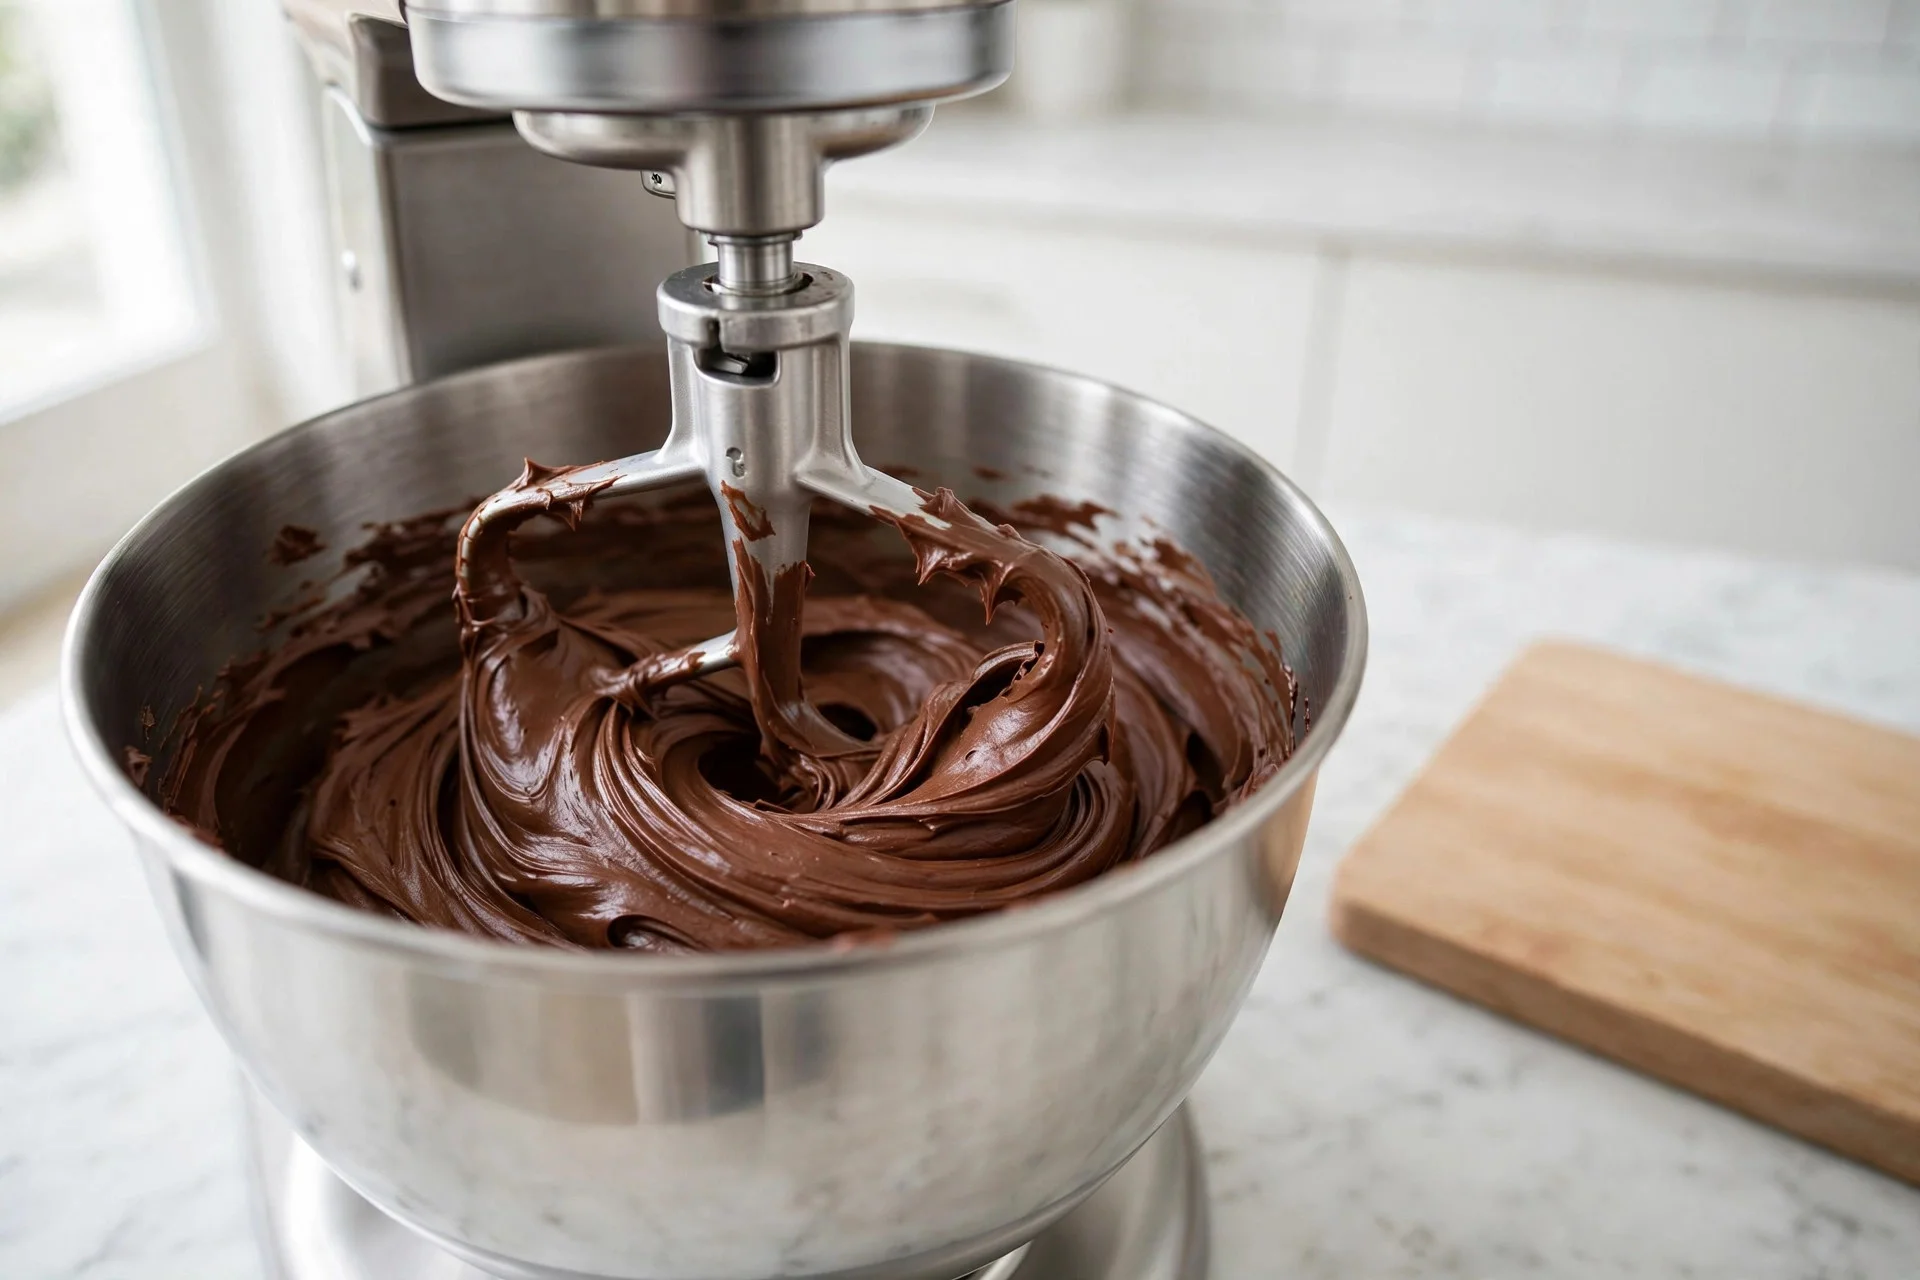
1. Sift the dry ingredients. Set a fine-mesh sieve over a large bowl. Sift the powdered sugar and cocoa powder together, tapping the sieve until everything passes through. Discard any hard little pebbles that refuse to go through (or crush them with a spoon and sift again). This ninety-second step is the difference between silky and sandy — don’t skip it.
2. Beat the butter. In the bowl of a stand mixer fitted with the paddle attachment (or a large bowl with a hand mixer), beat the softened butter on medium speed for 2-3 minutes. You’re looking for pale, creamy, and fluffy — it should look noticeably lighter in color than when you started. Scrape down the bowl once halfway through.
3. Add the sifted mixture in batches. With the mixer on LOW (this matters — high speed here creates a sugar cloud that coats your entire kitchen), add the sifted powdered sugar and cocoa in three additions, mixing until just combined after each. Scrape down the bowl between additions.
4. Add the vanilla, salt, and cream. Pour in the vanilla extract, salt, and heavy cream. Mix on low until everything is incorporated and the frosting looks uniform.
5. Whip it silky. Increase the speed to medium-high and beat for a full 2-3 minutes. Watch it transform: the color lightens a shade, the texture turns pillowy, and when you lift the beater, the frosting should fall in thick, smooth ribbons. If it’s too stiff for your liking, beat in heavy cream one teaspoon at a time. If it’s too soft, see the troubleshooting section below.
That’s it. Fifteen minutes, one bowl (plus the sifter), zero cooking.
Tips for Silky Frosting Every Time
Troubleshooting
“My frosting is too sweet.”
The most common complaint about American buttercream, and the easiest to fix. First, make sure you didn’t skip the salt — it makes a bigger difference than you’d think. Still too sweet? Beat in an extra pinch of salt (up to 1/2 teaspoon total), or add 1-2 tablespoons of sifted cocoa powder for more chocolate depth to balance the sugar. My other trick: a tablespoon of softened cream cheese beaten in adds the faintest tang that cuts sweetness beautifully without changing the texture.
“My frosting is grainy.”
Nine times out of ten, the sugar wasn’t sifted. The rescue: add heavy cream one teaspoon at a time and beat for 2-3 more minutes on medium-high. The extra liquid plus extended beating dissolves most of the lumps. It won’t be quite as perfect as a sifted batch, but it’ll get you close. Next time — sieve.
“My frosting is too soft and won’t hold a swirl.”
Usually a warm kitchen or slightly-too-soft butter. Fix it by chilling the whole bowl in the refrigerator for 15-20 minutes, then re-whipping for a minute. If it’s still soft, beat in sifted powdered sugar two tablespoons at a time until it holds its shape. (Don’t add unsifted sugar here — you’ll undo all your good work.)
“My frosting is too stiff to spread.”
Easy: beat in heavy cream, one teaspoon at a time, until it reaches the consistency you want. Remember that frosting firms up as it sits, so aim for just slightly softer than your target.
How to Pipe It
This frosting was born to be piped. My go-to tips:
Fill your piping bag only halfway — an overfilled bag is hard to control, and your hands warm the frosting as you squeeze, making it soft. Twist the top closed and squeeze from the top of the bag, not the middle.
Storage
Room temperature: Frosted cupcakes or cake can sit covered at cool room temperature for up to 2 days. (If your kitchen runs warm, refrigerate instead.)
Refrigerator: Store leftover frosting in an airtight container for up to 2 weeks. Cold buttercream firms up solid — that’s normal. Let it sit at room temperature for 30-45 minutes, then re-whip for a minute or two until silky again before using.
Freezer: Freeze in a zip-top bag (squeeze out the air) for up to 3 months. Thaw overnight in the refrigerator, bring to room temperature, and re-whip. It comes back perfectly — I always keep a bag in my freezer for cupcake emergencies.
Frequently Asked Questions
Can I make this ahead of time?
Absolutely — that’s one of its best traits. Make it up to 2 weeks ahead and refrigerate, or 3 months ahead and freeze. Just don’t skip the re-whip step; cold buttercream needs a minute back on the mixer to turn silky again.
Natural vs. Dutch-process cocoa — does it matter?
Both work. Dutch-process gives a darker color and smoother, less acidic chocolate flavor; natural gives a classic milk-chocolate taste and lighter color. Use whatever you have.
How much does this recipe frost?
It generously frosts 12 cupcakes with tall swirls, or fills and frosts one 9-inch single-layer cake. For a fully frosted two-layer 9-inch cake, make 1.5x the recipe.
Can I halve or double the recipe?
Yes to both. It scales linearly — just keep the ratios and don’t skip the sifting.
Why did my frosting turn out greasy?
The butter was too warm. Next time, make sure it’s cool room temperature (65-68°F) — it should dent when pressed, not feel soft and shiny. If it’s already greasy, chill the bowl for 20 minutes and re-whip; it usually recovers.
What to Put It On
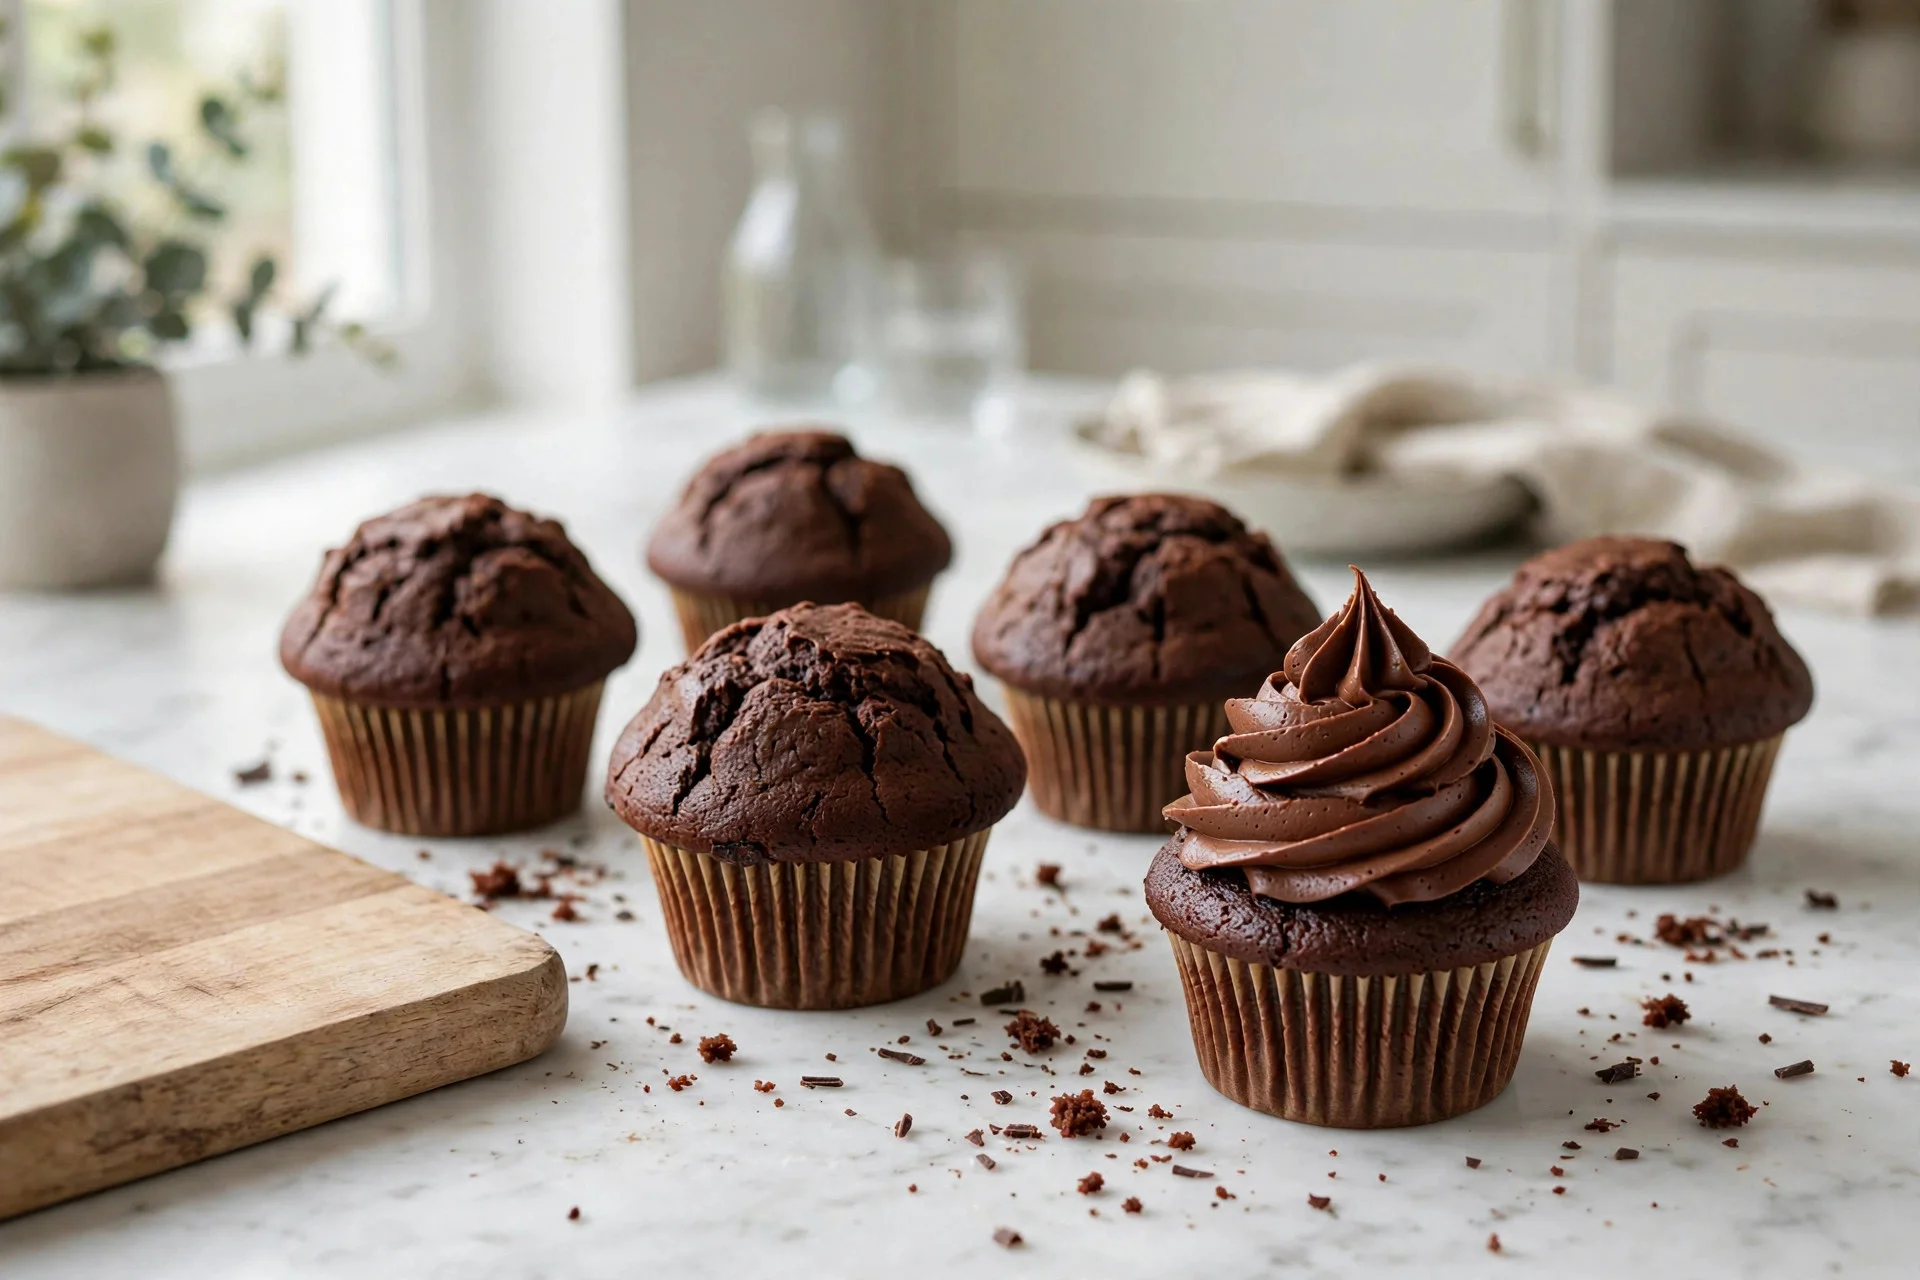
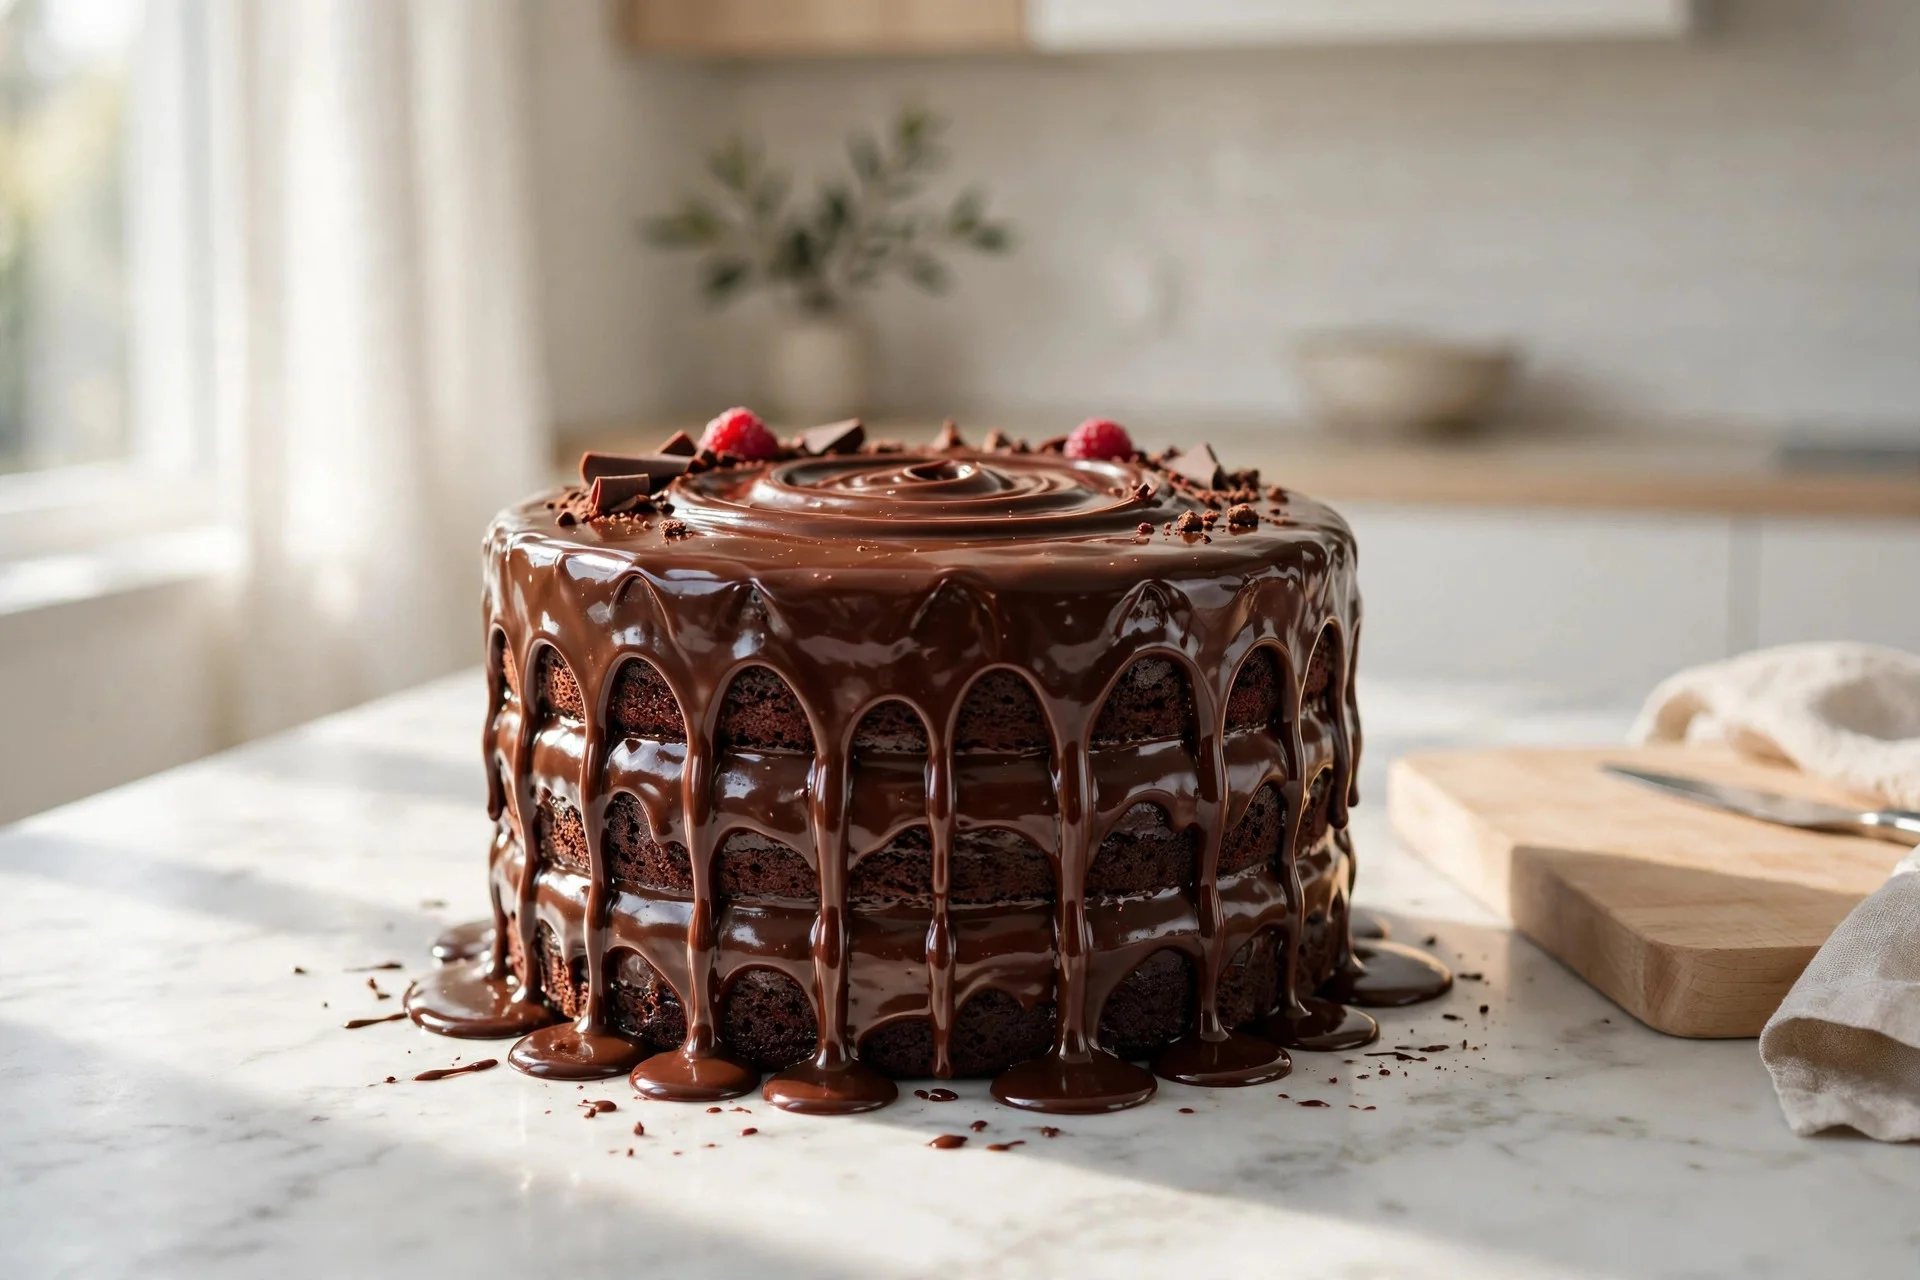
This is the exact frosting I use on my Chocolate Cupcake Recipe — the silky swirl against a moist chocolate crumb is pure bakery-case magic. It’s also the frosting on my Best Chocolate Cake Recipe, where a thick layer between two moist chocolate layers is, in my not-at-all-biased opinion, one of the great desserts of all time.
—