Last updated on November 18, 2026
Every year, somewhere around the middle of November, my kitchen turns into a fudge factory. It starts with one tin for the neighbours, then one for the holiday tray, then a batch for the school bake sale, and before I know it I have made fudge four weekends in a row. This chocolate fudge recipe is the one I always come back to, because it takes ten minutes of actual work, three ingredients I already have in the pantry, and no candy thermometer — and it has never once come out grainy. The secret is not a trick of mine. It is the condensed milk. Old-fashioned cooked fudge is a sugar syrup that has to be boiled to exactly 234°F, cooled undisturbed, and beaten at precisely the right moment, and if you stir at the wrong second it turns into a pan of sweet sand. This version skips the sugar syrup entirely, which is why it is foolproof — and why, in mid-November, when holiday gifting season is at its peak, it is the fudge I make most.
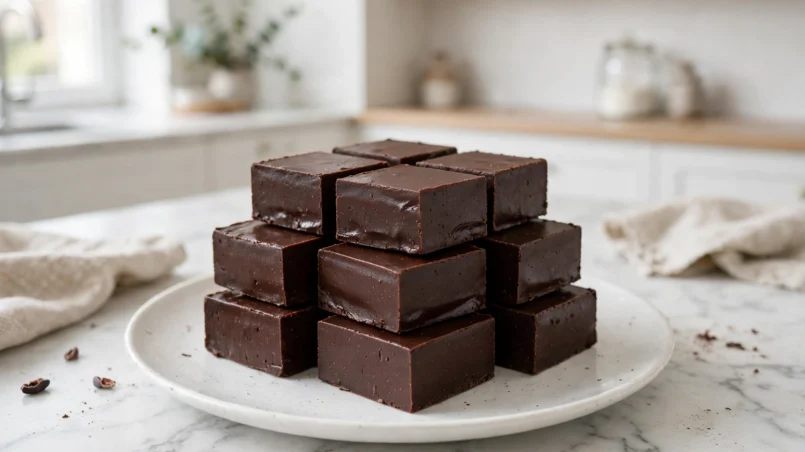
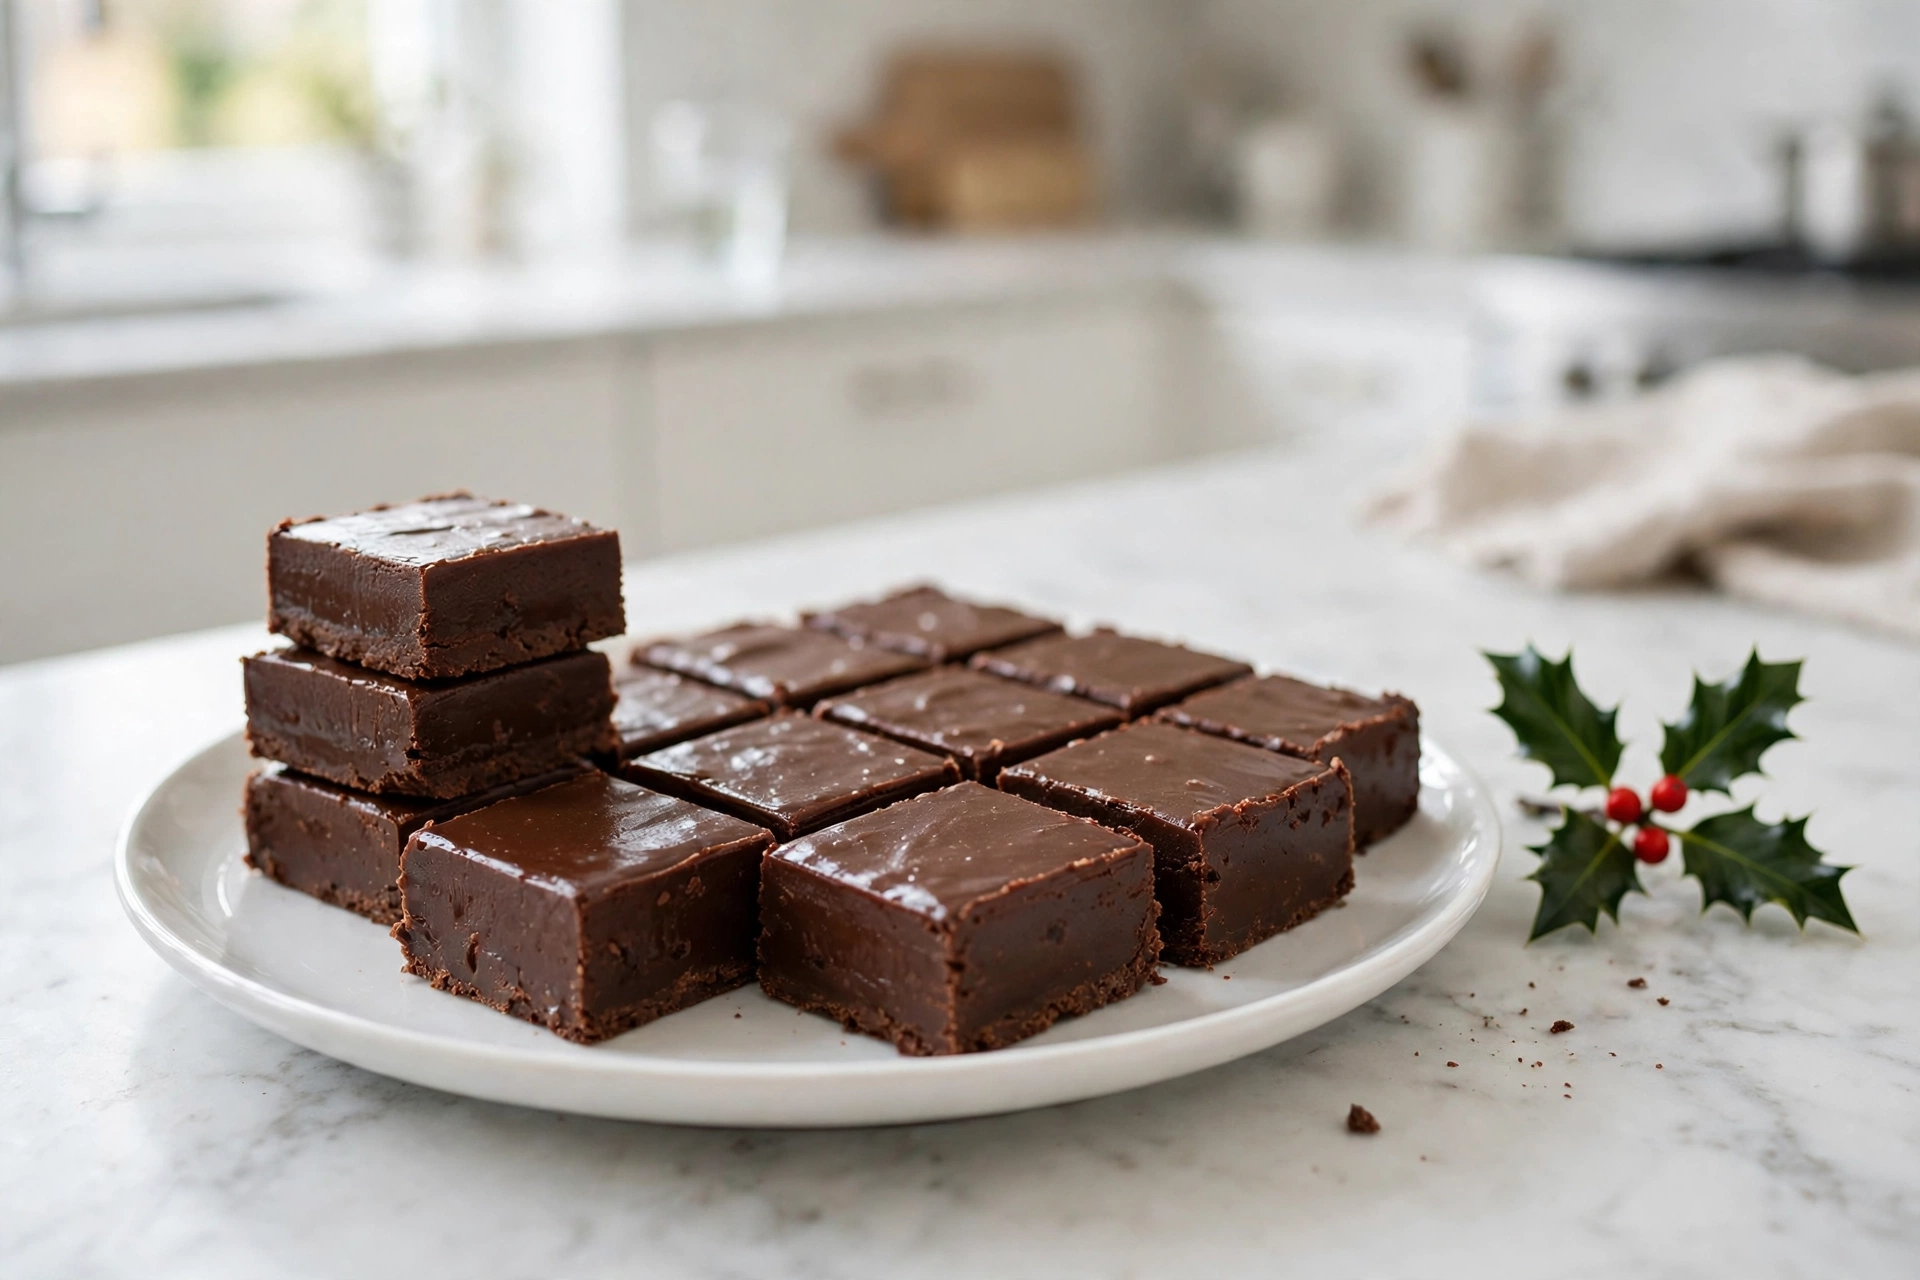
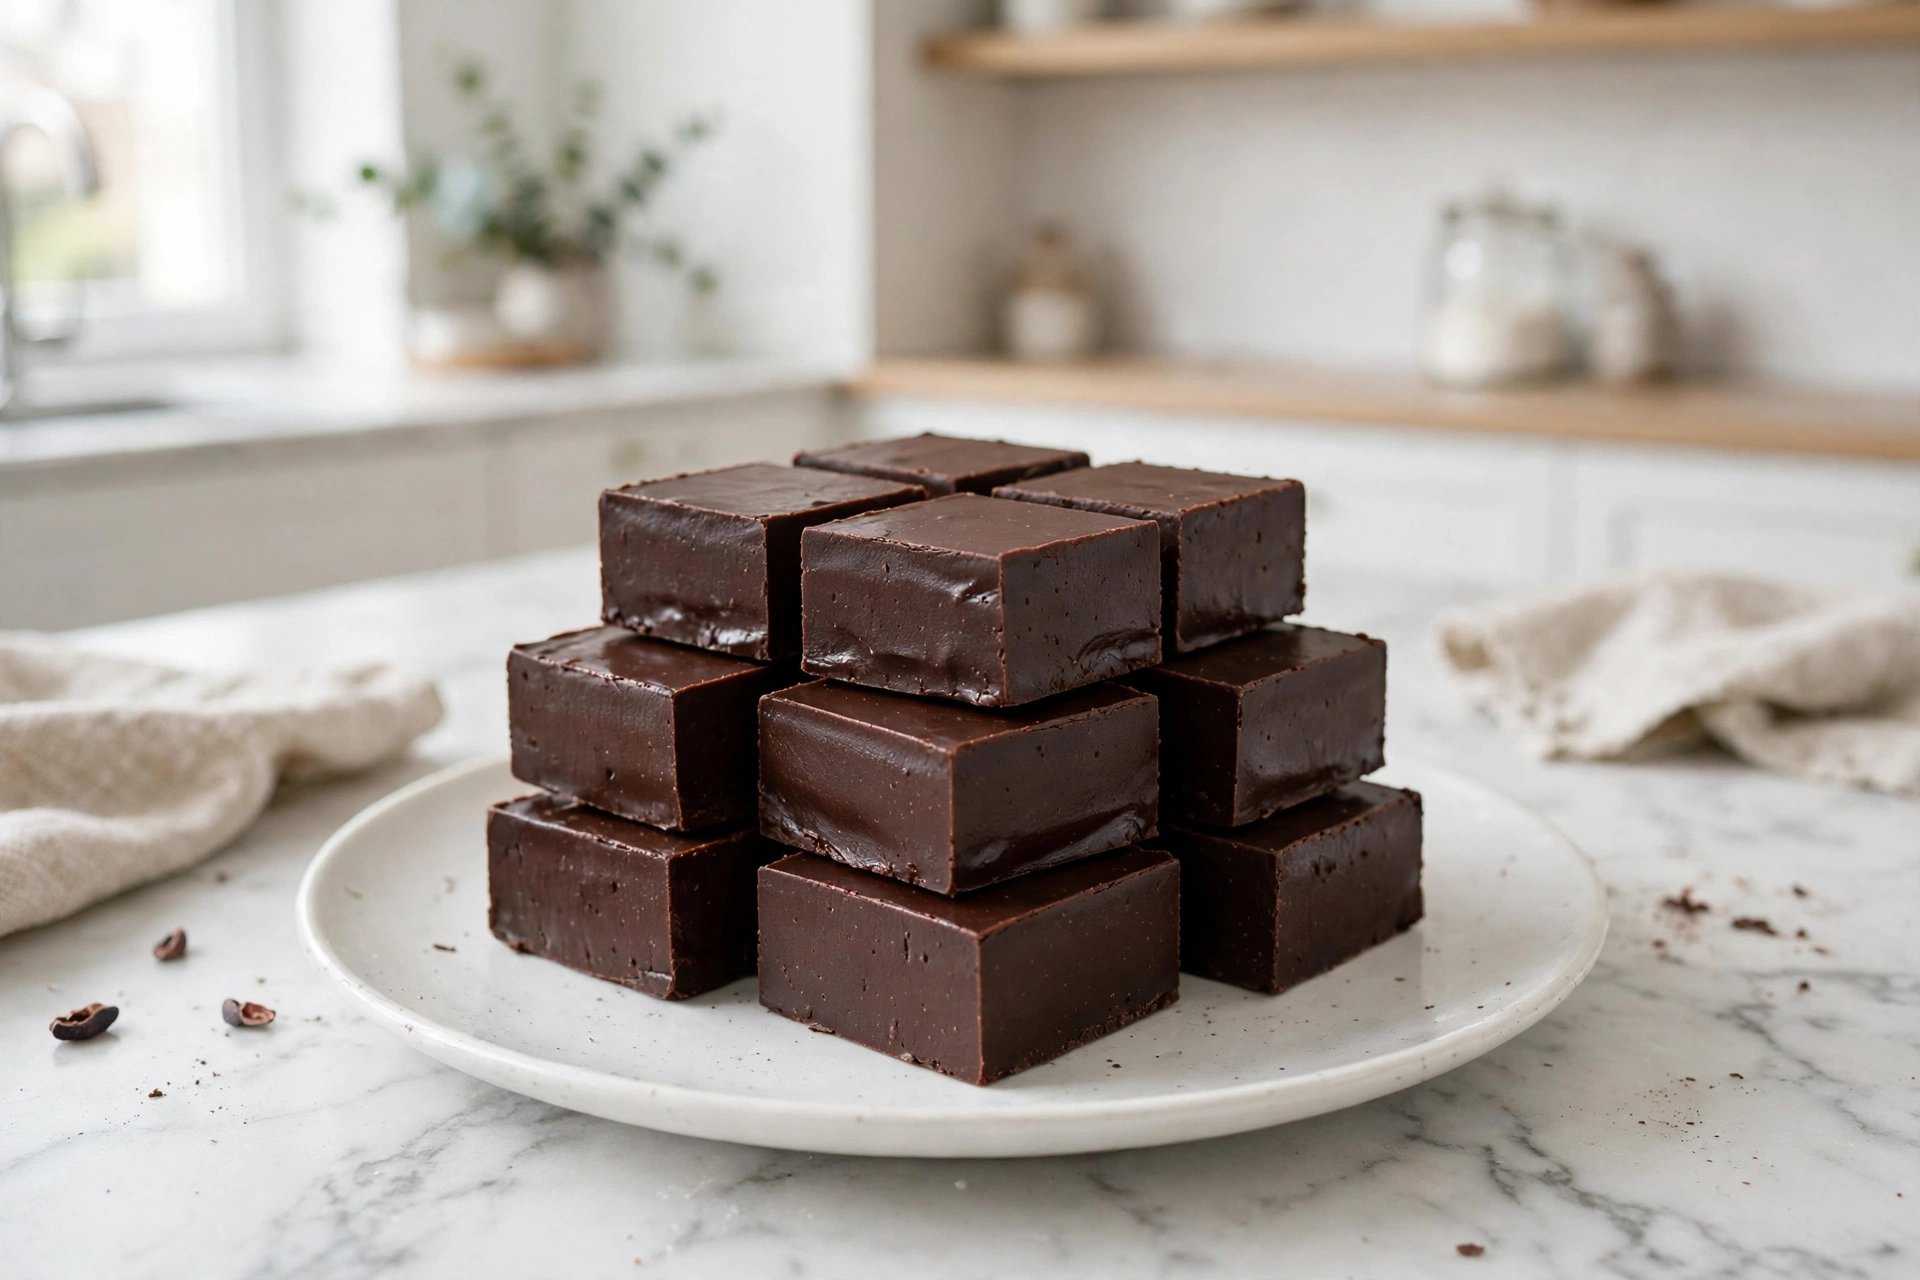
If you have only ever bought fudge from a shop, this recipe will surprise you. Shop fudge is often too sweet, too soft, or faintly waxy. Homemade fudge, made the easy way, is something else entirely: dense, glossy, deeply chocolatey, and firm enough to slice into clean squares that hold their shape in a gift tin. It is the same melted chocolate you already know from our hot chocolate recipe — just set firm enough to slice instead of poured into a mug. Same chocolate, two different forms. One is a drink, the other is a slab you can wrap in wax paper and give away. And once you have made it once, you will understand why this is the recipe people ask for at Christmas.
Table of Contents
- Easy vs Classic Fudge
- Why This Recipe Works
- Ingredients
- How to Make Chocolate Fudge
- The Cutting Guide
- Pro Tips and Troubleshooting
- Variations
- How to Serve and Store
- Frequently Asked Questions
- Nutrition
- More Recipes You Will Love
Easy vs Classic Fudge
There are two ways to make fudge, and they are not the same recipe with a different name — they are two different kinds of cooking. The easy version in this article uses sweetened condensed milk. The classic version starts with sugar, butter and evaporated milk, and it is a candy-making exercise with a thermometer. Both make real fudge, but only one of them is forgiving. Here is how they compare:
| Easy Fudge (This Recipe) | Classic Cooked Fudge | |
|---|---|---|
| Sweetener | Sweetened condensed milk | Granulated sugar boiled into syrup |
| Thermometer | Not needed | Required — 234–238°F soft-ball stage |
| Active time | About 10 minutes | About 45 minutes, plus cooling and beating |
| Can it go grainy? | No — there is no sugar syrup to crystallise | Yes — stir at the wrong moment and it turns grainy |
| Texture | Smooth, dense, glossy, slices cleanly | Matte, crumbly at the edges, old-fashioned slab |
| Best for | First-time fudge makers, holiday gifts, quick trays | Readers who want the traditional method |
There is also a middle path worth knowing about: the marshmallow-creme shortcut. Marshmallow creme is an interfering agent — its corn syrup and egg white get in the way of large sugar crystals forming — which is why so many old-fashioned fudge recipes add a jar of it. It makes the classic method much more forgiving. But if you want the simplest possible route to a pan of glossy fudge, the condensed-milk version below is the one to make. The classic method is in the variations section at the bottom of this article, with its full temperatures, for readers who want the old-fashioned slab.
Why This Recipe Works
Most fudge failures are not a bad recipe — they are sugar crystals. Understanding that one fact is the whole secret of this recipe. Here is why this version works, every single time:
- There is no sugar syrup to crystallise. Classic cooked fudge is a sugar syrup boiled to exactly 234°F, the soft-ball stage. Once it cools to about 110°F you beat it until it turns matte — and the beating is what makes tiny, even sugar crystals, which is what fudge is. But stir or beat at the wrong moment, scrape the pan sides, or beat while it is still hot, and large crystals form instead, and the fudge turns grainy forever. Sweetened condensed milk is milk that has already been cooked down with sugar, so there is no free sugar syrup in this recipe at all. Nothing can crystallise, which is why no thermometer is needed and the fudge cannot go grainy this way.
- The chocolate chips set the slab firm. Chocolate chips are mostly cocoa butter, and cocoa butter is solid at room temperature. When the melted mixture cools and chills, the cocoa butter firms up and holds the slab together, which is what lets you lift it out of the pan and slice it into clean squares. This is the same idea behind our chocolate ganache recipe — melted chocolate that sets — except here the fudge is the finished dessert, not a sauce.
- Butter adds gloss and a clean slice. A quarter cup of butter does two quiet jobs: it gives the finished fudge a glossy top and a soft, clean bite, and it keeps the knife from dragging when you cut it. Without the butter the fudge is duller and a little firmer; with it, the squares slice clean and look like the ones in a sweet shop window.
- Salt amplifies the chocolate. A pinch of fine salt does not make the fudge salty. It does what salt does in every chocolate dessert on this site — it makes the chocolate taste more like itself, and it takes the edge off the sweetness of the condensed milk. Do not skip it; you will notice the difference.
- Vanilla goes in off the heat. The vanilla extract is stirred in after the pan comes off the burner, so its aroma stays in the fudge instead of cooking off. It is a small amount with an outsized effect — it rounds out the chocolate and makes the finished squares smell like a sweet shop.
- Full-fat condensed milk is non-negotiable. The milk supplies sweetness, moisture and creamy structure in one can, and its fat is part of what makes the fudge set properly. Fat-free condensed milk will not set the same way, and evaporated milk has no sugar cooked into it at all, so it will not set either. Buy the full-fat sweetened condensed milk, and check the label before you open it.
None of this needs special equipment. A heavy saucepan, a wooden spoon or spatula, an 8×8-inch pan and a sheet of parchment are all it takes — and ten minutes from the moment you pick up the spoon to the moment the pan goes into the fridge.
Ingredients
Five ingredients, all pantry staples. Read the condensed-milk warning before you shop: it must be full-fat sweetened condensed milk, the thick, sweet milk in the 14-ounce can — not evaporated milk, which is unsweetened and will not set, and not fat-free condensed milk, which will not set properly either. The chocolate chips matter too: use semi-sweet chips you like eating, because the fudge will taste exactly like them.
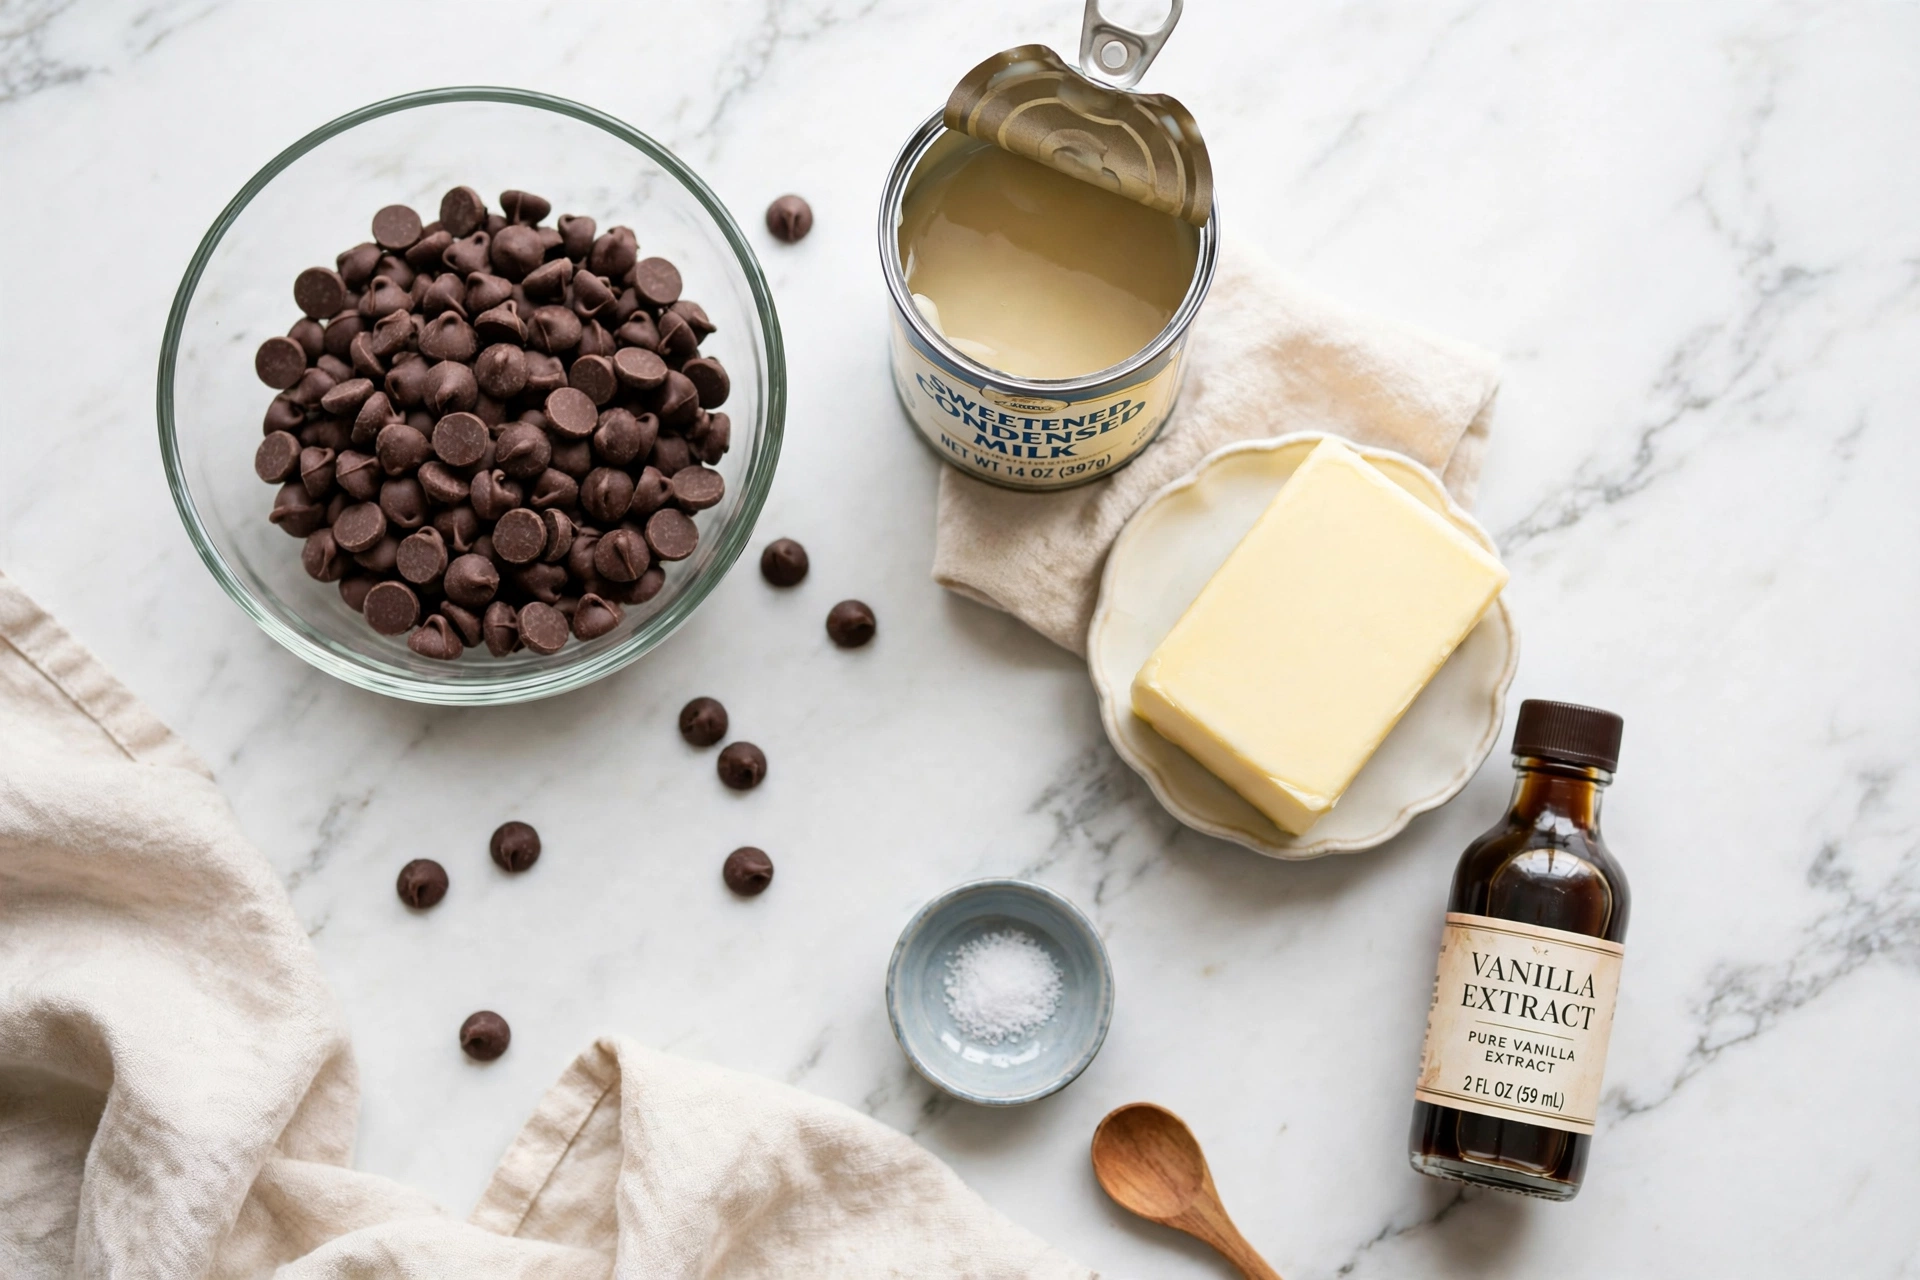
- 3 cups (18 oz / 510 g) semi-sweet chocolate chips — the base of the fudge. Semi-sweet is the right call here because the condensed milk is already sweet; milk chocolate chips make a fudge that is noticeably sweeter and softer, and they need a longer chill. Use a brand you like eating — the fudge will taste exactly like the chips.
- 1 can (14 oz / 397 g) full-fat sweetened condensed milk — NOT evaporated milk, and NOT fat-free. This is the ingredient that makes the recipe foolproof: the milk is already cooked down with sugar, so it supplies sweetness, moisture and creamy structure in one can, with no sugar syrup to crystallise. Check the label before you open it — the two cans look almost identical on the shelf.
- 1/4 cup (4 tablespoons / 57 g) unsalted butter — for gloss and a clean slice. Unsalted, so you control the salt yourself. Cut it into pieces so it melts evenly with the chocolate.
- 1 teaspoon pure vanilla extract — stirred in off the heat, so its aroma stays in the fudge. Pure extract, not imitation, if you have it — the flavour is rounder and it shows in a recipe this simple.
- 1 pinch fine salt — a small pinch amplifies the chocolate and takes the edge off the condensed milk’s sweetness. Do not skip it.
For the pan: parchment paper with overhang on two sides, so you can lift the whole slab out to cut it. A light greasing of the parchment keeps the fudge from sticking at the edges.
How to Make Chocolate Fudge
Ten minutes of work, seven steps, and then the fridge does the rest. The only step that needs your full attention is the melting — keep the heat low, stir constantly, and never let the mixture boil. After that, the recipe practically makes itself.
- Step 1 — Line the pan. Line an 8×8-inch pan with parchment paper, leaving overhang on two sides so you can lift the finished slab out later. Lightly grease the parchment. This is the step people skip and regret — without the overhang, you will be digging fudge out of the pan with a knife.
- Step 2 — Combine everything in the pan. Put the chocolate chips, the sweetened condensed milk and the butter in a heavy medium saucepan. A heavy pan matters here: a thin pan has hot spots that scorch chocolate, and scorched chocolate cannot be fixed. If you only have a thin pan, use the microwave method in step 3 instead.
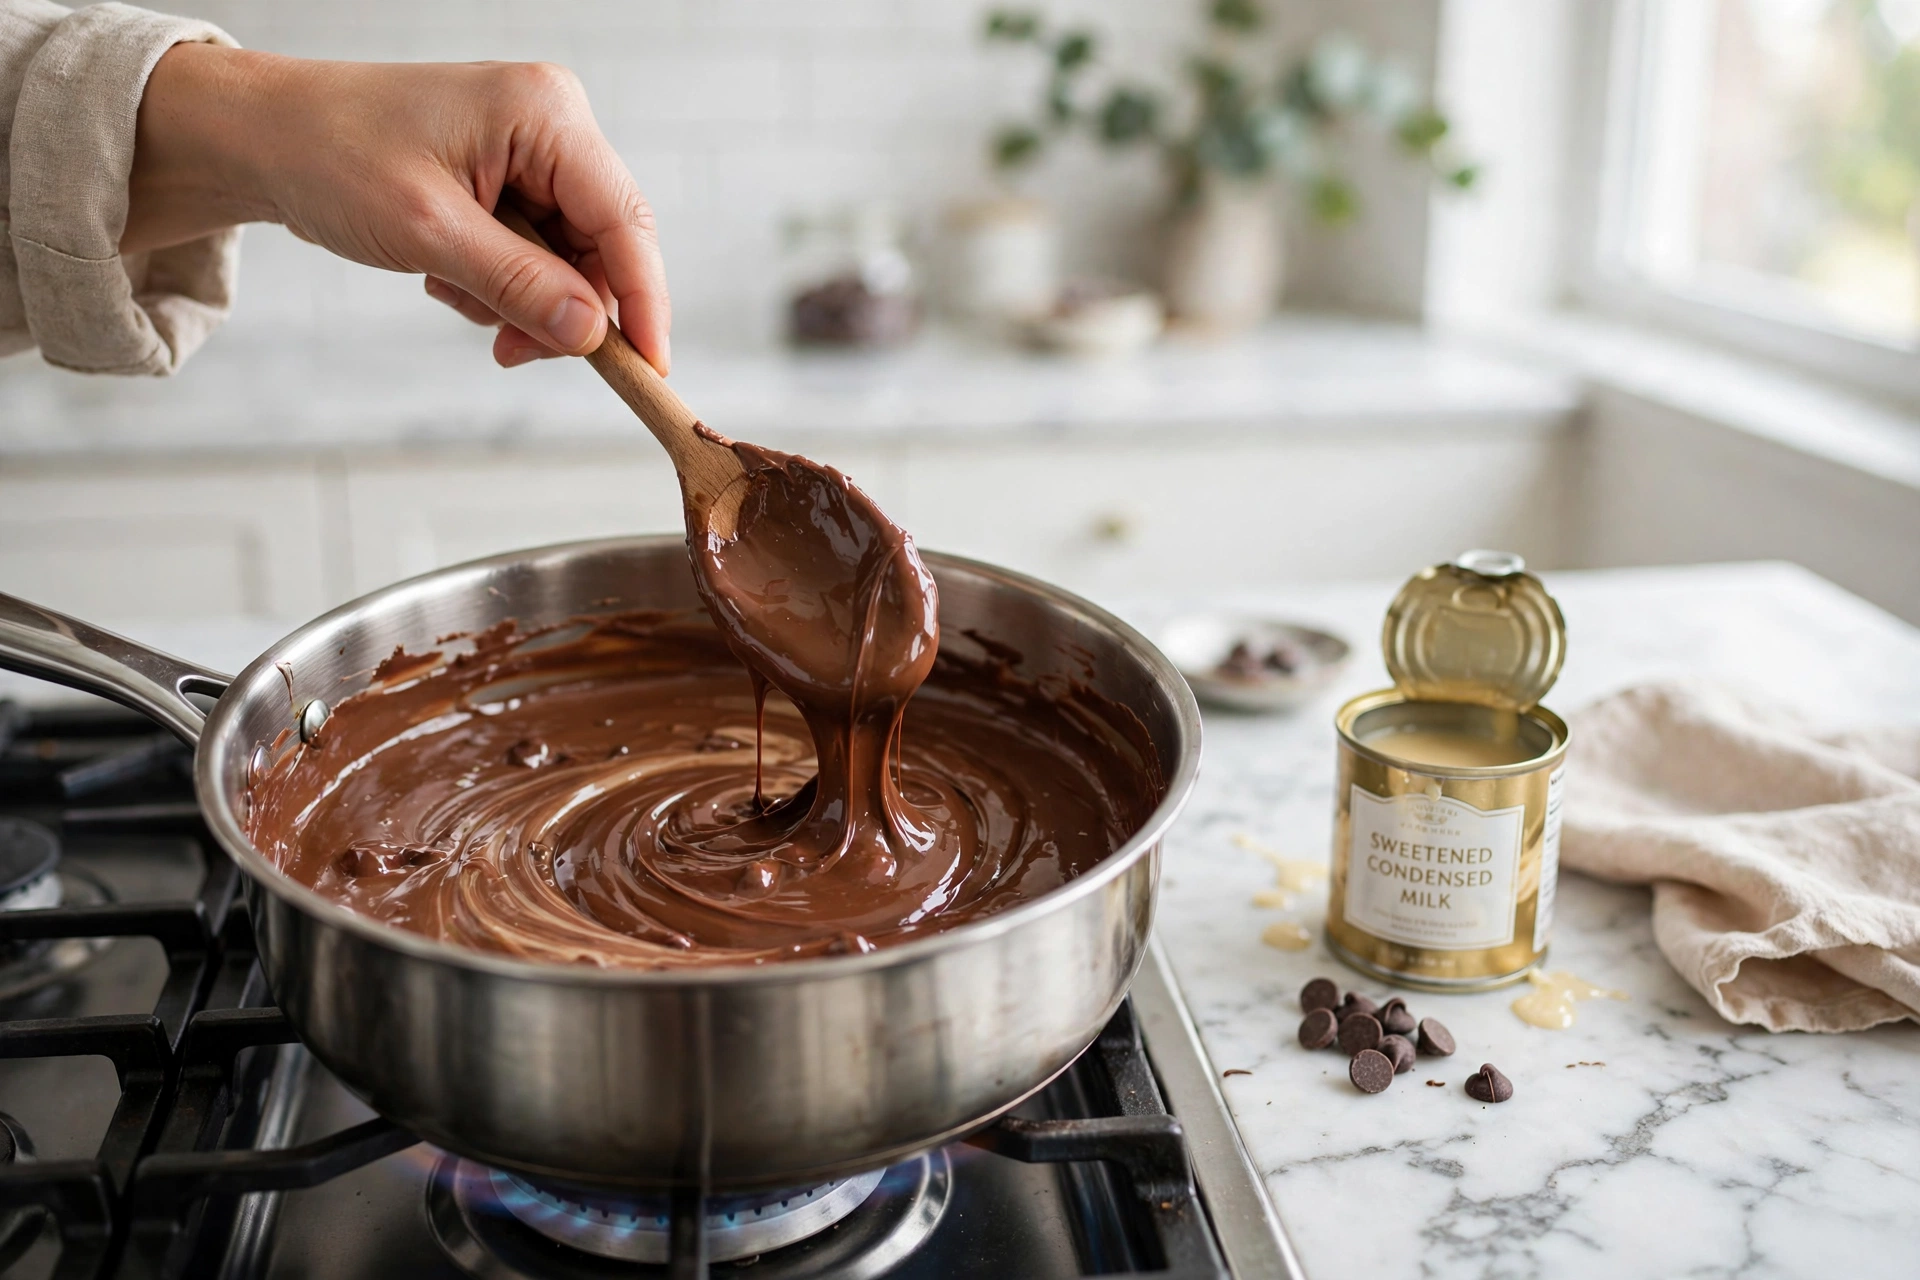
- Step 3 — Melt on low heat, stirring constantly. Set the pan over medium-low heat and stir constantly for 5 to 8 minutes, until the mixture is completely melted and smooth. Do not let it boil — boiling makes an oily film on the surface and can make the chocolate separate. The mixture is ready when it is glossy and no chips remain, and it pulls away from the sides of the pan in a thick ribbon. Microwave alternative: put everything in a microwave-safe bowl, heat 1 minute on high, stir, then heat in 30-second bursts, stirring between each, for 2 to 3 minutes total, until smooth.
- Step 4 — Vanilla and salt, off the heat. Take the pan off the burner and stir in the vanilla extract and the pinch of salt until fully combined. The mixture will be thick and glossy, like melted chocolate ganache. Taste it now if you like — this is the flavour the finished fudge will have.
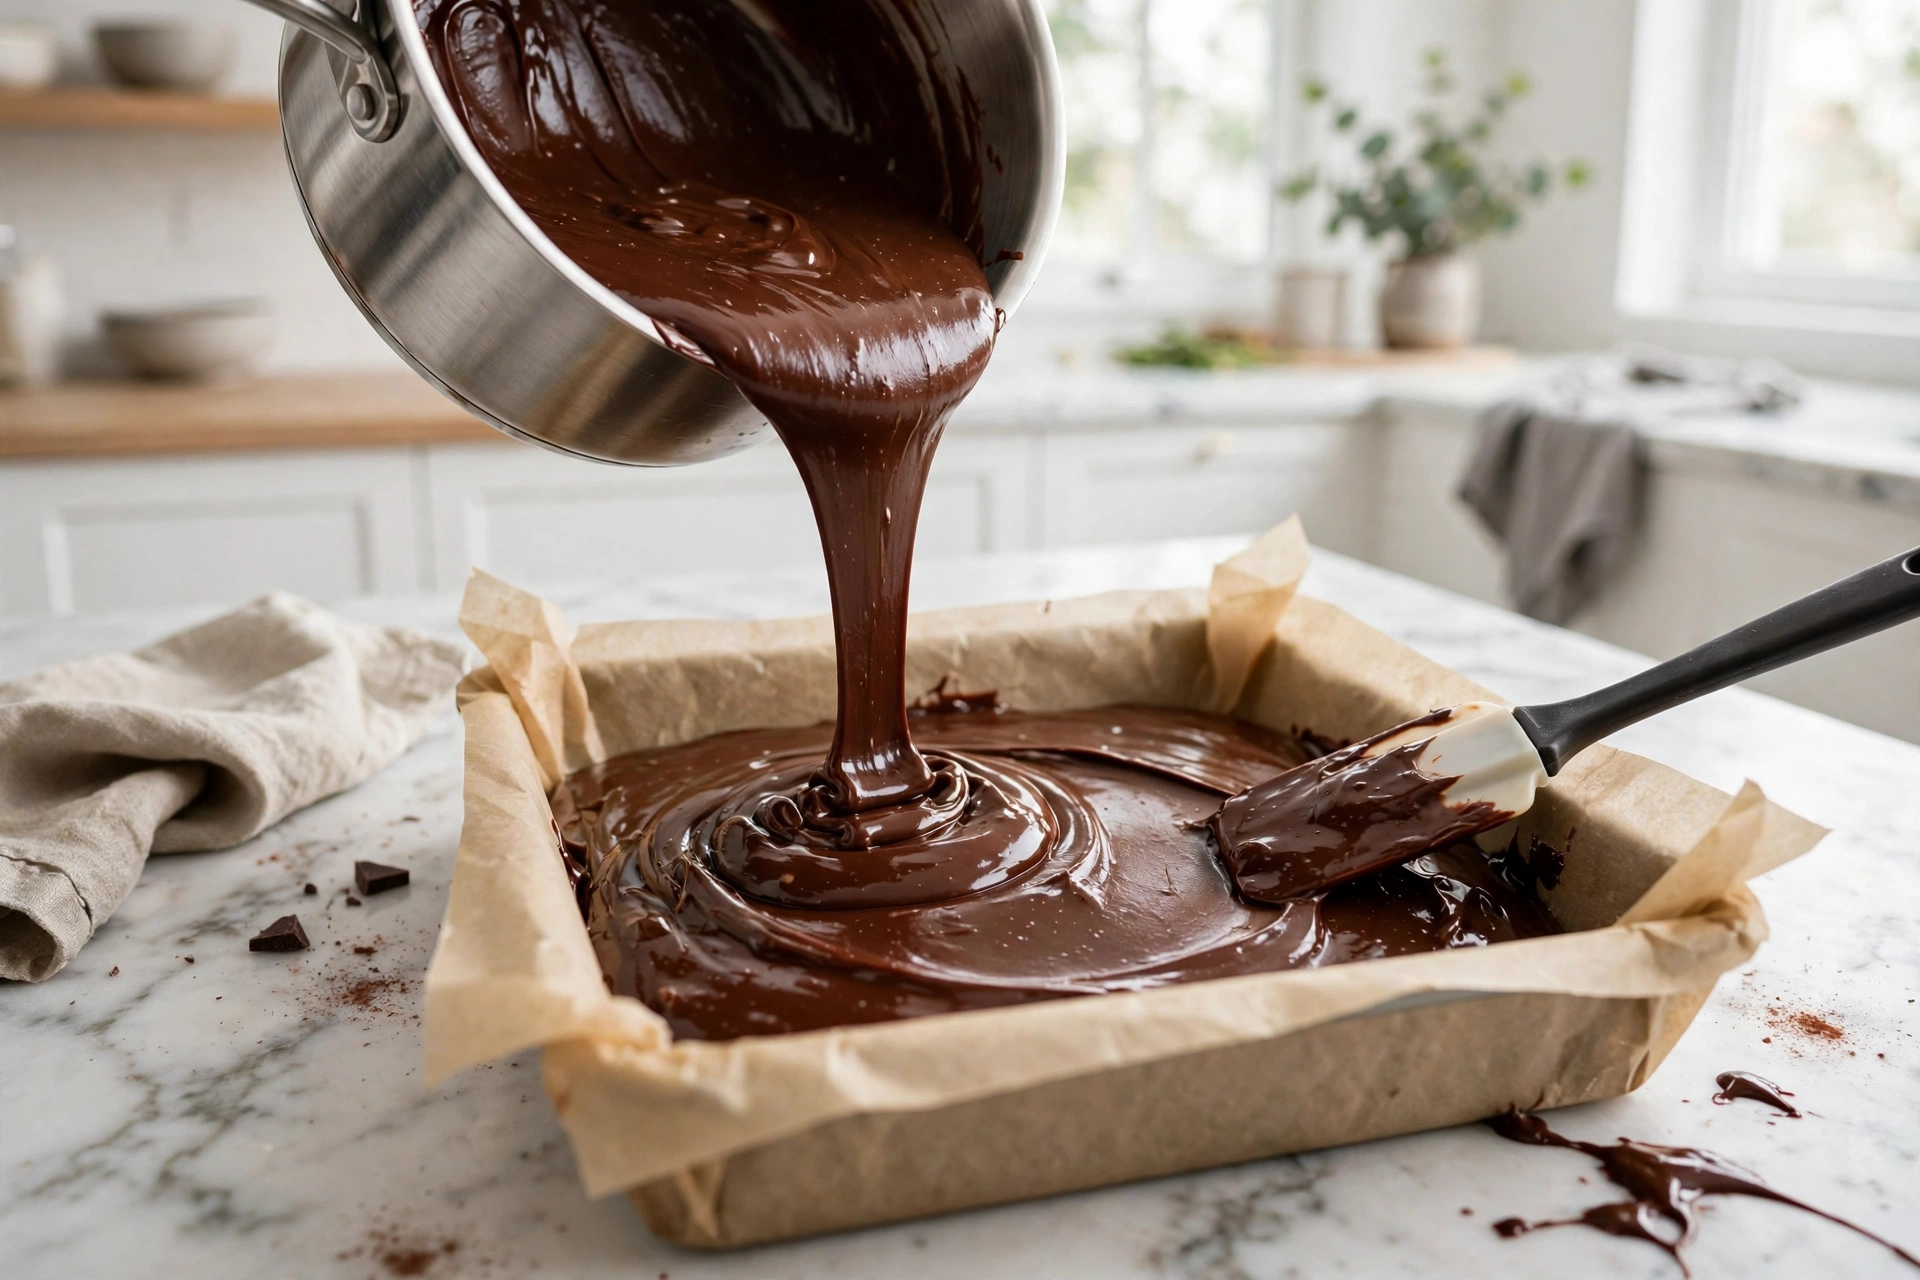
- Step 5 — Pour and smooth. Pour the mixture into the prepared pan and smooth the top with a spatula. Work quickly here: the fudge starts to set as it cools, and you want a flat, even top before it firms up. Tap the pan gently on the counter once or twice to settle the mixture into the corners and pop any air bubbles.
- Step 6 — Cool, then chill until firm. Let the pan cool for 30 minutes at room temperature, then refrigerate until completely firm — at least 2 hours, 4 hours is safer, and overnight is best. Do not rush this step. Fudge that is cut warm is fudge that smears, and it will never look like the squares in the photograph. Give it overnight before you judge whether it has set.
- Step 7 — Lift out and cut. Lift the whole slab out of the pan by the parchment overhang and set it on a cutting board. Cut it into squares with a sharp knife — 6 rows by 6 columns makes 36 small squares, which is the perfect size for a gift tin. See the cutting guide below for the hot-knife trick that makes the cuts clean.
The Cutting Guide
Cutting fudge is where a good batch becomes a beautiful one, and it is also where most people go wrong. The slab looks set after two hours, but the centre is still softer than the edges, and a cold knife dragged through warm fudge smears instead of cutting. Here is exactly how to get clean squares:
- Chill it fully first. The fudge must be completely firm all the way through before you cut it. Two hours is the minimum, four hours is safer, and overnight is best. If the knife comes away with chocolate smeared on it, the fudge was not cold enough — put the slab back in the fridge for another hour.
- Use a sharp, hot knife. Run a long, sharp knife under hot water, dry it, and cut in one smooth press — do not saw back and forth, which tears the edges. Reheat and dry the blade between cuts. The hot blade melts a hairline through the fudge and leaves a glossy, clean edge.
- Wipe the blade between cuts. Even with a hot knife, a little fudge builds up on the blade. Wipe it clean with a damp cloth after every cut or two, so the next cut starts clean.
- Score first, then cut. Lightly score the top of the slab into your grid — 6 by 6 for 36 small squares, or 5 by 5 for 25 larger pieces — before you press through. Scoring keeps the rows straight and stops you from drifting into uneven pieces halfway across.
- Cut at room temperature, serve at room temperature. Take the slab out of the fridge, cut it while it is still cold and firm, and then let the squares sit for 15 to 20 minutes before serving. Fudge tastes best at room temperature, when it is soft enough to bite cleanly but firm enough to hold its shape.
Pro Tips and Troubleshooting
Most fudge problems have one of six causes, and all six are easy to fix — or to avoid entirely. Here they are, with the fix for each:
- It will not set: the most common cause is the wrong milk — fat-free condensed milk, or evaporated milk used by mistake. Both look like the right can on the shelf. The other cause is impatience: the fudge was not chilled long enough. Give it overnight in the fridge before you judge it. If it still will not set after a full night, it was the milk, and the batch is better melted down and poured over ice cream than thrown away.
- Too soft: it was cut while still warm, or it was under-chilled. Chill the slab fully, cut it with a hot dry knife, and keep the squares in the fridge until serving. Milk chocolate chips also make a softer fudge — if you used them, chill the batch longer.
- Oily film on top: the milk boiled, or the heat was too high. The chocolate separated, and the cocoa butter rose to the surface. Next time, keep the heat at medium-low, stir constantly, and never let the mixture boil. A thin oily film can sometimes be stirred back in while the mixture is still warm, but once the fudge has set, it is part of the batch — it still tastes fine.
- Too sweet: milk chocolate chips instead of semi-sweet. The condensed milk is already sweet, so the chips need to be the bitter counterweight. Use semi-sweet chips, and if you do use milk chocolate, cut the vanilla and add an extra pinch of salt to balance it.
- Grainy fudge: this cannot happen with the condensed-milk base — there is no sugar syrup in it to crystallise. If your fudge is grainy, you made the classic cooked version, and it was stirred while the syrup was boiling, the pan sides were scraped in, or it was beaten while still hot. For the classic method, the rule is simple: once it boils, stop stirring, wash the pan sides down with a wet pastry brush, and do not beat until it has cooled to about 110°F.
- Crumbly or dry (classic method only): the syrup was overcooked past the soft-ball stage. If your thermometer read above 238°F before you took the pan off the heat, the fudge will be dry and crumbly no matter how well you beat it. The condensed-milk base never has this problem, which is one more reason it is the recipe to start with.
Two more tips worth knowing: line the pan with parchment that overhangs on two sides, and never skip it — it is the only way to lift the slab out cleanly. And make the fudge the day before you need it. It tastes better on day two, when the flavours have settled and the squares have firmed up properly, and it takes all the pressure off the day itself.
Variations
Once the base recipe is in your hands, it is easy to make it your own. Every variation below uses the same method — melt on low, stir constantly, vanilla and salt off the heat, pour, chill, cut — with one or two changes:
- Peanut-butter swirl: after you pour the fudge into the pan, dollop 1/3 cup of creamy peanut butter over the top in spoonfuls and drag a knife through it in slow S-curves. Do not over-swirl — three or four passes are enough, or the peanut butter disappears into the chocolate.
- Rocky road fudge: fold 1 cup of mini marshmallows and 3/4 cup of chopped walnuts or pecans into the mixture just after you take it off the heat, before you pour it into the pan. The marshmallows soften slightly in the warm fudge without melting away, and the nuts give every square a crunch.
- Mint fudge: replace the vanilla with 1/2 teaspoon of peppermint extract, stirred in off the heat, and scatter crushed candy canes over the top before chilling. A holiday version that disappears fast, especially in December.
- Mocha fudge: add 1/2 teaspoon of instant espresso powder with the chocolate chips. Coffee deepens the chocolate flavour without making the fudge taste like coffee — it is the same trick bakers use in chocolate cake, and it makes the finished squares taste more intensely chocolatey.
- White-chocolate fudge: use white chocolate chips instead of semi-sweet, keep the same method, and cut the vanilla back to 1/2 teaspoon. White chocolate is sweeter and softer, so chill the batch overnight and cut it cold for the cleanest squares.
- Classic cooked fudge (the old-fashioned slab): combine 2 cups of granulated sugar, 1/2 cup of unsalted butter and 2/3 cup of evaporated milk in a heavy saucepan. Boil, stirring, until the sugar dissolves, then stop stirring and boil to 234–238°F on a candy thermometer — the soft-ball stage. Wash the pan sides down with a wet pastry brush while it boils so no crystals form. Take it off the heat, add 12 ounces of chopped dark chocolate and 1 teaspoon of vanilla, and let it cool undisturbed to about 110°F, 30 to 45 minutes. Then beat with a wooden spoon until it loses its shine and thickens, pour into a lined 8×8 pan, and chill until firm. It is more work than the easy version, and it can go grainy — but it is the fudge your grandmother made, and it tastes like it.
- Scaling: the recipe doubles cleanly into a 9×13-inch pan — just double every ingredient and give the melting an extra few minutes, stirring constantly. Halving it into an 8×4-inch loaf pan works too, and it is a good way to test a new variation before you commit to a full batch.
How to Serve and Store
Serving: serve at room temperature, when the squares are soft enough to bite cleanly but firm enough to hold their shape. It is the easiest thing on the holiday tray: bake a batch of our eggless brownies for the same tray and you have a bake-and-gift pairing that takes less than an hour of work all in. For a party, pile the squares on a plate with a few candy canes and let people help themselves — they will not last long. For another no-bake chocolate dessert on the same table, our chocolate mousse recipe is the chilled, spoonable partner to this firm, sliceable one.
Gifting: fudge was made for giving. Layer the squares in a tin or a small box with wax paper between the layers so they do not stick together, and they will travel well for days. A tin of 36 squares is a full gift; a cellophane bag of 6 squares tied with ribbon is a stocking filler. Label the tin with the date you made it.
Refrigerator: the fudge keeps for 2 weeks in the fridge in an airtight container, with wax paper between the layers. Let the squares sit at room temperature for 15 to 20 minutes before serving, so they soften to their best texture.
Freezer: it freezes beautifully for up to 3 months. Wrap the whole slab tightly in plastic wrap, then in foil, or freeze the cut squares in a single layer in a freezer bag with wax paper between them. Thaw in the fridge overnight, then bring to room temperature before serving. Do not thaw it on the counter from frozen — the condensation makes the surface sticky.
Make-ahead: this is a make-ahead recipe by nature. Make it the day before you need it, or even two days before, and it will be better for the wait — the flavours settle, the squares firm up properly, and there is nothing left to do on the day except cut and serve.
Frequently Asked Questions
Do I need a candy thermometer to make fudge?
No — not for this recipe. The condensed-milk version skips the sugar-syrup stage entirely, so there is no soft-ball temperature to hit and no thermometer to watch. The classic cooked fudge in the variations section does need one, because it has to be boiled to exactly 234–238°F, but the easy version in this article needs nothing more than a saucepan and a spoon.
Can I use evaporated milk instead of sweetened condensed milk?
No. Evaporated milk has no sugar cooked into it, so it will not set — you would be left with a pan of chocolate soup. Sweetened condensed milk is milk already cooked down with sugar, and that sugar is what gives the fudge its sweetness, its creamy structure and its ability to set firm. The two cans look almost identical on the shelf, so check the label before you open it.
Why is my fudge grainy?
If you made this condensed-milk recipe, it is not grainy — this base cannot go grainy, because there is no sugar syrup in it to crystallise. Grainy fudge comes from the classic cooked method: the syrup was stirred while it was boiling, the pan sides were scraped in, or the fudge was beaten while it was still hot, and large sugar crystals formed. If your classic fudge came out grainy, that is what happened — and it is the reason this easy version exists.
Why won’t my fudge set?
Three causes, in order of likelihood. First, the wrong milk — fat-free condensed milk or evaporated milk will not set properly. Second, not chilled long enough — the slab needs at least 2 hours, and 4 hours is safer; give it overnight before you judge it. Third, the mixture was under-melted, with unmelted chips hiding in it. If it still will not set after a full night in the fridge, it was the milk — melt the batch down gently and pour it over ice cream instead of throwing it away.
Can I make fudge in the microwave?
Yes, and it works just as well. Put the chocolate chips, condensed milk and butter in a microwave-safe bowl, heat for 1 minute on high, stir, then heat in 30-second bursts, stirring between each, for 2 to 3 minutes total, until the mixture is completely smooth. Then stir in the vanilla and salt, pour into the lined pan, and chill exactly as in the stovetop method. The microwave is the safer choice if your only saucepan is a thin one with hot spots.
How long does homemade fudge keep?
Two weeks in the fridge in an airtight container, with wax paper between the layers, and 3 months in the freezer, wrapped tightly. Thaw frozen fudge in the fridge overnight, then bring it to room temperature for 15 to 20 minutes before serving. It also keeps for 3 to 4 days at cool room temperature in an airtight tin, but the fridge is safer in a warm kitchen.
Can I use milk chocolate chips instead of semi-sweet?
Yes, but the fudge will be sweeter and softer, so chill it longer — overnight is best — and cut it cold with a hot knife. Milk chocolate carries more sugar and less cocoa than semi-sweet, so the condensed milk has less of a bitter counterweight. If you do use it, add an extra pinch of salt to balance the sweetness, and expect the squares to be a little paler and a little softer. For a first batch, semi-sweet is the better choice.
Nutrition (Per Serving, Approximate)
Calories: 120 | Carbohydrates: 15g | Protein: 1g | Fat: 6g | Sugar: 14g
Nutrition values are estimated for 1 of 36 squares and may vary based on exact ingredients used.
More Recipes You Will Love
| Recipe | Category |
|---|---|
| Hot Chocolate Recipe | Chocolate Treats and Candy |
| Chocolate Mousse Recipe | Chocolate Treats and Candy |
| Chocolate Ganache Recipe | Chocolate Treats and Candy |
| Eggless Brownies | Chocolate Treats and Candy |
Chocolate Fudge Recipe
Ingredients
Method
- Line an 8×8-inch pan with parchment paper, leaving overhang on two sides for lifting, and lightly grease the parchment.
- Combine the chocolate chips, sweetened condensed milk and butter in a heavy medium saucepan.
- Melt over medium-low heat, stirring constantly, 5-8 minutes until completely melted and smooth — do not let the mixture boil. (Microwave: 1 minute on high, stir, then 30-second bursts stirring between each, 2-3 minutes total.)
- Take off the heat and stir in the vanilla extract and salt until fully combined.
- Pour into the prepared pan and smooth the top with a spatula.
- Cool 30 minutes at room temperature, then refrigerate until completely firm, at least 2 hours (4 hours is safer; overnight is best).
- Lift out by the parchment overhang and cut into squares with a sharp hot knife, wiping the blade clean between cuts.