Last updated on November 15, 2026
There is a particular kind of comfort in a bowl of homemade chocolate pudding — the kind that comes out of the fridge cold and silky, with a spoon that slides through it like cream. This chocolate pudding recipe is the one I have made more times than I can count, in my own kitchen and in professional ones, and it has never once let me down. It takes fifteen minutes on the stovetop, seven pantry ingredients, and no eggs at all. Cornstarch does the thickening, cocoa powder and real dark chocolate do the flavoring, and two hours in the fridge does the rest. What you get is a pudding that tastes like the chocolate you actually wanted as a kid, only better — darker, silkier, and made from scratch.
If you have only ever eaten pudding from a box or a plastic cup, this recipe will surprise you. Boxed pudding is fine, but it tastes like a shortcut — a little flat, a little starchy, a little too sweet. This version is rich without being heavy, sweet without being cloying, and it has a real chocolate depth that comes from using both cocoa powder and melted dark chocolate. It is the same approach behind our chocolate cake recipe and our chocolate ganache: good chocolate, the right ratios, and no fuss. Make it in the morning, chill it all day, and serve it after dinner with a cloud of whipped cream on top.
Table of Contents
- Why This Recipe Works
- Ingredients
- How to Make Chocolate Pudding
- Pro Tips for the Best Results
- Substitutions and Variations
- How to Store
- Frequently Asked Questions
- Nutrition
- More Recipes You Will Love
Why This Recipe Works
Pudding looks simple, and it is — but only if the ratios are right. Too little cornstarch and it never sets. Too much and it tastes starchy and turns rubbery. Here is why this version works, every single time:
- Cornstarch is the thickener, not eggs. There are no eggs to temper here, so there is no risk of scrambled-egg pudding and no fussy technique. Cornstarch thickens cleanly and gives the pudding that classic spoonable, silky texture — as long as you cook it for one full minute after it starts to boil, which is what cooks out the starchy taste.
- Two kinds of chocolate. Cocoa powder gives the pudding its deep chocolate base, and a little chopped dark chocolate melted in at the end adds richness, gloss, and a rounder flavor. Either one alone makes a decent pudding; together they make a great one.
- The dry ingredients get whisked first. Whisking the sugar, cocoa, cornstarch, and salt together before any milk goes in is the single most important step. Cornstarch mixed straight into cold milk clumps; cornstarch dispersed through sugar cannot. This is what keeps the pudding perfectly smooth.
- Butter and vanilla finish it. Two tablespoons of butter whisked in off the heat give the pudding its shine and its silky mouthfeel, and vanilla rounds out the chocolate. Both go in at the end, when the heat will not dull them.
- Chilling sets the texture. The pudding thickens on the stove, but it becomes pudding in the fridge. Two hours of chilling firms it up and lets the flavors meld. Press plastic wrap directly onto the surface before chilling, and you will never get that rubbery skin on top.
None of this needs special equipment. A medium saucepan, a whisk, and four small cups or ramekins are all it takes.
Ingredients
Eight ingredients, all pantry staples. Measure the cornstarch properly — level tablespoons, not heaped ones — because it is the ingredient that decides whether your pudding sets or stays soupy.
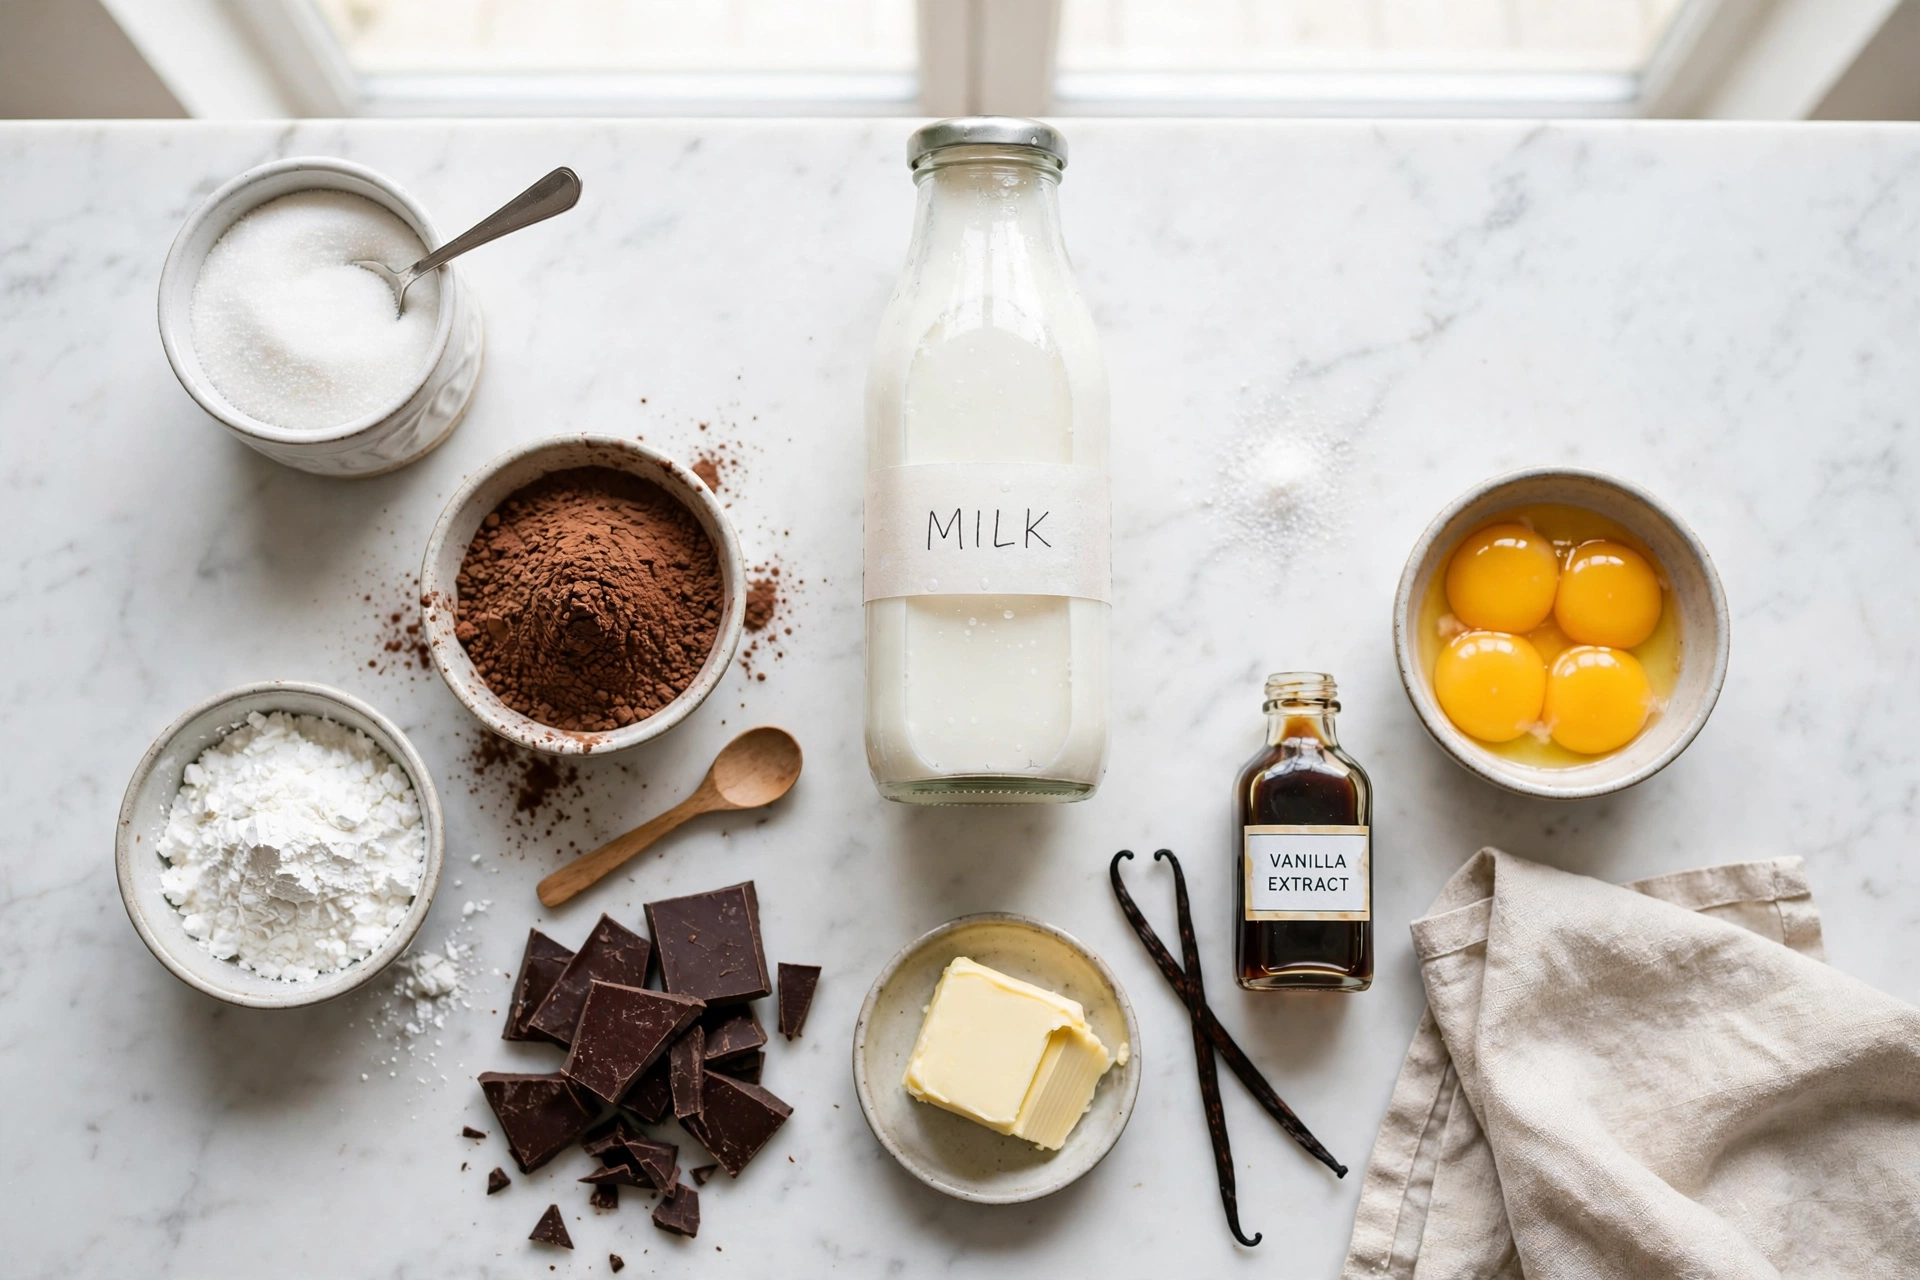
- 1/2 cup (100g) granulated sugar — sweetens the pudding and helps the cornstarch disperse without clumping. Do not reduce it by much; sugar is part of the structure and the texture.
- 1/4 cup (21g) unsweetened cocoa powder — Dutch-process cocoa gives the darkest color and the smoothest, least bitter flavor. Natural cocoa works too, but the pudding will be a touch lighter and slightly more acidic. Sift it if yours is lumpy.
- 3 tablespoons (24g) cornstarch — the thickener. This is the exact amount for 2 1/2 cups of milk: enough to set the pudding firmly, not so much that it tastes starchy. Measure level tablespoons.
- 1/4 teaspoon salt — salt does not make pudding salty; it makes the chocolate taste more like chocolate. Do not skip it.
- 2 1/2 cups (600ml) whole milk — whole milk gives the richest, creamiest result. Low-fat milk works but makes a thinner pudding; plant milk works too, though oat milk gives the best texture of the plant options.
- 2 ounces (57g) dark chocolate, chopped — or 1/3 cup of chocolate chips. This melts into the hot pudding at the end and adds the richness that cocoa powder alone cannot. Use chocolate you like eating; the flavor comes through.
- 2 tablespoons (28g) unsalted butter — stirred in off the heat for shine and silkiness. Salted butter works in a pinch; just reduce the added salt slightly.
- 1 1/2 teaspoons vanilla extract — rounds out the chocolate and adds warmth. Real vanilla is worth it here, since there is nothing to hide behind.
How to Make Chocolate Pudding
Fifteen minutes of active work, then the fridge takes over. Read through the steps once before you start, because the order matters: dry ingredients first, milk second, heat third, and the chocolate, butter, and vanilla go in last, off the heat.
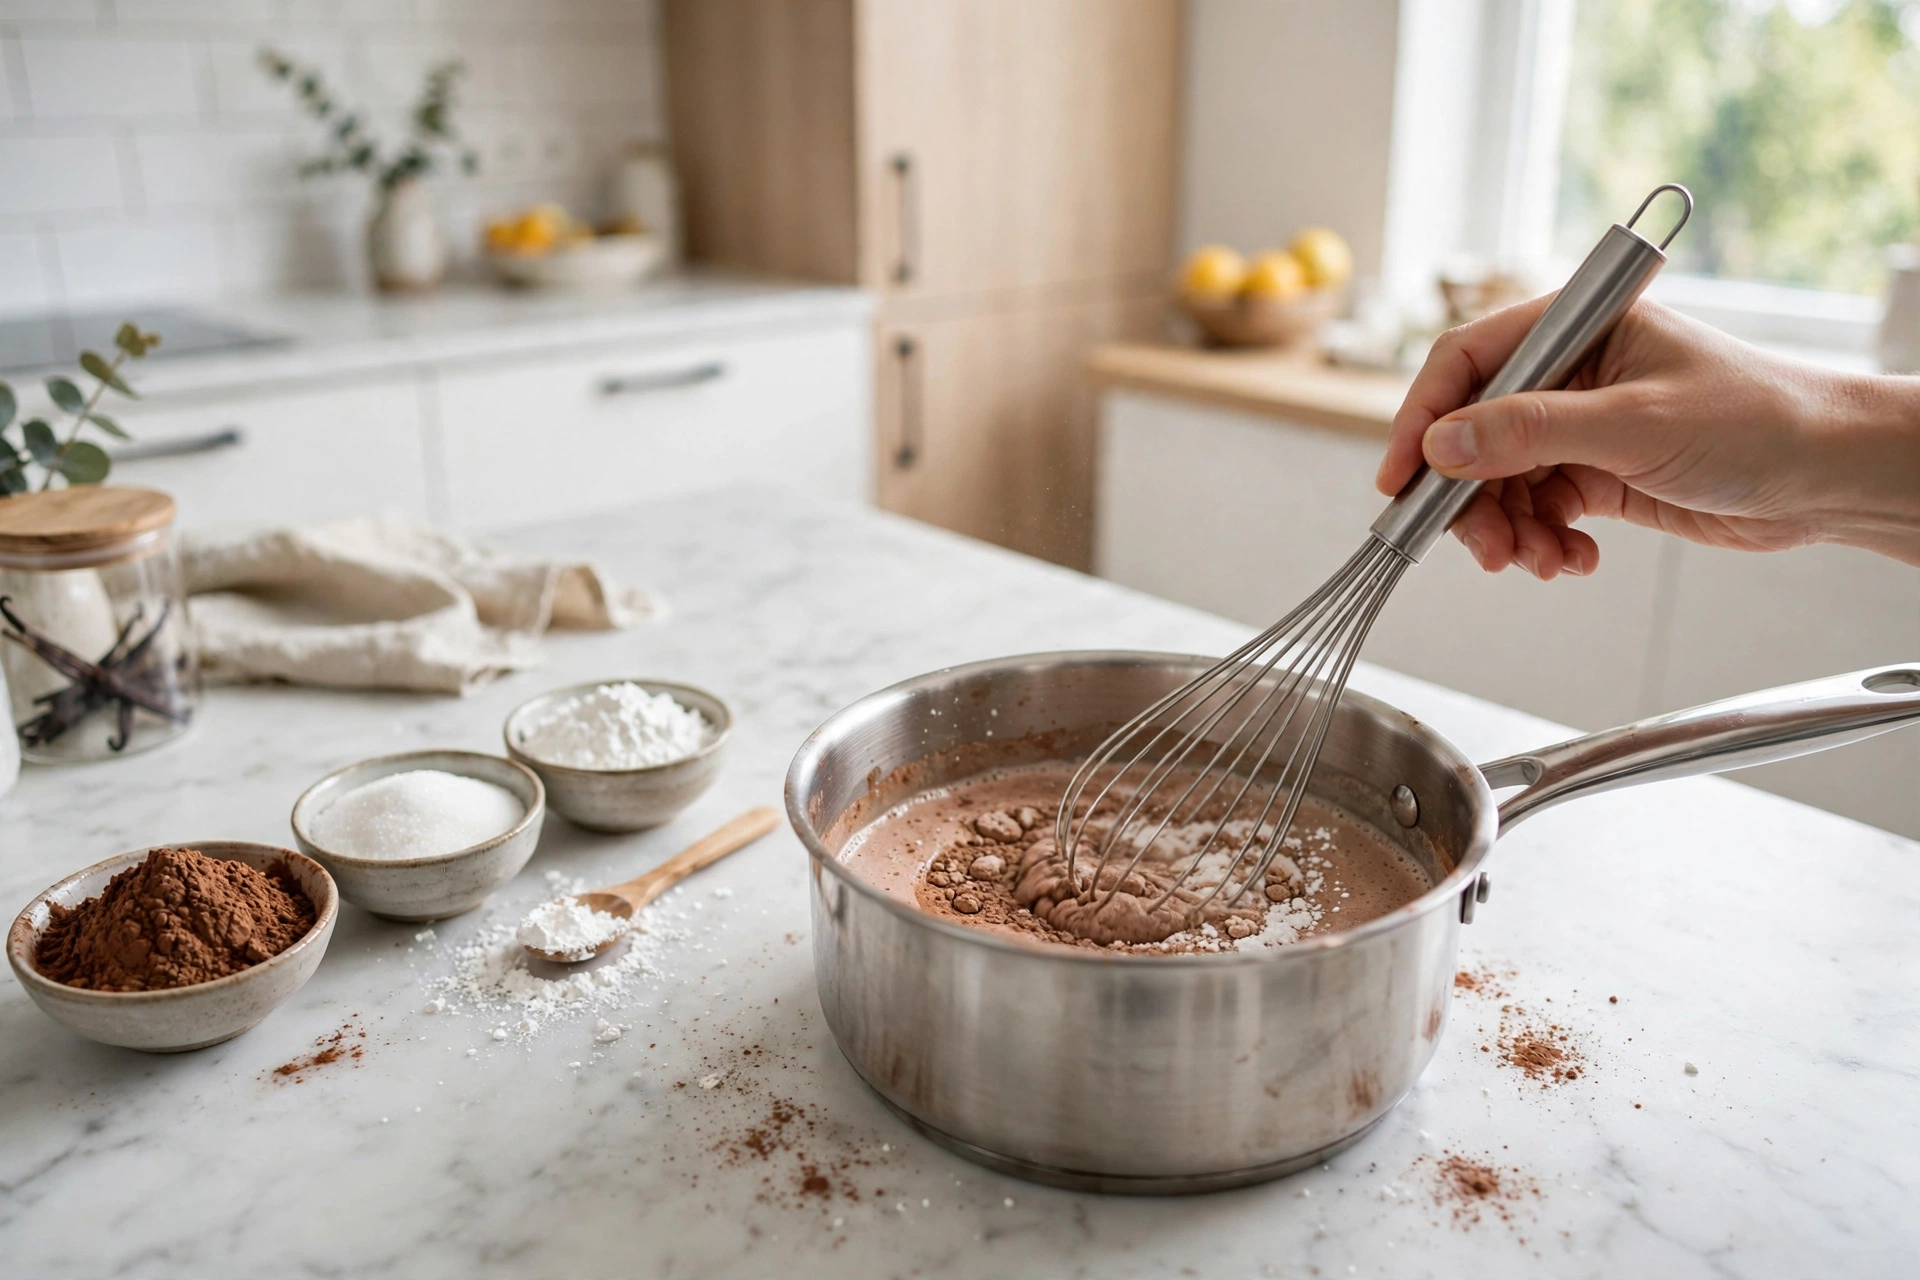
- Whisk the dry ingredients. In a medium, heavy-bottomed saucepan, whisk together the sugar, cocoa powder, cornstarch, and salt until completely combined and no cocoa lumps remain. This step is critical — mixing the cornstarch through the sugar is what stops it from clumping when the milk goes in.
- Add the milk. Pour in about 1/2 cup of the milk and whisk hard to form a smooth, thick paste with no dry pockets. Once it is completely smooth, slowly whisk in the remaining 2 cups of milk until the mixture is even and lump-free.
- Cook over medium heat. Place the saucepan over medium heat and whisk constantly, scraping the bottom and the corners of the pan as you go. The mixture will heat slowly for the first few minutes, then start to thicken. After 5 to 8 minutes it will come to a gentle boil — you will see slow, thick bubbles breaking the surface.
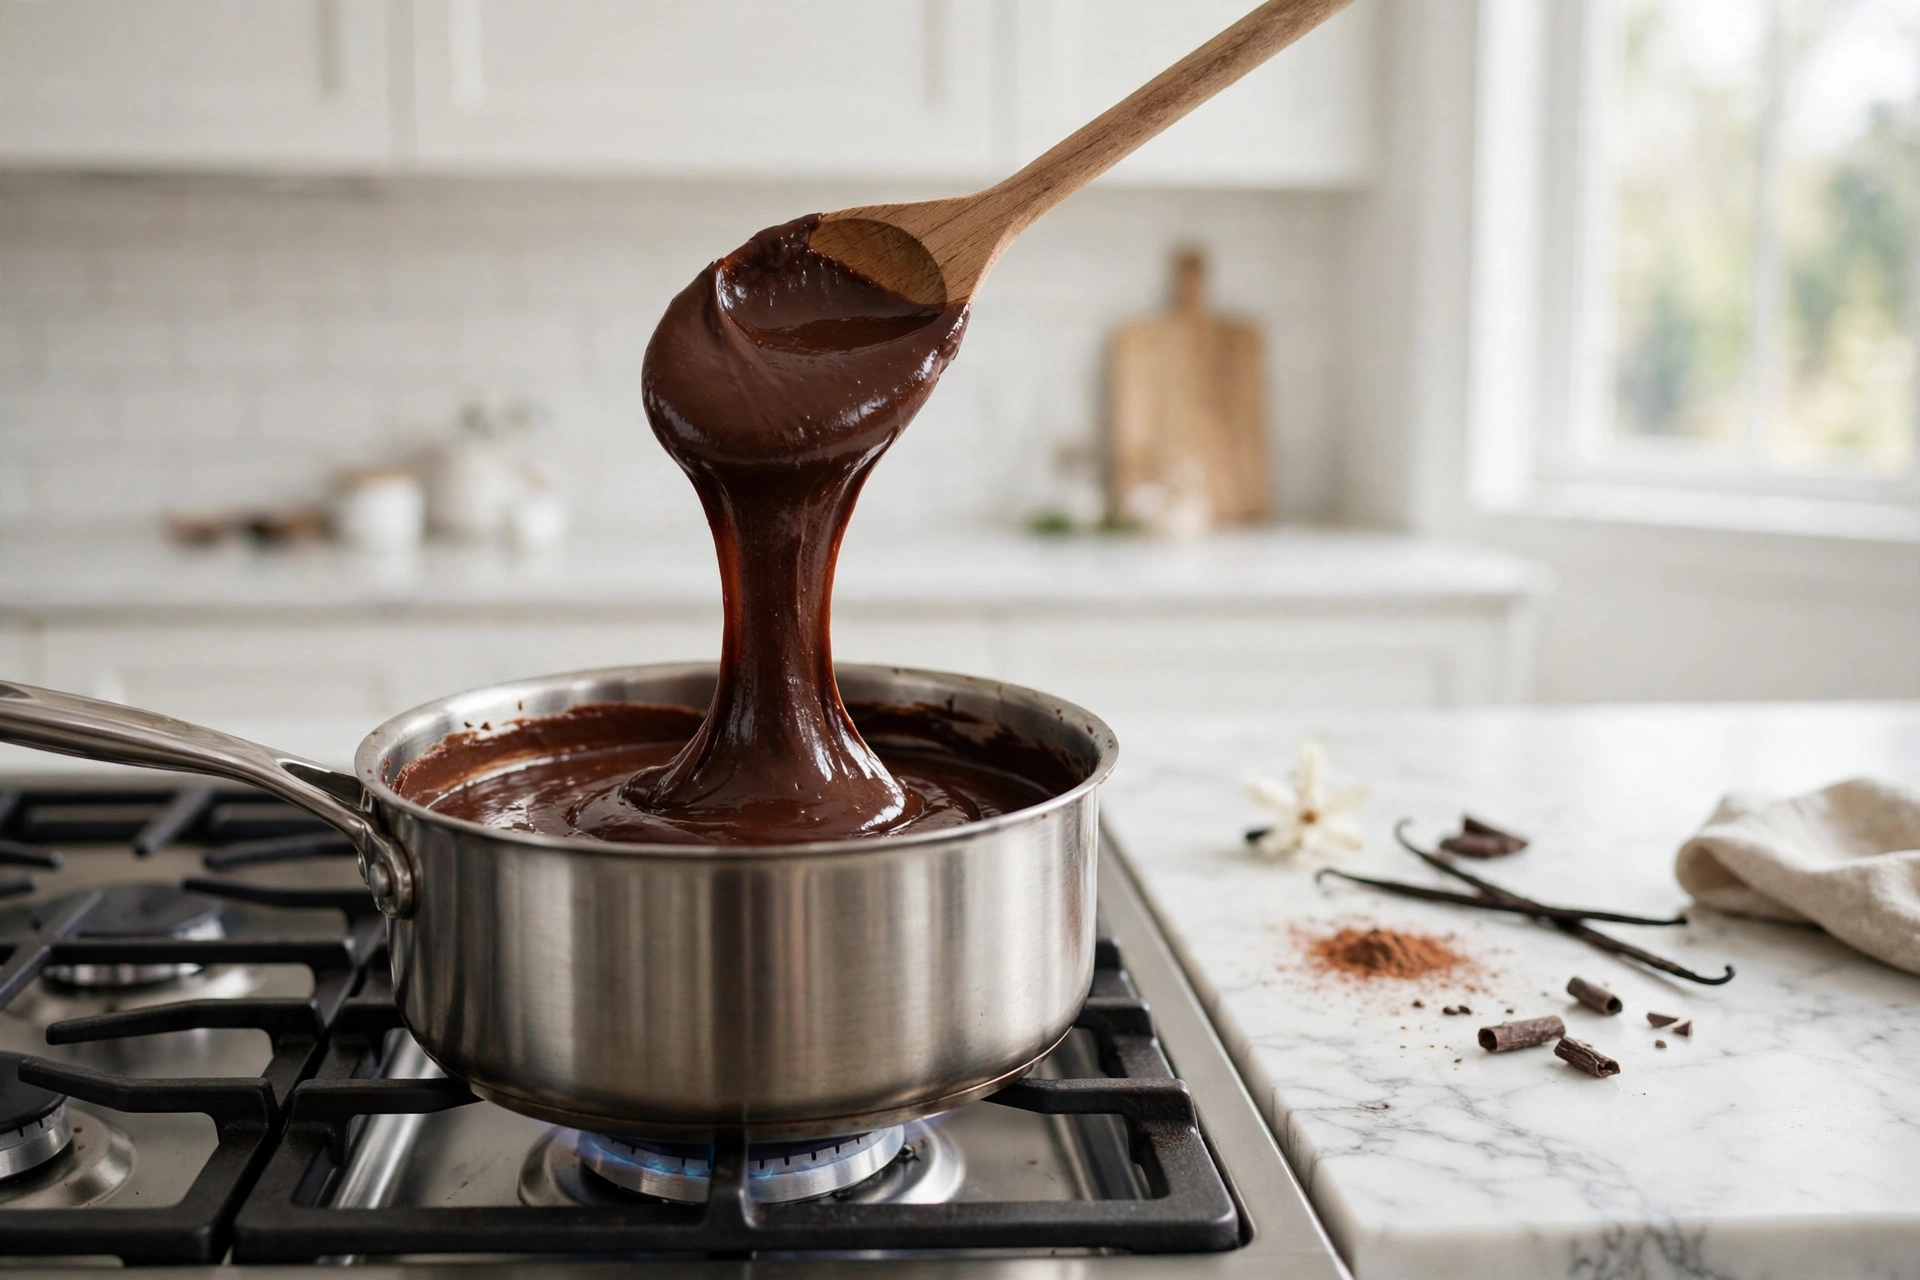
- Boil for one full minute. Once it reaches that gentle boil, keep whisking and cook for exactly 1 more minute. This minute is essential: it fully cooks the cornstarch and removes any starchy taste. The pudding should be thick enough that the whisk leaves visible trails that do not immediately disappear.
- Add the chocolate, butter, and vanilla. Immediately remove the pan from the heat. Add the chopped dark chocolate, the butter, and the vanilla extract. Whisk until the chocolate and butter are completely melted and the pudding is glossy and smooth.
- Strain if you like. For the silkiest possible texture, pour the pudding through a fine-mesh sieve into a clean bowl or a large measuring jug. This catches any tiny lump of cocoa or cornstarch. It is optional, but it is what makes the difference between good pudding and restaurant-smooth pudding.
- Portion and chill. Divide the warm pudding among four small cups, ramekins, or dessert glasses — about 1/2 cup each. Press plastic wrap directly onto the surface of each one so no skin forms, then refrigerate for at least 2 hours, or overnight, until fully set and cold.
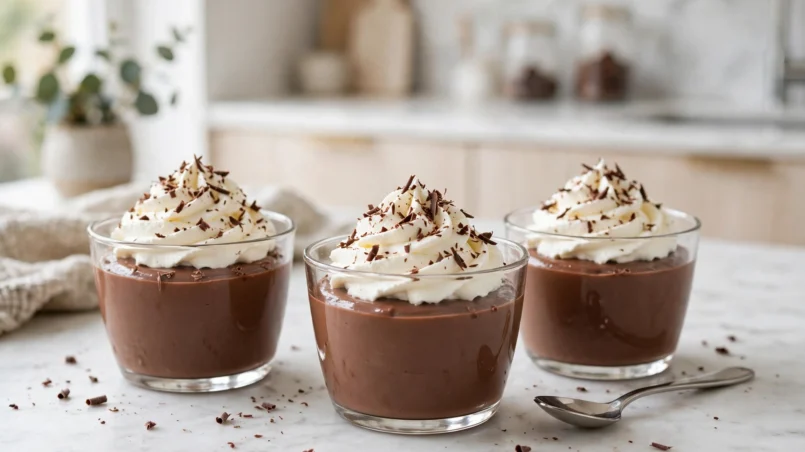
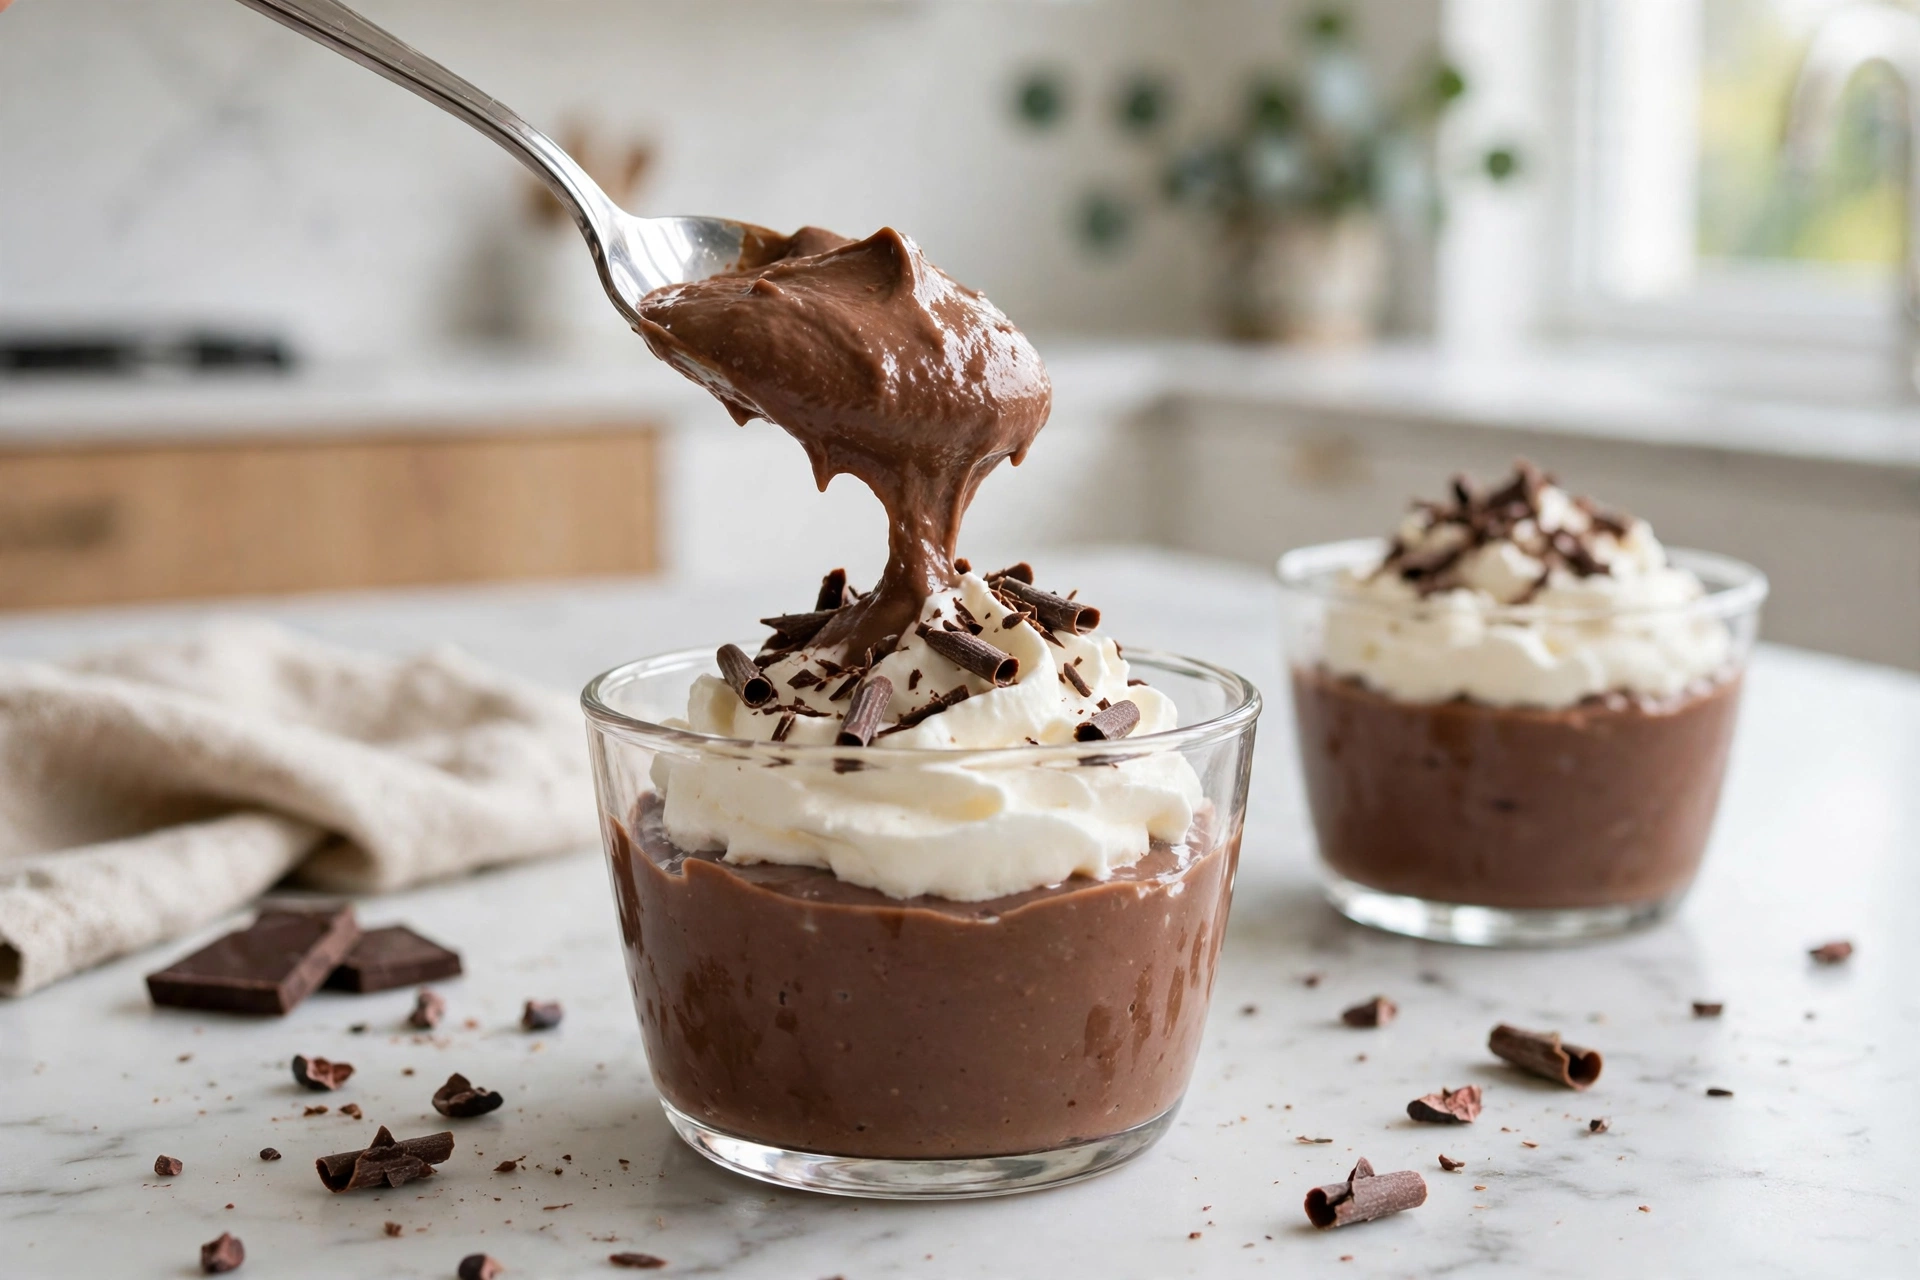
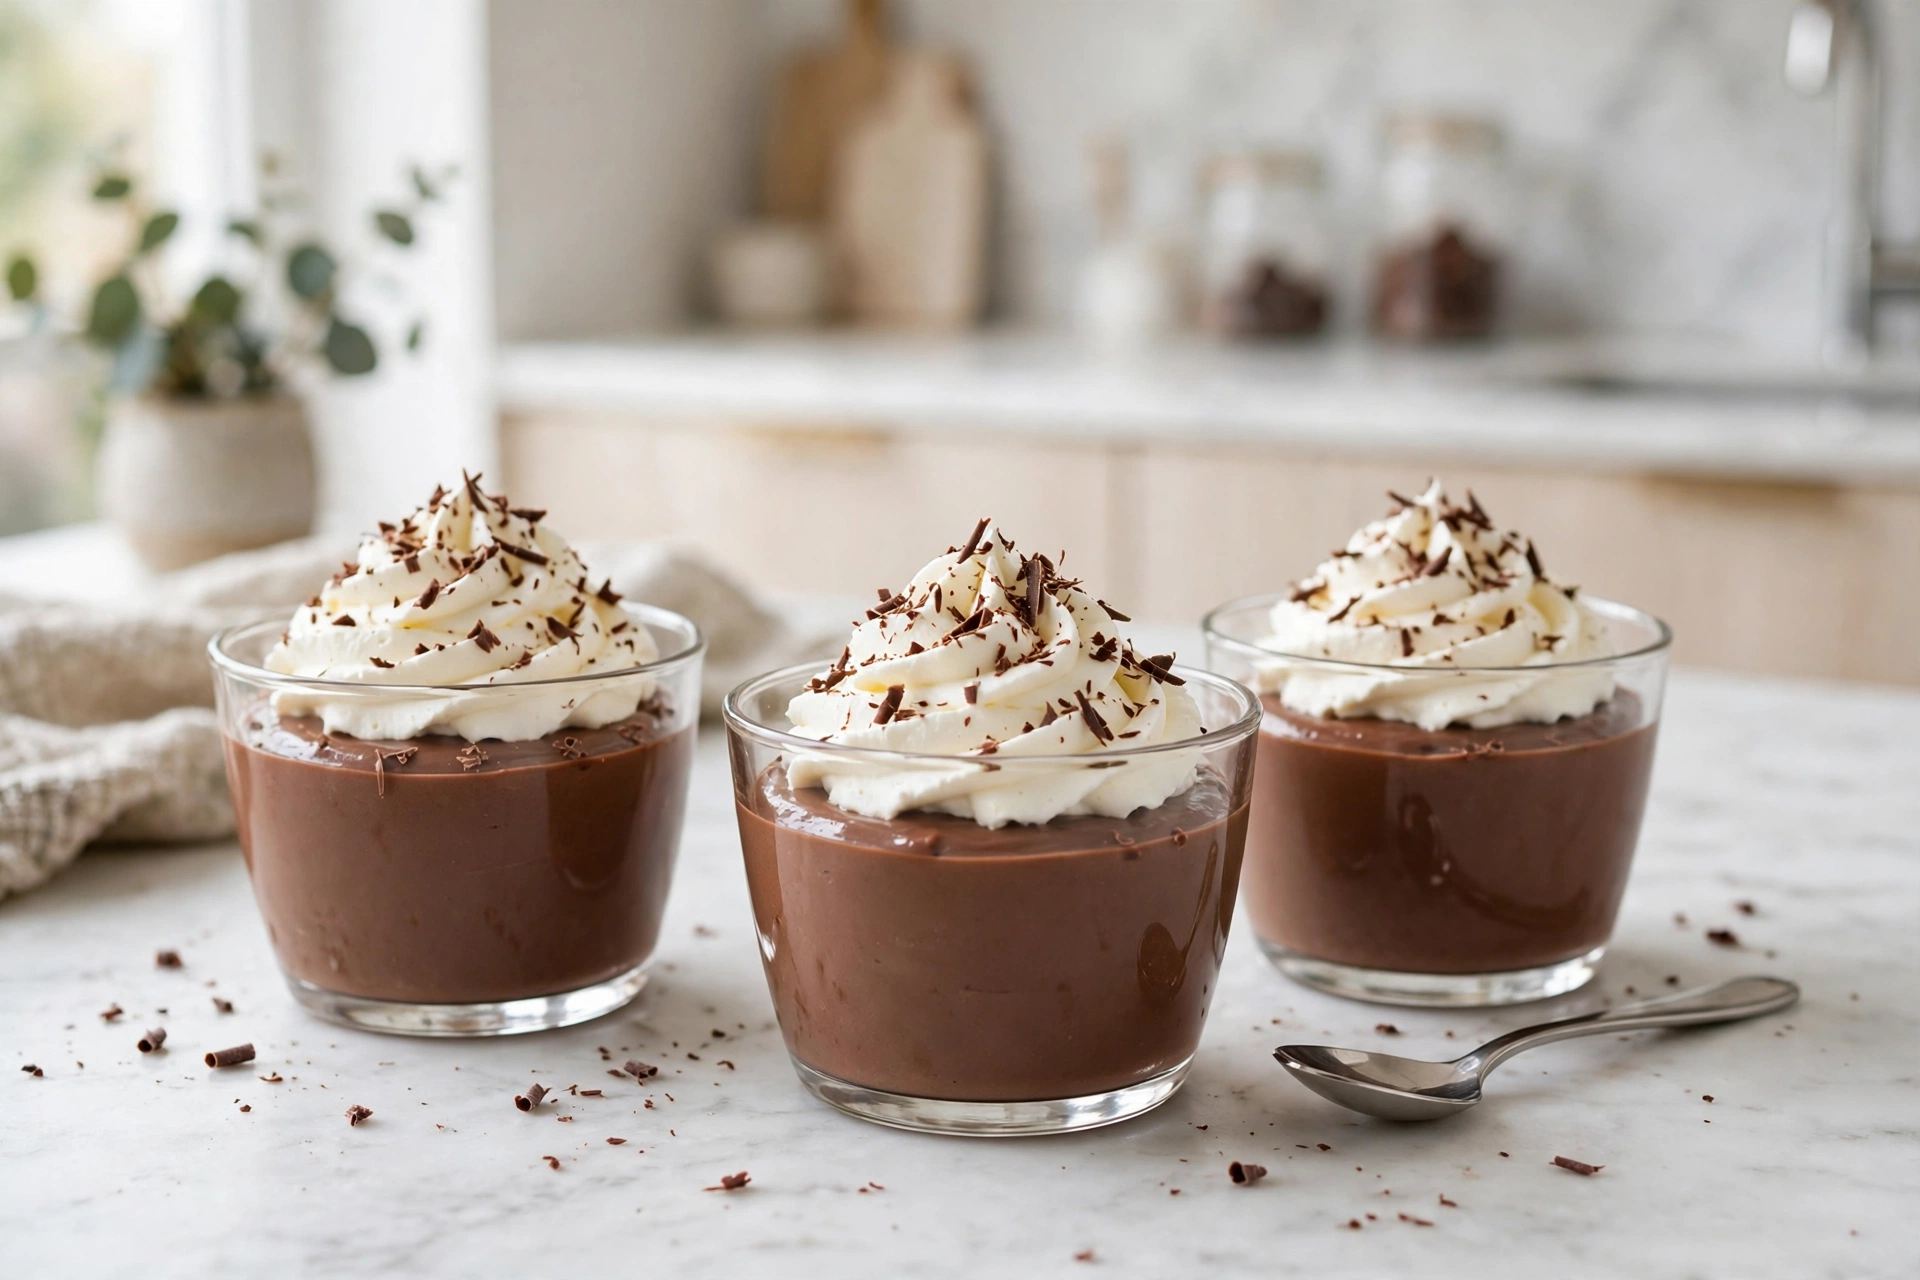
- Serve cold. Peel off the plastic wrap and serve straight from the fridge, topped with whipped cream, chocolate shavings, or a few fresh berries. The pudding should hold its shape on a spoon and slide off it like silk.
Pro Tips for the Best Results
- Whisk the dry ingredients first, every time. This is the step people skip, and it is the step that causes lumps. Sugar, cocoa, cornstarch, and salt whisked together first means the cornstarch is evenly coated and cannot clump when the milk hits it.
- Do not stop whisking. Cornstarch settles to the bottom of the pan the moment you stop stirring, and it scorches there fast. Keep the whisk moving the whole time the pan is on the heat, and scrape the corners — that is where the thickening starts and where burning starts too.
- Cook the full minute after it boils. The pudding looks thick the moment it bubbles, but the cornstarch is not fully cooked yet. One more minute of gentle boiling is what removes the starchy taste and gives the pudding its final, stable set. Do not skip it.
- Use a heavy-bottomed pan. A thin pan has hot spots that scorch the milk before the pudding thickens. A heavy saucepan spreads the heat evenly and gives you time to whisk without panic. If your only pan is thin, cook on medium-low and be patient.
- Strain for silk. Even careful whisking leaves the occasional tiny cocoa lump. A fine-mesh sieve takes ten seconds and turns good pudding into silky pudding. Pour through it into a jug, then pour the jug into the cups — no mess, no lumps.
- Press the wrap onto the surface. Plastic wrap laid directly on the warm pudding stops a skin from forming as it chills. Wrap laid over the rim of the cup does not work — the air trapped underneath is what makes the skin. Touch the wrap to the pudding itself.
- Chill it properly. Two hours is the minimum. The pudding needs that time to set fully and for the flavors to come together — warm pudding tastes sweeter and less chocolatey than the same pudding cold. Overnight is even better, and it makes this a perfect make-ahead dessert.
Substitutions and Variations
This recipe is forgiving in some places and strict in others. Here is what I know works:
- Milk: Whole milk is best, but 2% works with a slightly thinner result. Oat milk is the best plant swap; almond and soy milk work too, though the pudding sets a little softer. Avoid coconut milk from a carton unless you want a noticeable coconut flavor.
- Dairy-free: Use oat milk, dairy-free chocolate, and a dairy-free butter or coconut oil in place of the butter. The texture is very close to the original, and the chocolate flavor carries it.
- Cocoa powder: Dutch-process gives the darkest, smoothest result. Natural cocoa works but makes the pudding a little lighter in color and slightly more acidic. If you only have natural cocoa, the recipe still works exactly as written.
- Mocha pudding: Replace 1/2 cup of the milk with strong brewed coffee, or add 1 teaspoon of instant espresso powder with the dry ingredients. You will not taste coffee; it just makes the chocolate taste darker and deeper.
- Mint chocolate pudding: Add 1/4 teaspoon of peppermint extract with the vanilla, and top with crushed candy canes or chocolate mint pieces. A holiday version that disappears fast.
- Chocolate peanut butter pudding: Whisk 3 tablespoons of smooth peanut butter into the hot pudding along with the chocolate and butter. It melts in completely and turns the whole thing into a peanut butter cup in pudding form.
- Layered dessert: Spoon the chilled pudding into glasses in layers with whipped cream and crushed cookies or our chocolate cupcake crumbs for an easy trifle-style dessert that looks like it took hours.
- Scaling: The recipe doubles cleanly — just use a bigger saucepan and give it a few extra minutes on the heat. Halving it works too, in a small saucepan, for two servings.
How to Store
Refrigerator: Covered with plastic wrap pressed directly on the surface, chocolate pudding keeps for 3 to 5 days in the fridge. It actually tastes better on day two, once the flavors have fully melded. Serve it cold, straight from the fridge.
Freezer: You can freeze pudding, but I would not recommend it — the texture turns grainy and watery when it thaws. This recipe takes 15 minutes to make fresh, and a fresh batch is always better than a thawed one. If you do freeze it, use it for milkshakes rather than eating it as pudding.
Make-ahead: This is an ideal make-ahead dessert. Make it the night before, chill overnight, and serve the next day. The plastic wrap on the surface keeps it perfect, and the flavors deepen overnight.
Frequently Asked Questions
Why is my chocolate pudding lumpy?
Almost always the dry ingredients were not whisked together before the milk went in. Cornstarch clumps the moment it meets liquid unless it is first dispersed through the sugar. Whisk the sugar, cocoa, cornstarch, and salt together until no cocoa lumps remain, then add the milk a little at a time. If your pudding is already lumpy, strain it through a fine-mesh sieve — that fixes it completely.
Why did my chocolate pudding not set?
Either the cornstarch was under-measured, or the pudding never reached a full boil. The pudding must come to a gentle boil and then cook for one full minute — that minute is what activates the cornstarch. If it never boiled, the starch never set. Also check that the cornstarch was measured in level tablespoons; a short tablespoon is the most common reason for a runny pudding. And give it the full two hours in the fridge — warm pudding always looks thinner than it is.
How do I keep a skin from forming on chocolate pudding?
Press plastic wrap directly onto the surface of the warm pudding before chilling. The skin forms when air touches the surface as it cools, so wrap laid over the rim of the cup does not help — the wrap must touch the pudding itself. Peel it off just before serving.
Can I make chocolate pudding without eggs?
Yes — this recipe has no eggs at all. Cornstarch does the thickening instead of egg yolks, which makes it simpler, safer, and easier to get right. There is nothing to temper and no risk of scrambled eggs in your pudding. The texture is just as silky as an egg-thickened custard, and the flavor is more purely chocolate.
Can I make chocolate pudding with cocoa powder only, no chocolate?
Yes, it works, but the pudding will be lighter in flavor and less rich. The chopped dark chocolate added at the end is what gives this version its depth and gloss. If you leave it out, add an extra tablespoon of cocoa powder and an extra tablespoon of butter to compensate, and expect a slightly less intense result.
How long does homemade chocolate pudding last?
Covered with plastic wrap pressed on the surface, it keeps 3 to 5 days in the refrigerator. It tastes best in the first two days. I do not recommend freezing it — the texture turns grainy when thawed. If you have leftovers past day five, turn them into a chocolate milkshake instead of eating them as pudding.
Can I use this chocolate pudding as a pie filling or cake filling?
Yes, and it is wonderful for it. Chilled pudding works beautifully as a filling for a chocolate cream pie or between cake layers — just make sure it is fully chilled and set first, and use it the same day you assemble the dessert. It is a little softer than a purpose-made pastry cream, so for a pie that needs to slice cleanly, add an extra tablespoon of cornstarch.
Nutrition (Per Serving, Approximate)
Calories: 300 | Carbohydrates: 42g | Protein: 5g | Fat: 13g | Sugar: 32g
Nutrition values are estimated for 1 of 4 servings and may vary based on exact ingredients used.
More Recipes You Will Love
| Recipe | Category |
|---|---|
| Chocolate Cake Recipe | Chocolate Cakes |
| Chocolate Ganache Recipe | Chocolate Treats and Candy |
| Chocolate Cupcake Recipe | Chocolate Cakes |
| Eggless Brownies | Eggless Desserts |
Chocolate Pudding Recipe
Ingredients
Method
- Whisk sugar, cocoa powder, cornstarch and salt in a medium heavy-bottomed saucepan until combined.
- Pour in 1/2 cup milk and whisk to a smooth paste, then slowly whisk in the remaining 2 cups milk until lump-free.
- Cook over medium heat, whisking constantly and scraping the bottom and corners, 5-8 minutes until thickened and gently boiling.
- Cook 1 more minute at a gentle boil, whisking constantly.
- Remove from heat; add chopped dark chocolate, butter and vanilla; whisk until melted, glossy and smooth.
- Strain through a fine-mesh sieve if desired.
- Divide among 4 cups or ramekins, press plastic wrap directly on the surface, and chill at least 2 hours until set.
- Serve cold with whipped cream or chocolate shavings.