Last updated on November 13, 2026
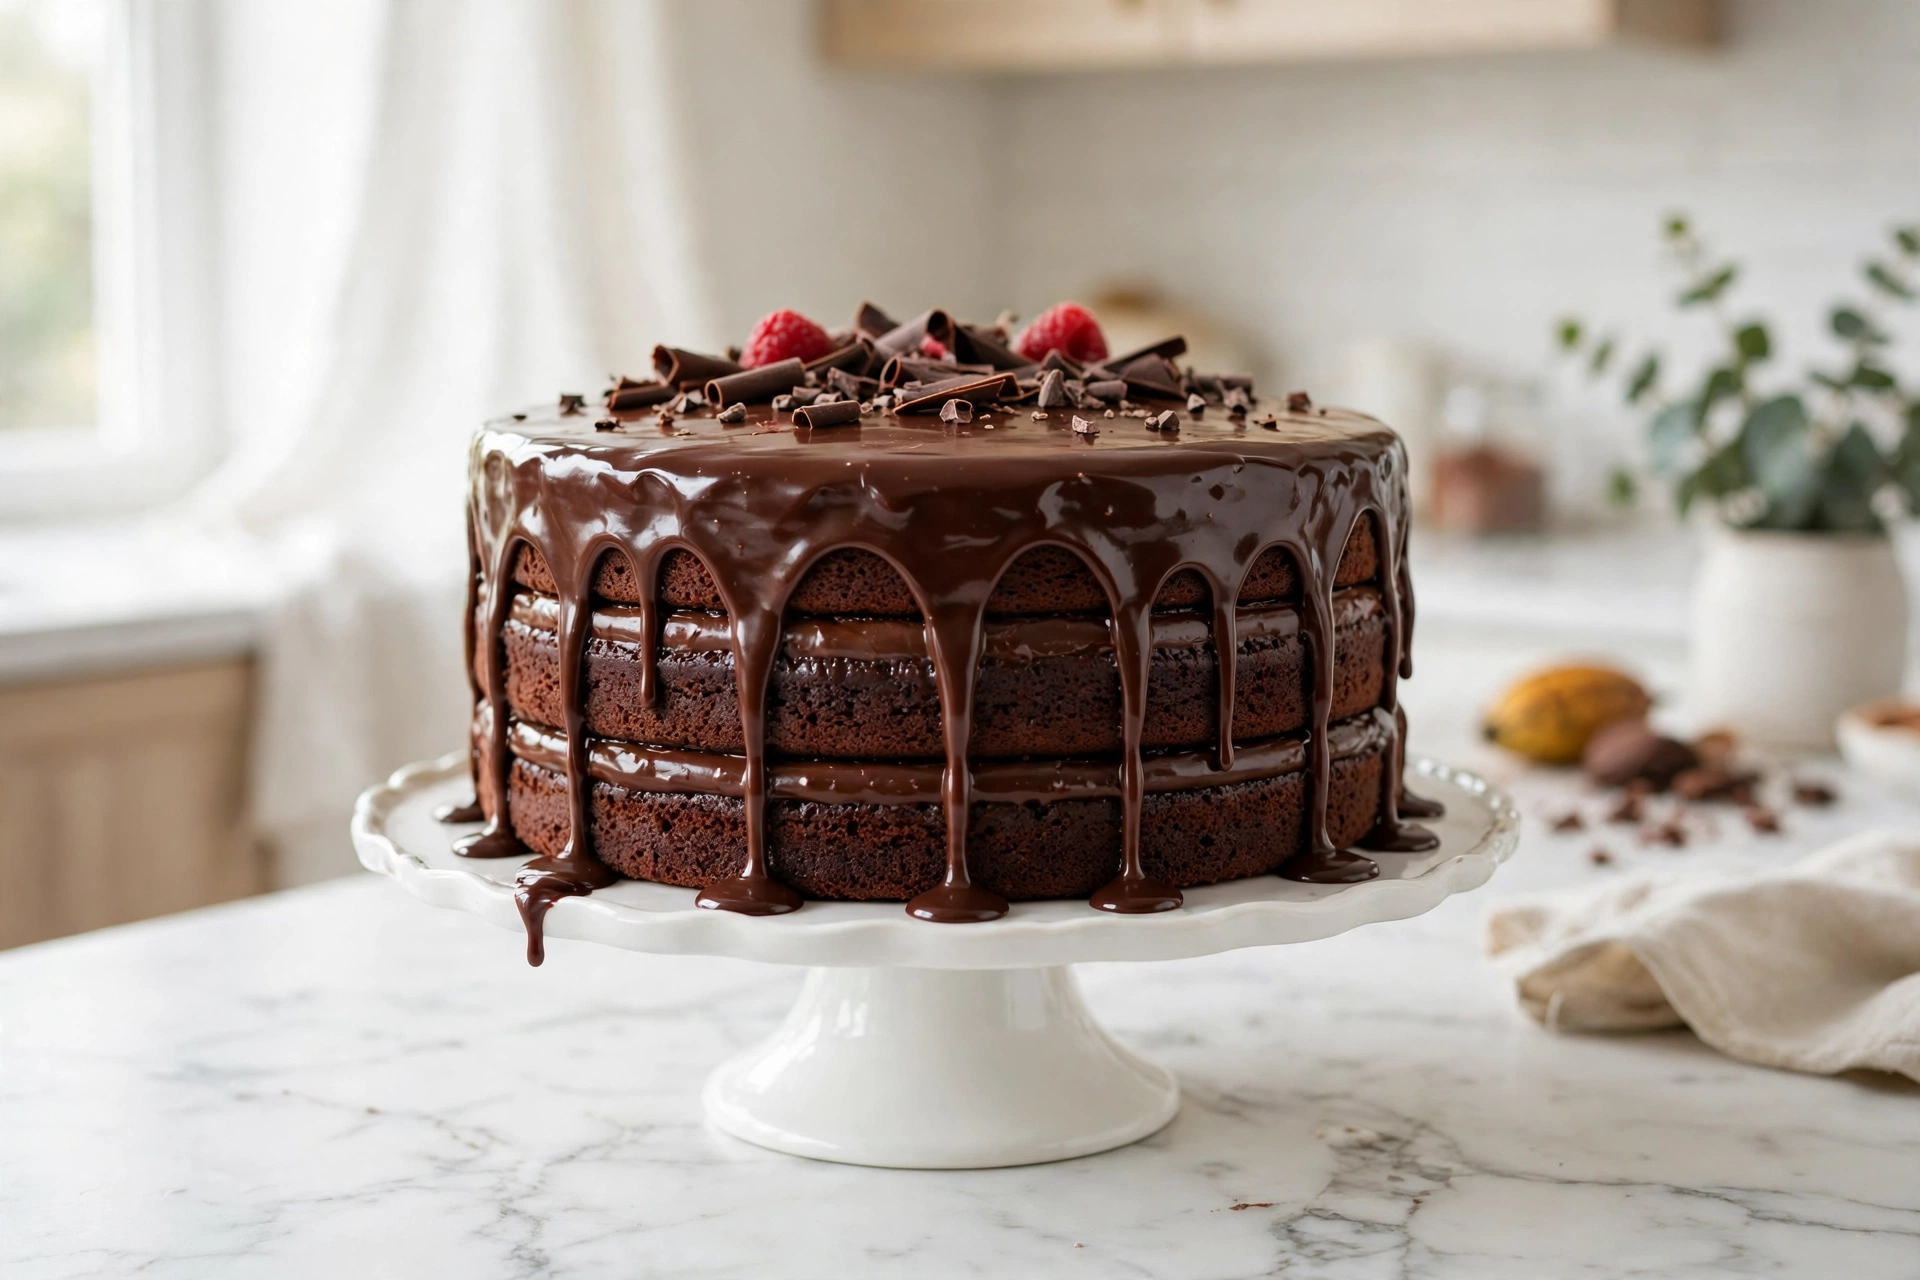
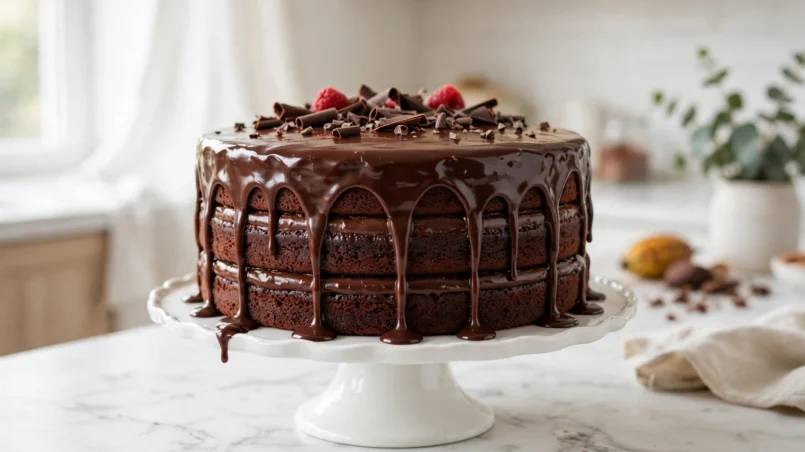
I have baked chocolate cake professionally for years, and the cake I get asked for most often is the one without eggs. Birthdays, school parties, friends with egg allergies — there is always someone at the table who needs a cake that skips the eggs but keeps everything else. After testing this eggless chocolate cake recipe more than a dozen times in my own kitchen, I can tell you it is not a compromise cake. It comes out tall, dark, deeply chocolatey and genuinely moist, with a soft crumb that stays tender for days, and nobody who has eaten it has ever guessed there is no egg in the batter.
The secret is the same one behind our eggless brownies: plain yogurt. It brings the moisture and protein that eggs normally provide, and its gentle acidity wakes up the baking soda so the cake rises beautifully. Add hot water at the end, which blooms the cocoa and makes the batter silky, and you get a layer cake that tastes like it came from a bakery. If you loved our eggless chocolate chip cookies, this is the celebration cake to keep in your back pocket for whenever eggs are not an option.
Table of Contents
- Why This Recipe Works
- Ingredients
- How to Make Eggless Chocolate Cake
- Pro Tips for the Best Results
- Substitutions
- How to Store and Freeze
- Frequently Asked Questions
- Nutrition
- More Recipes You Will Love
Why This Recipe Works
The first question everyone asks me is some version of “how can a cake rise without eggs?” Here is the honest, chef-level answer, explained simply:
- Yogurt replaces what eggs do. Eggs give a cake moisture, protein, and structure. Plain yogurt brings all three in a different form: it binds the batter, keeps the crumb moist for days, and its gentle acidity reacts with the baking soda to lift the cake. Use full-fat yogurt at room temperature for the richest result.
- Two leaveners, not one. Baking powder and baking soda work as a team here. The baking soda reacts with the yogurt’s acidity for an immediate lift, while the baking powder gives a second, steadier rise in the oven. That double lift is what makes an eggless cake tall instead of flat.
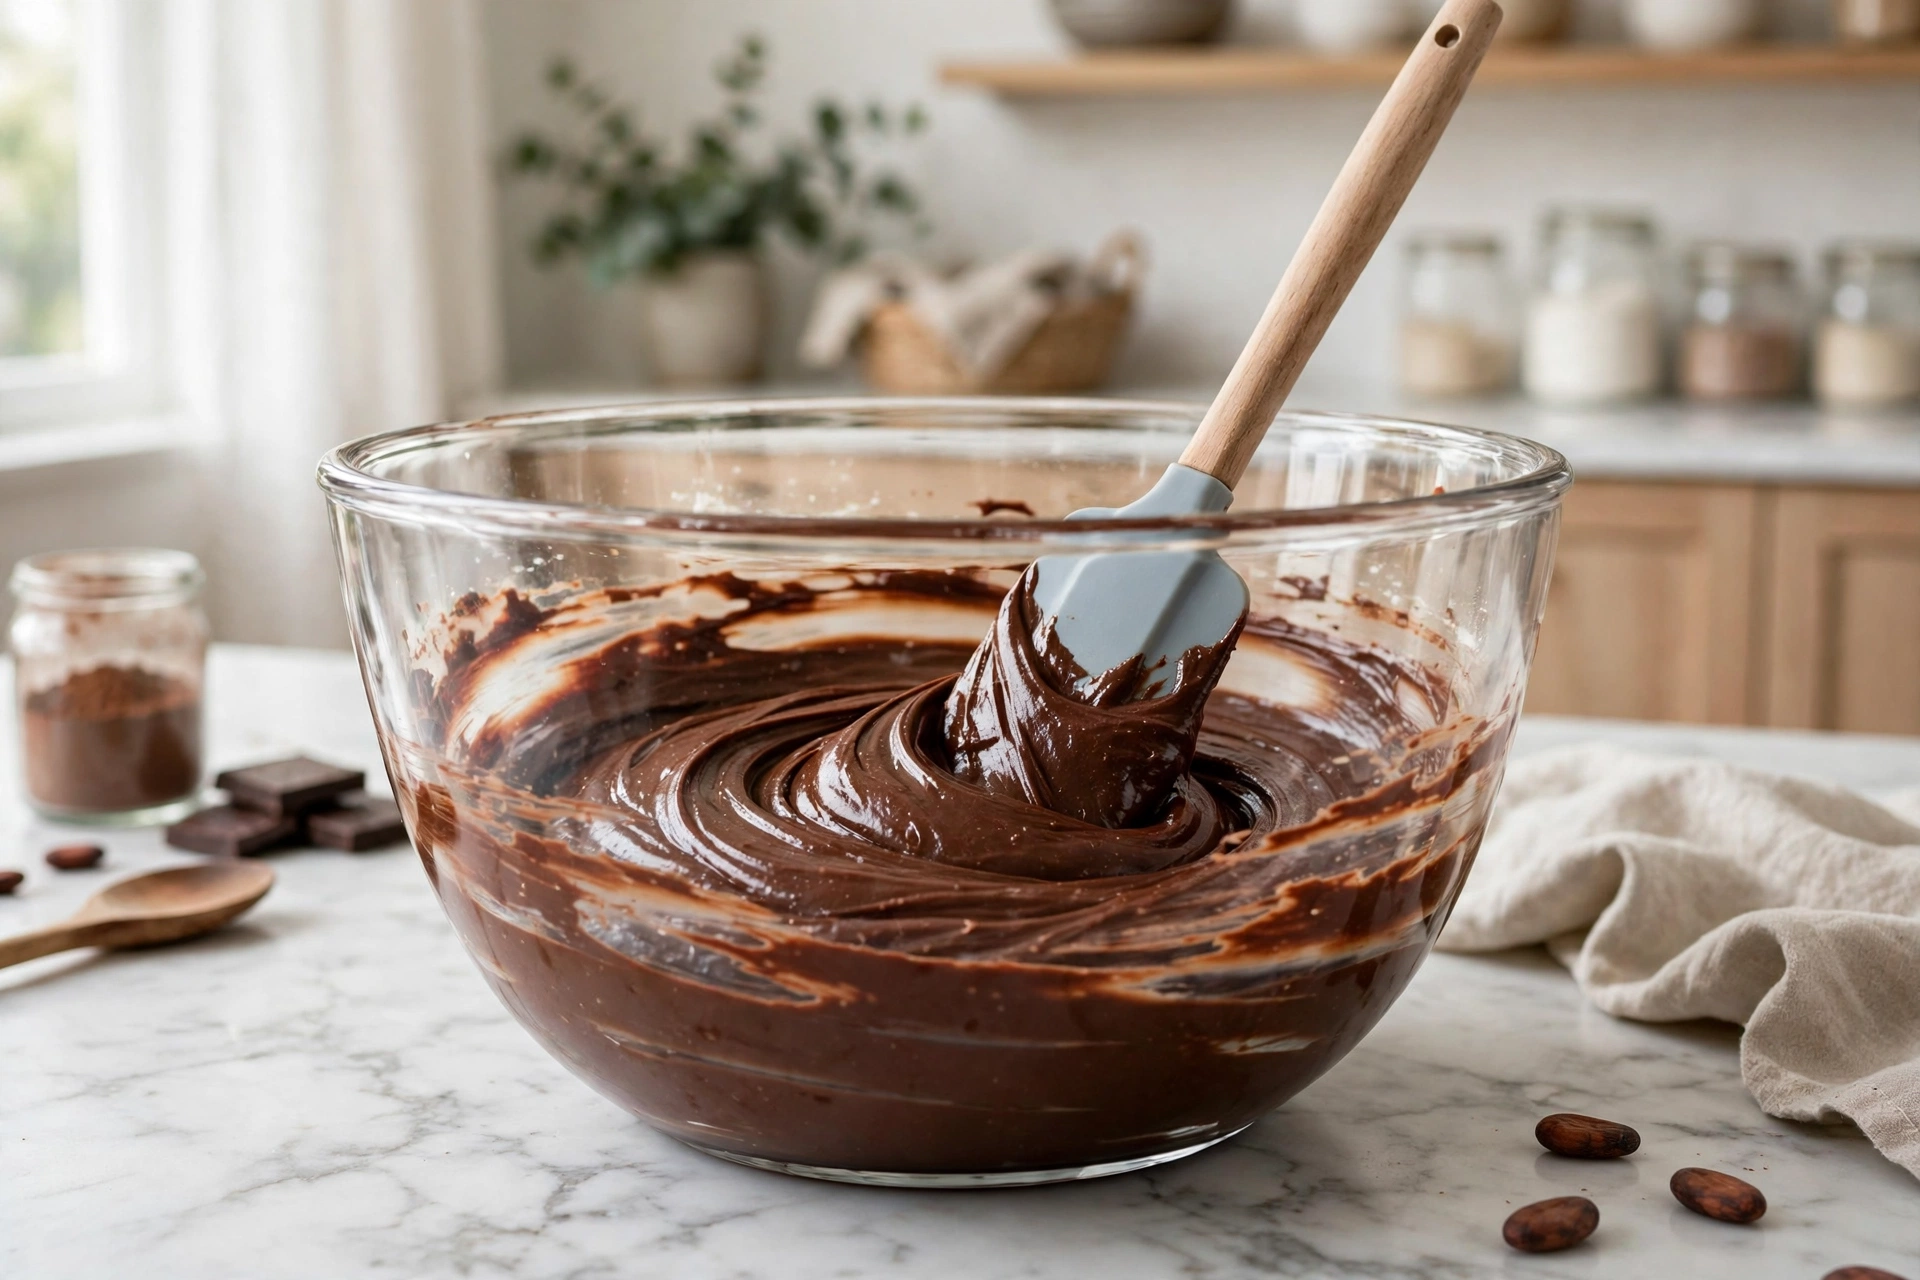
- Hot water blooms the cocoa. Stirring hot water into the batter at the end does two things: it dissolves the cocoa powder fully so the chocolate flavor goes deep and dark, and it thins the batter so the cake bakes up with a fine, even crumb. The batter will look thin, almost like chocolate milk. That is exactly right.
- Oil keeps it moist longer than butter. Butter firms up as it cools, which is why butter cakes can taste dry the next day. Oil stays liquid at room temperature, so this cake is just as soft on day three as it is on day one.
- Two 8-inch layers bake evenly. Splitting the batter between two pans means each layer bakes through in about 30 minutes with no dry edges and no sunken middle, and you get a proper celebration layer cake with almost no extra work.
None of this is a trick or a shortcut. It is simply understanding what eggs are actually doing in a cake, then rebuilding that function with a different ingredient.
Ingredients
Everything here is a pantry staple, and every ingredient earns its place. Bring the yogurt and milk to room temperature before you start so the batter comes together smoothly, and measure the flour by spooning it into the cup and leveling it off.
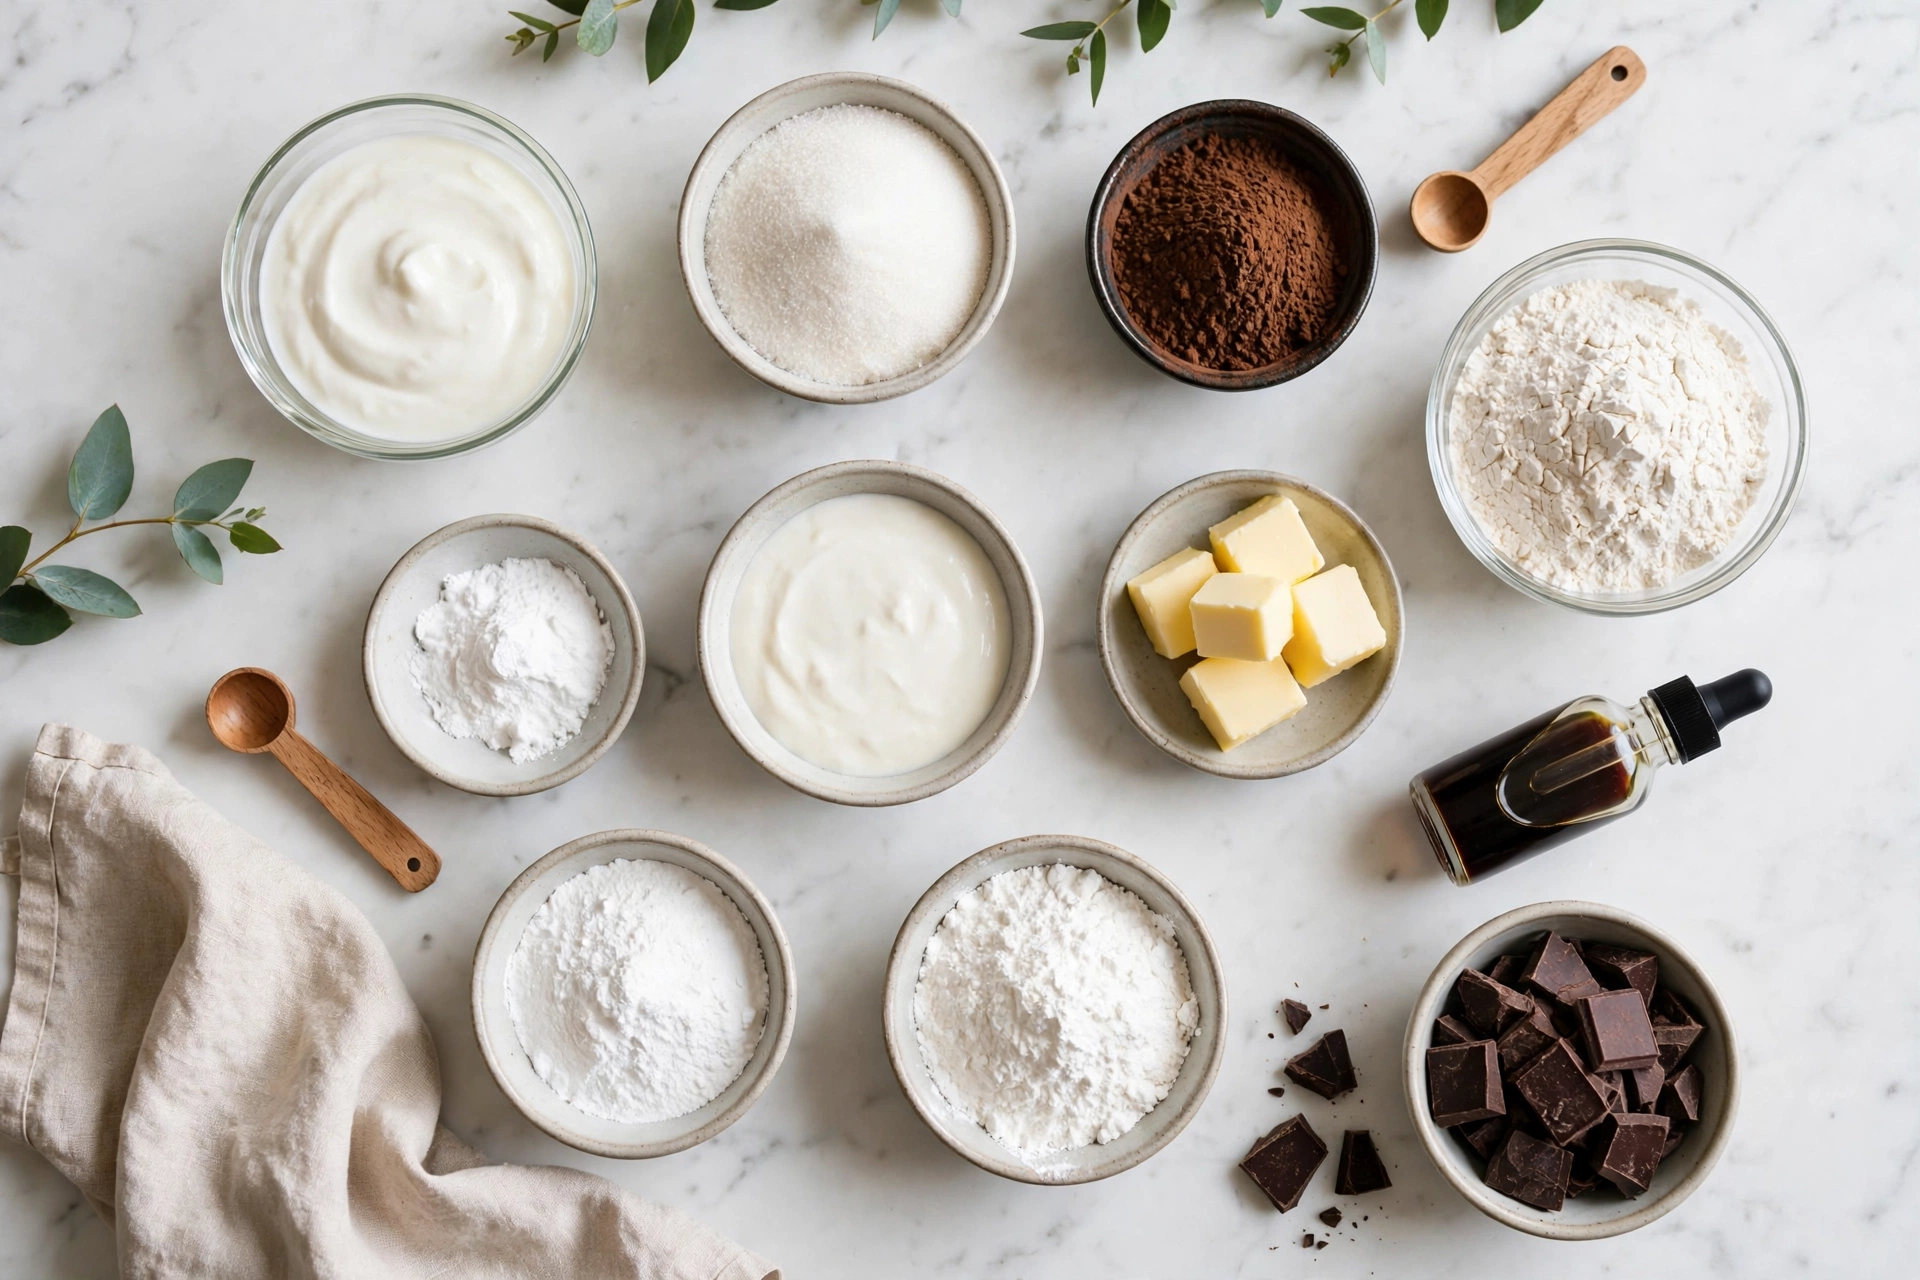
- 2 cups (250g) all-purpose flour, spooned and leveled — spoon the flour into the measuring cup and level it off with a knife rather than scooping from the bag, which packs in extra flour and makes a dry cake.
- 3/4 cup (75g) unsweetened cocoa powder, Dutch-process preferred — Dutch-process cocoa is darker, smoother, and less acidic than natural cocoa, which is exactly what you want in a rich chocolate cake. Sift it so there are no lumps.
- 1 1/2 teaspoons baking powder — the steady second lift that keeps the layers tall.
- 1 1/2 teaspoons baking soda — reacts with the yogurt’s acidity for the first rise. Do not swap the two leaveners; they do different jobs here.
- 1/2 teaspoon salt — salt does not make cake salty; it makes the chocolate taste more like chocolate. Do not skip it.
- 1 1/2 cups (300g) granulated sugar — sweetens the cake and keeps the crumb tender. Regular granulated sugar works best here.
- 1 cup (240g) plain yogurt, full-fat, at room temperature — the egg replacer. Use plain, unflavored yogurt; Greek yogurt also works. This is the one ingredient I do not substitute, because the whole recipe was built and tested around it.
- 1/2 cup (120ml) vegetable oil — neutral oil such as canola or sunflower. It is what keeps the cake moist for days.
- 1 cup (240ml) milk, at room temperature — whole milk gives the richest crumb.
- 2 teaspoons vanilla extract — rounds out the chocolate flavor. Use real vanilla, not imitation, if you have it.
- 1 cup (240ml) hot water — or hot coffee for an even deeper chocolate flavor. You will not taste coffee; it just makes the chocolate taste darker.
- For the chocolate ganache frosting: 8 ounces (225g) dark chocolate, chopped; 3/4 cup (180ml) heavy cream; 1 tablespoon unsalted butter; a pinch of salt — the same simple ganache from our chocolate ganache recipe, poured over the cooled layers.
How to Make Eggless Chocolate Cake
This is a one-bowl kind of recipe once the pans are ready, and the whole thing takes about 20 minutes of hands-on work. Read through the steps once before you start, because the order matters: the dry ingredients get sifted first, the wet ingredients get whisked smooth, and the hot water goes in last.
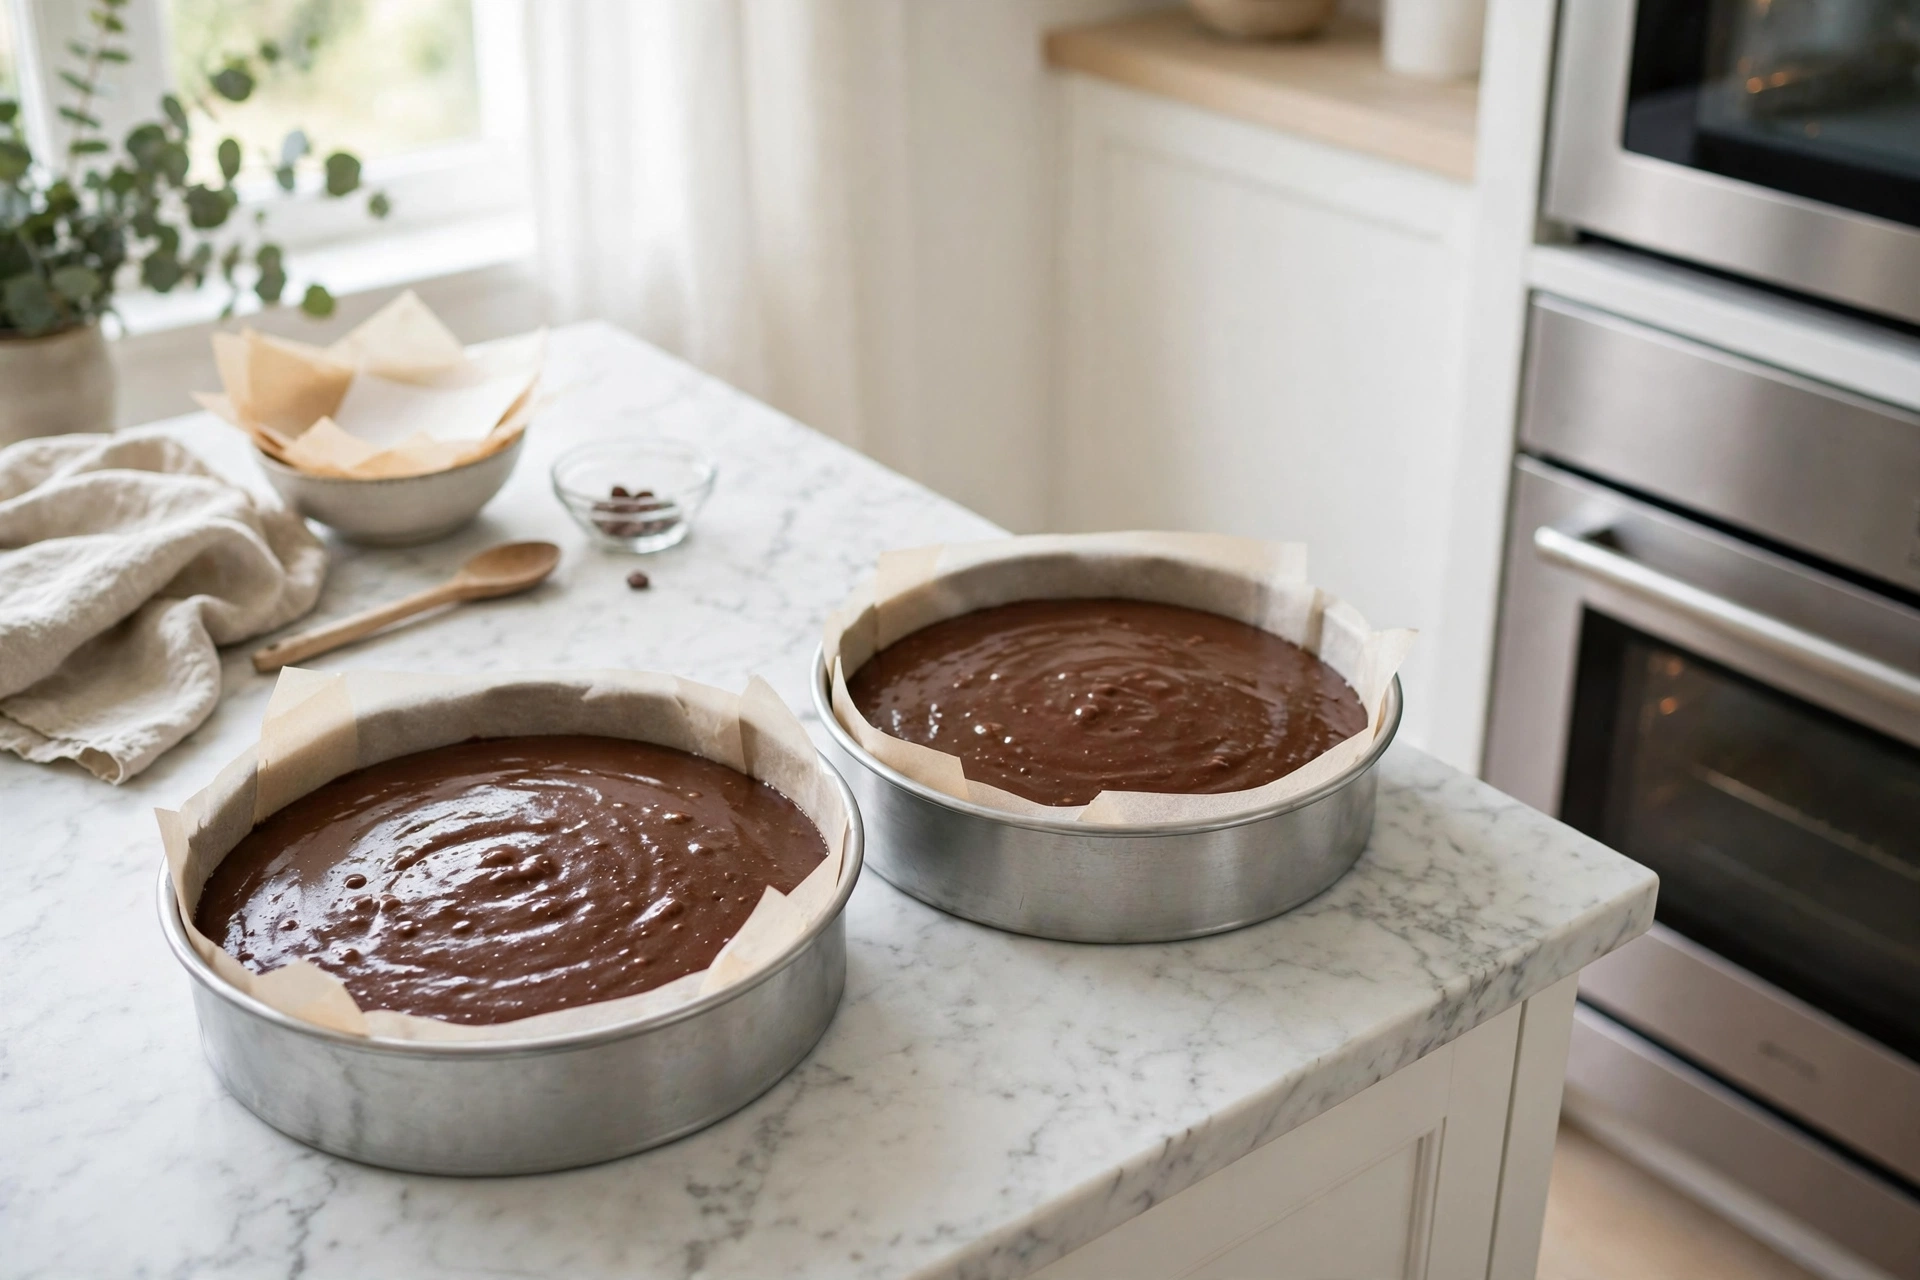
- Prep the pans and oven. Preheat your oven to 350°F (175°C). Grease two 8-inch round cake pans with butter or oil, line the bottoms with parchment paper, and lightly flour the sides. The parchment is what guarantees the layers release cleanly.
- Sift the dry ingredients. In a large bowl, sift together the flour, cocoa powder, baking powder, baking soda, and salt. Sifting matters here because cocoa powder loves to clump, and lumps in the batter mean bitter pockets in the finished cake.
- Whisk the wet ingredients. In a separate large bowl or jug, whisk the sugar, yogurt, oil, milk, and vanilla together until completely smooth and the sugar has mostly dissolved, about 1 minute. The mixture should look creamy and uniform, with no streaks of yogurt.
- Combine wet and dry. Pour the wet mixture into the dry ingredients and whisk gently until just combined. A few small lumps are fine; stop as soon as you cannot see dry flour anymore. Overmixing at this stage is the fastest way to a tough, dense cake.
- Add the hot water. Pour in the hot water (or hot coffee) and stir slowly until the batter is smooth and thin. It will look much thinner than a normal cake batter, almost pourable. Do not worry — that thin batter is what bakes into a moist, fine crumb.
- Pan the batter. Divide the batter evenly between the two prepared pans. A kitchen scale helps here, but eyeballing it is fine. Give each pan a gentle tap on the counter to pop any large air bubbles.
- Bake for 30-35 minutes. Bake in the preheated oven for 30 to 35 minutes. Start checking at 30 minutes: a toothpick inserted into the center should come out with a few moist crumbs clinging to it, not wet batter and not completely clean. The tops should spring back lightly when pressed, and the edges should just start pulling away from the pan.
- Cool in the pans, then out. Let the layers cool in their pans for 15 minutes, then run a knife around the edges, turn them out onto a wire rack, peel off the parchment, and let them cool completely, about 1 hour. Never frost a warm cake; the ganache will slide straight off.
- Make the ganache. While the layers cool, place the chopped dark chocolate in a heatproof bowl. Heat the cream in a small saucepan until it just starts to simmer around the edges, then pour it over the chocolate. Let it sit for 2 minutes, then stir from the center outward until smooth and glossy. Stir in the butter and salt. Let the ganache stand for 20 to 30 minutes until it thickens to a spreadable consistency.
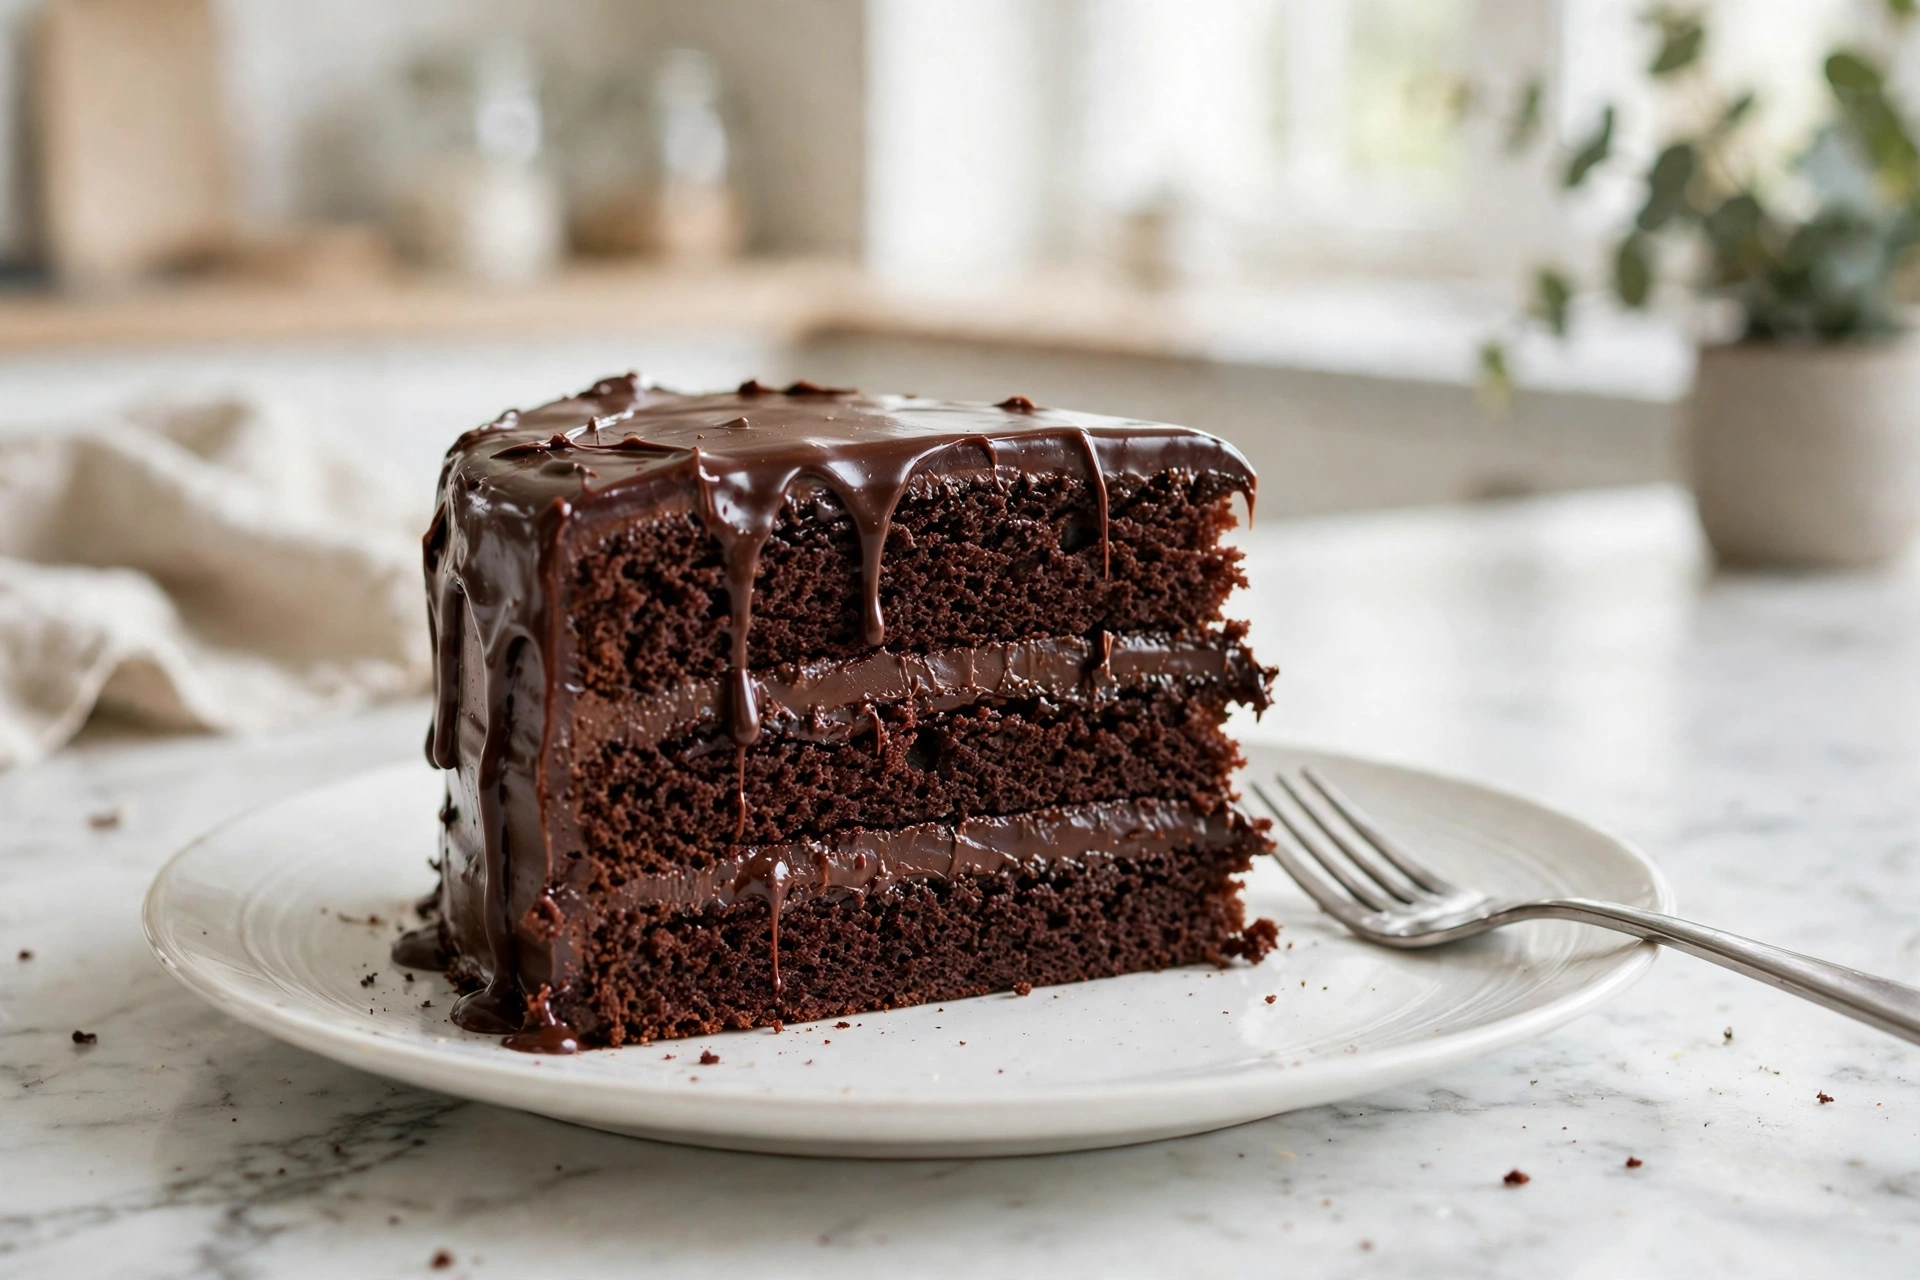
- Stack and frost. Place the first layer on a serving plate or cake stand. Spread about one-third of the ganache over the top, place the second layer on top, then spread the remaining ganache over the top and sides. Let the cake stand for 30 minutes so the ganache sets before slicing. Use a sharp knife, wiped clean between cuts, for neat slices.
Pro Tips for the Best Results
- Measure your flour carefully. Spoon it into the measuring cup and level it off rather than scooping directly from the bag. Too much flour is the single most common reason eggless cakes turn out dense and dry instead of moist. The same applies to the cocoa powder.
- Room-temperature yogurt and milk matter. Cold yogurt does not blend smoothly and can make the batter lumpy, and cold dairy can seize the melted chocolate notes in the cocoa. Set them on the counter 30 minutes before you start.
- Do not overmix after the flour goes in. Once the dry ingredients are added, whisk gently and stop the moment the flour disappears. Overmixing develops the gluten and gives you a tough, rubbery cake instead of a tender one.
- Do not be scared of the thin batter. After the hot water goes in, the batter is supposed to be thin and pourable. If you add extra flour to thicken it, you will get a dry cake. Trust the recipe.
- Pull them early, not late. A toothpick with moist crumbs means done. A clean toothpick means overbaked, and overbaked eggless cake dries out fast because there is no egg to keep it tender. When in doubt, take the layers out at 30 minutes.
- Cool completely before frosting. This is the step people rush, and it is the one that ruins the finish. Even a slightly warm layer will melt the ganache and send it sliding off the sides. Give the layers the full hour.
- Want an even deeper chocolate flavor? Use hot coffee instead of hot water, and add a teaspoon of espresso powder with the dry ingredients. You will not taste coffee; it just makes the chocolate taste darker and richer.
- For a bakery-style finish, whip the cooled ganache with a hand mixer for 2 minutes before spreading it. It turns light, fluffy, and mousse-like, and it pipes beautifully if you want rosettes around the edge.
Substitutions
This recipe was built and tested around yogurt, so I am honest about what I have and have not tried. Here is what I know works, and where you should be careful:
- Greek yogurt: Works in place of plain yogurt. Use full-fat Greek yogurt if you can; non-fat Greek yogurt makes the cake slightly less rich but still good. Keep the amount the same, 1 cup.
- Buttermilk: Buttermilk can replace the yogurt cup-for-cup, and it works because it brings the same acidity the baking soda needs. The cake will be a touch lighter and tangier.
- Dairy-free: I have not tested a fully dairy-free version of this cake, so I will not promise one. In theory, a thick coconut yogurt, plant milk, and a dairy-free cream for the ganache should behave similarly, but test it in a small batch first if you go that route.
- Flax egg or applesauce: I have only tested this recipe with yogurt, so I cannot say how it will work with a flax egg, chia egg, or applesauce. The flour, cocoa, and leavener amounts in this recipe are calibrated for yogurt, and other replacers change the moisture balance.
- Cocoa powder: Dutch-process cocoa is strongly recommended for the dark color and smooth flavor. Natural cocoa will work in a pinch, but the cake will be lighter in color and slightly more acidic; if you use natural cocoa, keep the baking soda as written, since the yogurt still provides the acid.
- Oil: Any neutral oil works: canola, sunflower, or light vegetable oil. I would not use olive oil here, because its flavor comes through in a delicate cake crumb.
- Sugar: Granulated sugar and caster sugar are interchangeable here. I would not swap in brown sugar for all of the white sugar, because it adds moisture and makes the crumb denser and heavier.
- Frosting: If ganache is not your thing, this cake is wonderful with our chocolate buttercream frosting instead, or simply dusted with cocoa powder and served with berries.
How to Store and Freeze
Room temperature: Store the frosted cake under a cake dome or in an airtight container for up to 3 days. It genuinely stays moist, even a couple of days after baking, thanks to the yogurt and oil keeping the crumb soft. Keep it away from direct sunlight and heat.
Refrigerator: For longer storage, keep it in an airtight container in the fridge for up to 1 week. Cold cake is dense and extra fudgy; let a slice sit at room temperature for 20 minutes before eating, or warm it for 10 seconds in the microwave.
Freezer: The unfrosted layers freeze beautifully for up to 3 months. Wrap each cooled layer tightly in plastic wrap, then in foil, and place in a freezer bag. Defrost overnight in the refrigerator, then bring to room temperature before frosting. You can also freeze individual frosted slices the same way for up to 1 month.
Frequently Asked Questions
Can I use a flax egg instead of yogurt in this eggless chocolate cake?
I have only tested this recipe with yogurt, so I am not sure how it will work with a flax egg. The amounts of flour, cocoa, and leaveners in this recipe are calibrated for yogurt specifically. If you need a flax-egg cake, look for a recipe that was developed around flax from the start rather than swapping it in here.
Why is my eggless chocolate cake batter so thin?
Because of the hot water, and it is supposed to be that way. The hot water blooms the cocoa and thins the batter so the cake bakes up with a fine, even crumb. Do not add extra flour to thicken it — that is the fastest way to a dry cake. Pour the thin batter into the pans and trust the recipe.
Can I bake this eggless chocolate cake in one pan instead of two?
Yes. Bake the whole batter in a single 9×13 inch pan lined with parchment, and increase the bake time to 35 to 40 minutes, checking with a toothpick from 35 minutes. It makes a lovely single-layer sheet cake — just pour the ganache over the top instead of stacking layers. Our chocolate cake recipe is another great single-layer option if you want a classic egg-based bake.
How do I know when eggless chocolate cake is done?
Start checking at 30 minutes. A toothpick inserted into the center should come out with a few moist crumbs, not wet batter and not completely clean. The tops should spring back lightly when pressed, and the edges should just start pulling away from the sides of the pan. Remember the layers keep cooking a little from residual heat as they cool in the pan.
Why did my eggless chocolate cake sink in the middle?
This is almost always one of three things: the oven door was opened too early, the batter was overmixed after the flour went in, or the leaveners were old. Check that your baking powder and baking soda are fresh — they lose strength after about 6 months open — and do not open the oven for the first 25 minutes of baking.
Can I make this eggless chocolate cake ahead of time?
Absolutely, it is a great make-ahead dessert. Bake the layers the day before, let them cool completely, and wrap them tightly in plastic wrap at room temperature. Frost on the day you serve it. The unfrosted layers also freeze well for up to 3 months, so you can bake them now and have a celebration cake ready whenever you need one.
Can I make cupcakes from this recipe?
Yes, this batter makes about 24 cupcakes. Line a muffin tin with paper liners, fill each about two-thirds full, and bake at 350°F (175°C) for 18 to 22 minutes. If cupcakes are what you are after, our chocolate cupcake recipe is the one to try next.
Nutrition (Per Slice, Approximate)
Calories: 420 | Carbohydrates: 58g | Protein: 5g | Fat: 19g | Sugar: 38g
Nutrition values are estimated for 1 of 12 slices and may vary based on exact ingredients used.
More Recipes You Will Love
| Recipe | Category |
|---|---|
| Eggless Chocolate Chip Cookies | Eggless Desserts |
| Eggless Brownies | Eggless Desserts |
| Chocolate Cake Recipe | Chocolate Cakes |
| Chocolate Ganache Recipe | Chocolate Frostings and Fillings |