Last updated on November 10, 2026
The first time I made chocolate ganache, I ruined it. I dumped boiling cream over a pile of roughly chopped chocolate, stirred it like I was angry at it, and ended up with a grainy, oily mess that looked nothing like the glossy photos I’d been drooling over. I almost threw the whole bowl away.
Then I learned the two things that change everything about ganache: the ratio, and patience. Ganache is just two ingredients — chocolate and cream — but the ratio between them decides whether you get a pourable glaze, a drip-cake finish, a fluffy whipped frosting, or firm truffles. Once I started measuring by weight and letting the hot cream sit on the chocolate before stirring, my ganache went from embarrassing to bakery-case beautiful. This is the exact method I use now, every single time, and it has never failed me since.
Why This Recipe Works
Ganache works because of emulsion — hot cream melts the chocolate, and gentle stirring blends the cocoa butter and dairy fat into one silky, stable mixture. Two details make or break it. First, chop the chocolate finely and evenly; big chunks melt unevenly and force you to overheat the mixture trying to melt them. Second, pour hot (not boiling) cream over the chocolate and let it sit undisturbed for 2-3 minutes before you touch it. That resting time does most of the melting for you, so you barely have to stir — and less stirring means less risk of a broken, greasy ganache.
Use chocolate you’d happily eat on its own. Ganache is only two ingredients, so there’s nowhere for mediocre chocolate to hide. I use semisweet (around 55-60% cacao) for an all-purpose ganache that’s rich but not bitter.
Ingredients You’ll Need
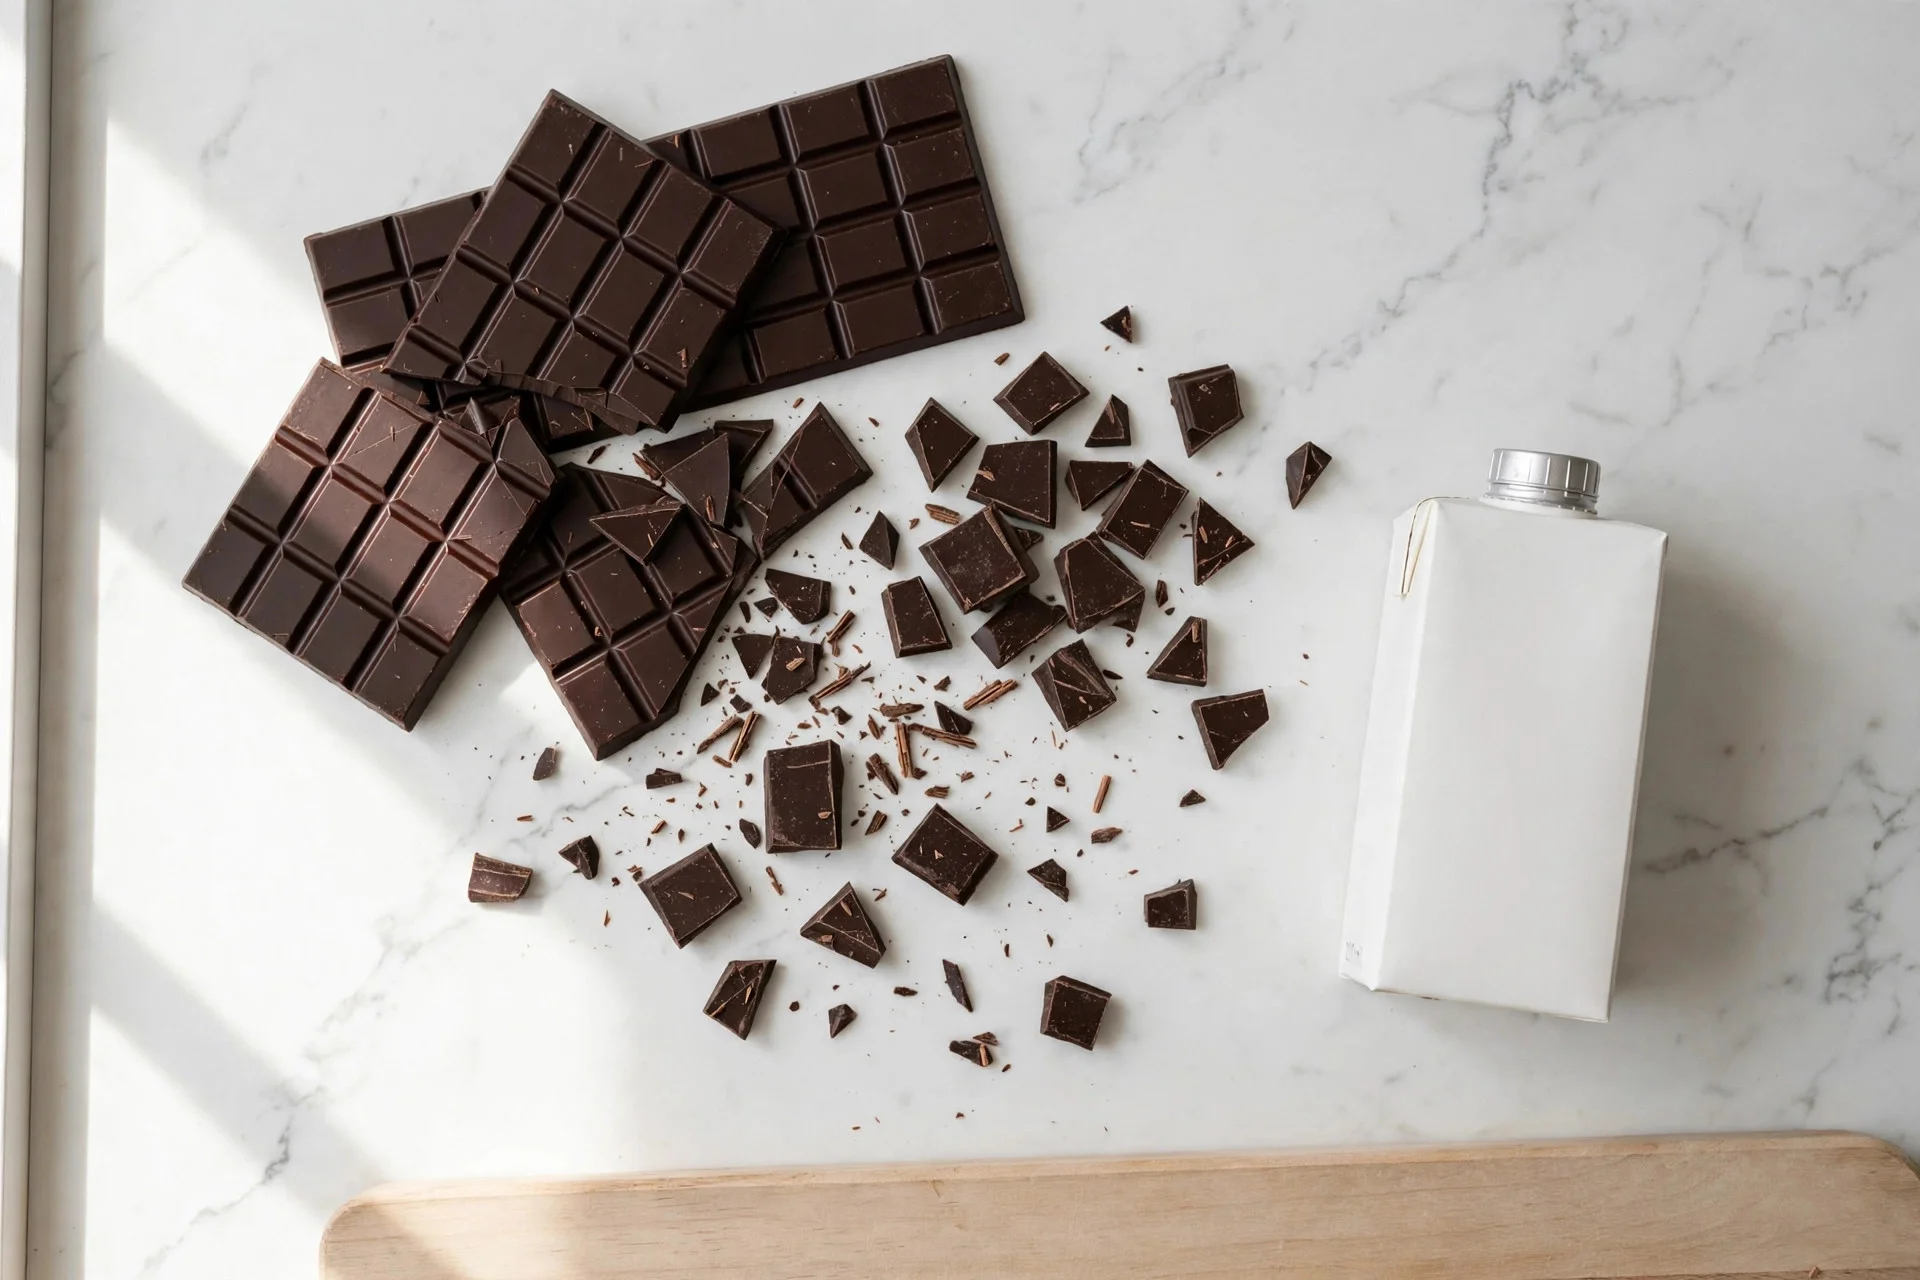
This makes about 2 cups of 1:1 ganache — enough to glaze a 9-inch cake or drip a two-layer cake.
- 8 oz (225g) semisweet chocolate, finely chopped (or good-quality chocolate chips)
- 1 cup (240ml) heavy cream (at least 36% fat — not half-and-half, not milk)
- Pinch of fine sea salt (optional, but it makes the chocolate taste more like itself)
- 1 teaspoon vanilla extract (optional)
- Seized ganache (grainy, stiff, clumpy): This happens when chocolate meets even a tiny drop of water, or gets overheated. Fix it by whisking in warm cream, one tablespoon at a time, until it smooths out. Be patient — it will come back together.
- Greasy or broken ganache (oil pooling on top): The emulsion split, usually from overheating or over-stirring. Fix it by whisking in a spoonful of warm milk or cream, or give it a quick blitz with an immersion blender. Add the liquid slowly — a little goes a long way.
- Too thin: It probably needs to cool. Let it sit at room temperature, stirring occasionally — ganache thickens dramatically as it cools. If it’s still too thin after 30 minutes, melt in a bit more chopped chocolate.
- Too thick: Warm it very gently — 10-second bursts in the microwave or a few minutes over a warm water bath — then whisk in a splash of warm cream until it loosens.
A note on the cream: this only works with heavy cream. Lighter dairy doesn’t have enough fat to form a stable emulsion, and your ganache will be thin and split-prone. Check the label — you want 36% fat or higher.
How to Make Chocolate Ganache
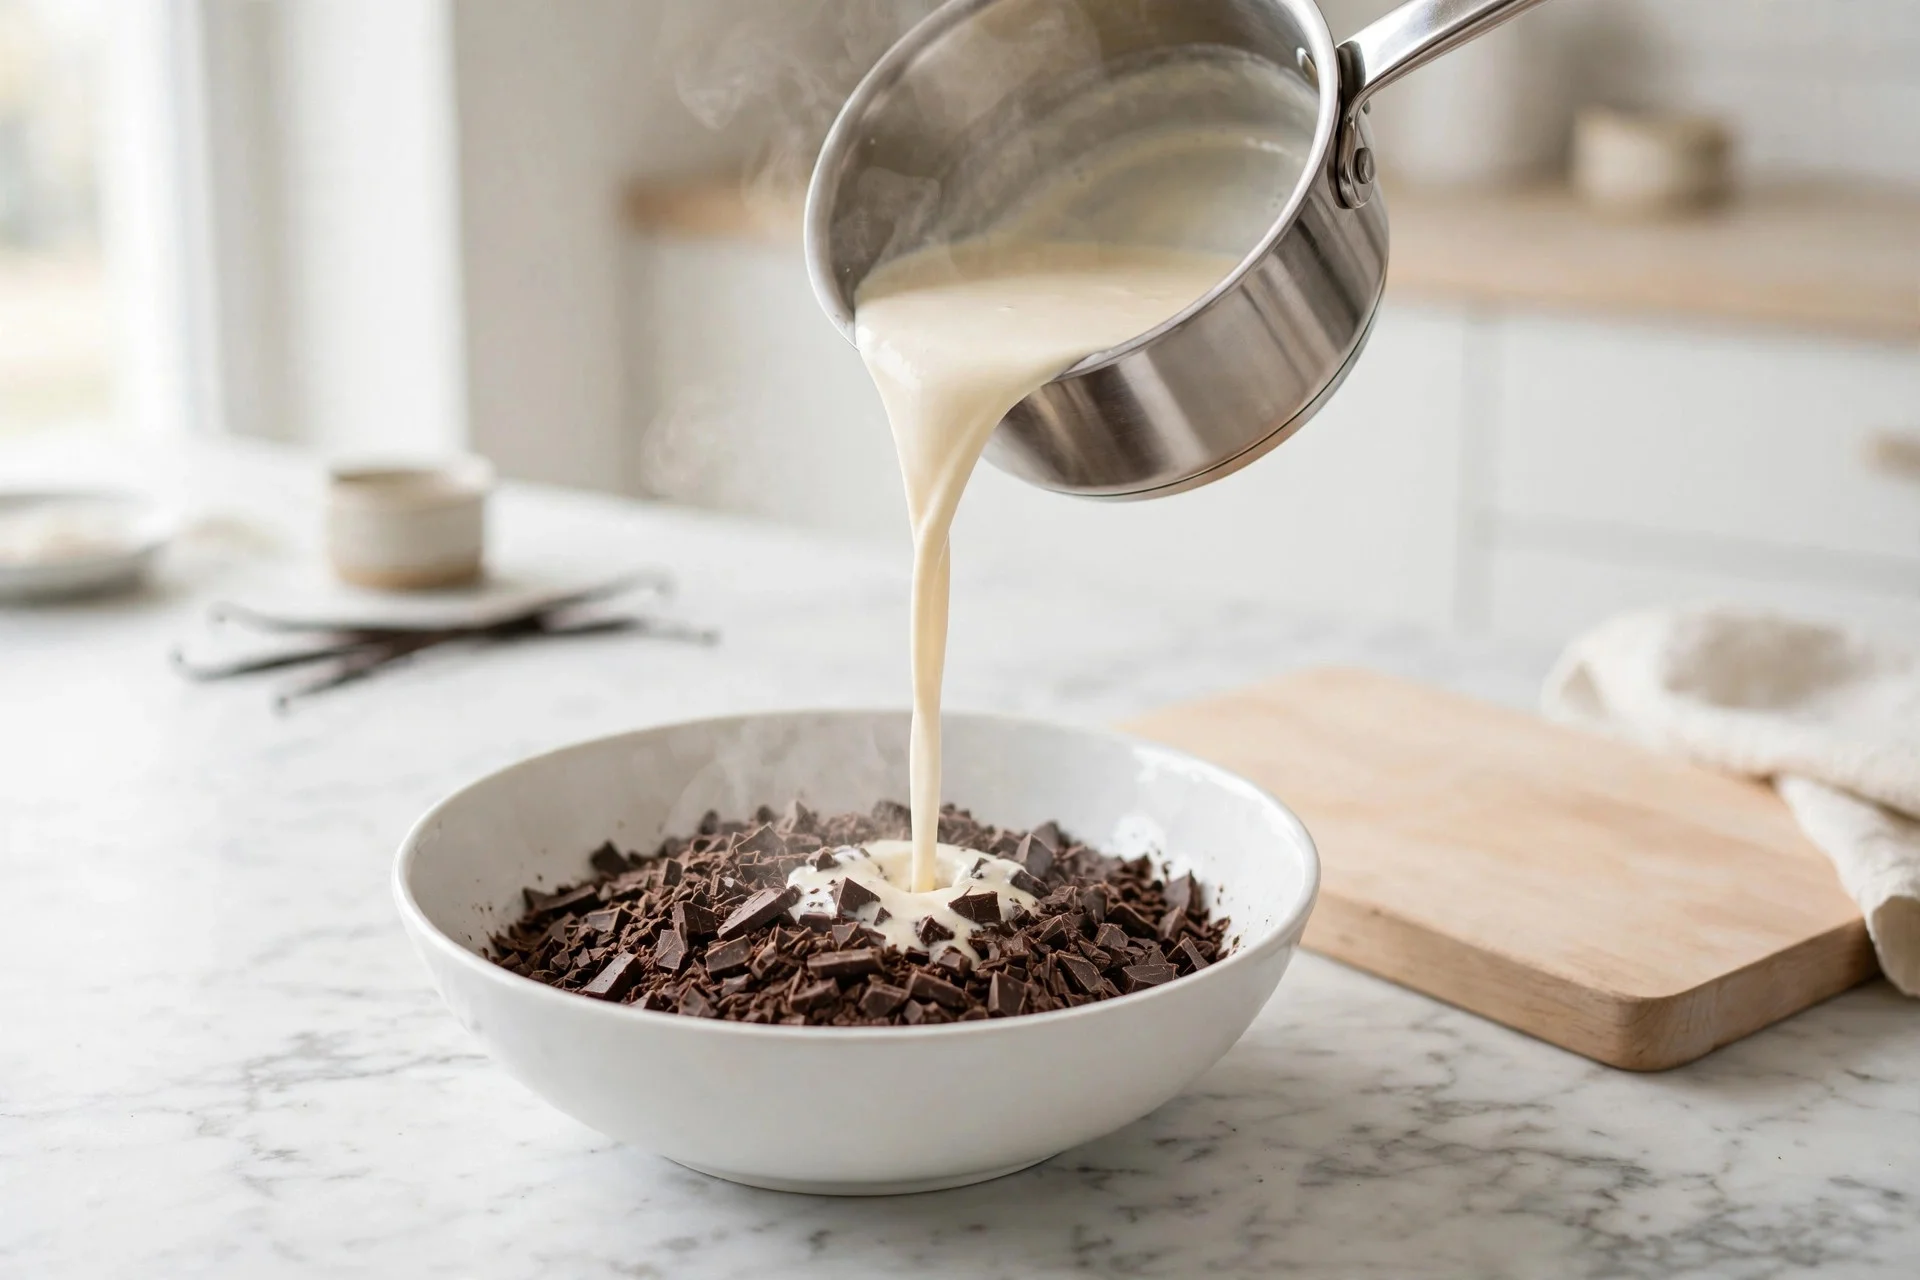
1. Chop the chocolate finely. This is the step everyone wants to skip. Don’t. Chop your chocolate into small, even pieces — about the size of chocolate chips or smaller — and place them in a heatproof bowl. Even pieces melt at the same rate, which is the whole secret to smooth ganache. If you’re using chips, you can skip the chopping.
2. Heat the cream. Pour the cream into a small saucepan and warm it over medium heat until it just starts to simmer — you’ll see tiny bubbles around the edges and gentle steam. Do not let it boil. Boiling cream is too hot and can scorch the chocolate or break the emulsion before it starts.
3. Pour and wait. Pour the hot cream over the chopped chocolate, making sure all the chocolate is covered. Now walk away. Let it sit completely undisturbed for 2-3 minutes. I know it’s tempting to stir immediately — don’t. This resting time melts the chocolate gently and evenly.
4. Stir from the center out. Starting in the middle of the bowl, stir slowly in small circles, gradually working outward. You’ll watch it transform from a separated-looking mess into a dark, glossy, completely smooth ganache. Keep stirring gently until no streaks remain. Stir in the salt and vanilla now if using.
5. Use it warm, or cool it for other textures. Right now your ganache is pourable — perfect for glaze and drip. For whipped frosting or truffles, let it cool (see the sections below).
The Ganache Ratio Table
Here’s the part that makes ganache feel like a superpower. Same two ingredients, different ratios, completely different results. Always measure by weight for accuracy — a kitchen scale is your best friend here.
| Ratio (chocolate : cream) | Texture | Best for |
|---|---|---|
| 1:1 — 8 oz (225g) chocolate + 1 cup (240ml) cream | Pourable, fluid when warm; soft-set when cool | Glaze, drip cakes, fondue, ice cream sauce |
| 2:1 — 12 oz (340g) chocolate + 3/4 cup (180ml) cream | Thick; firms up solid when chilled | Truffles, whipped frosting, firm piping, sandwich filling |
The rule of thumb: more chocolate = thicker, firmer ganache. More cream = thinner, softer ganache. Once you internalize that, you can improvise any texture you need.
Pourable vs. Whipped Ganache
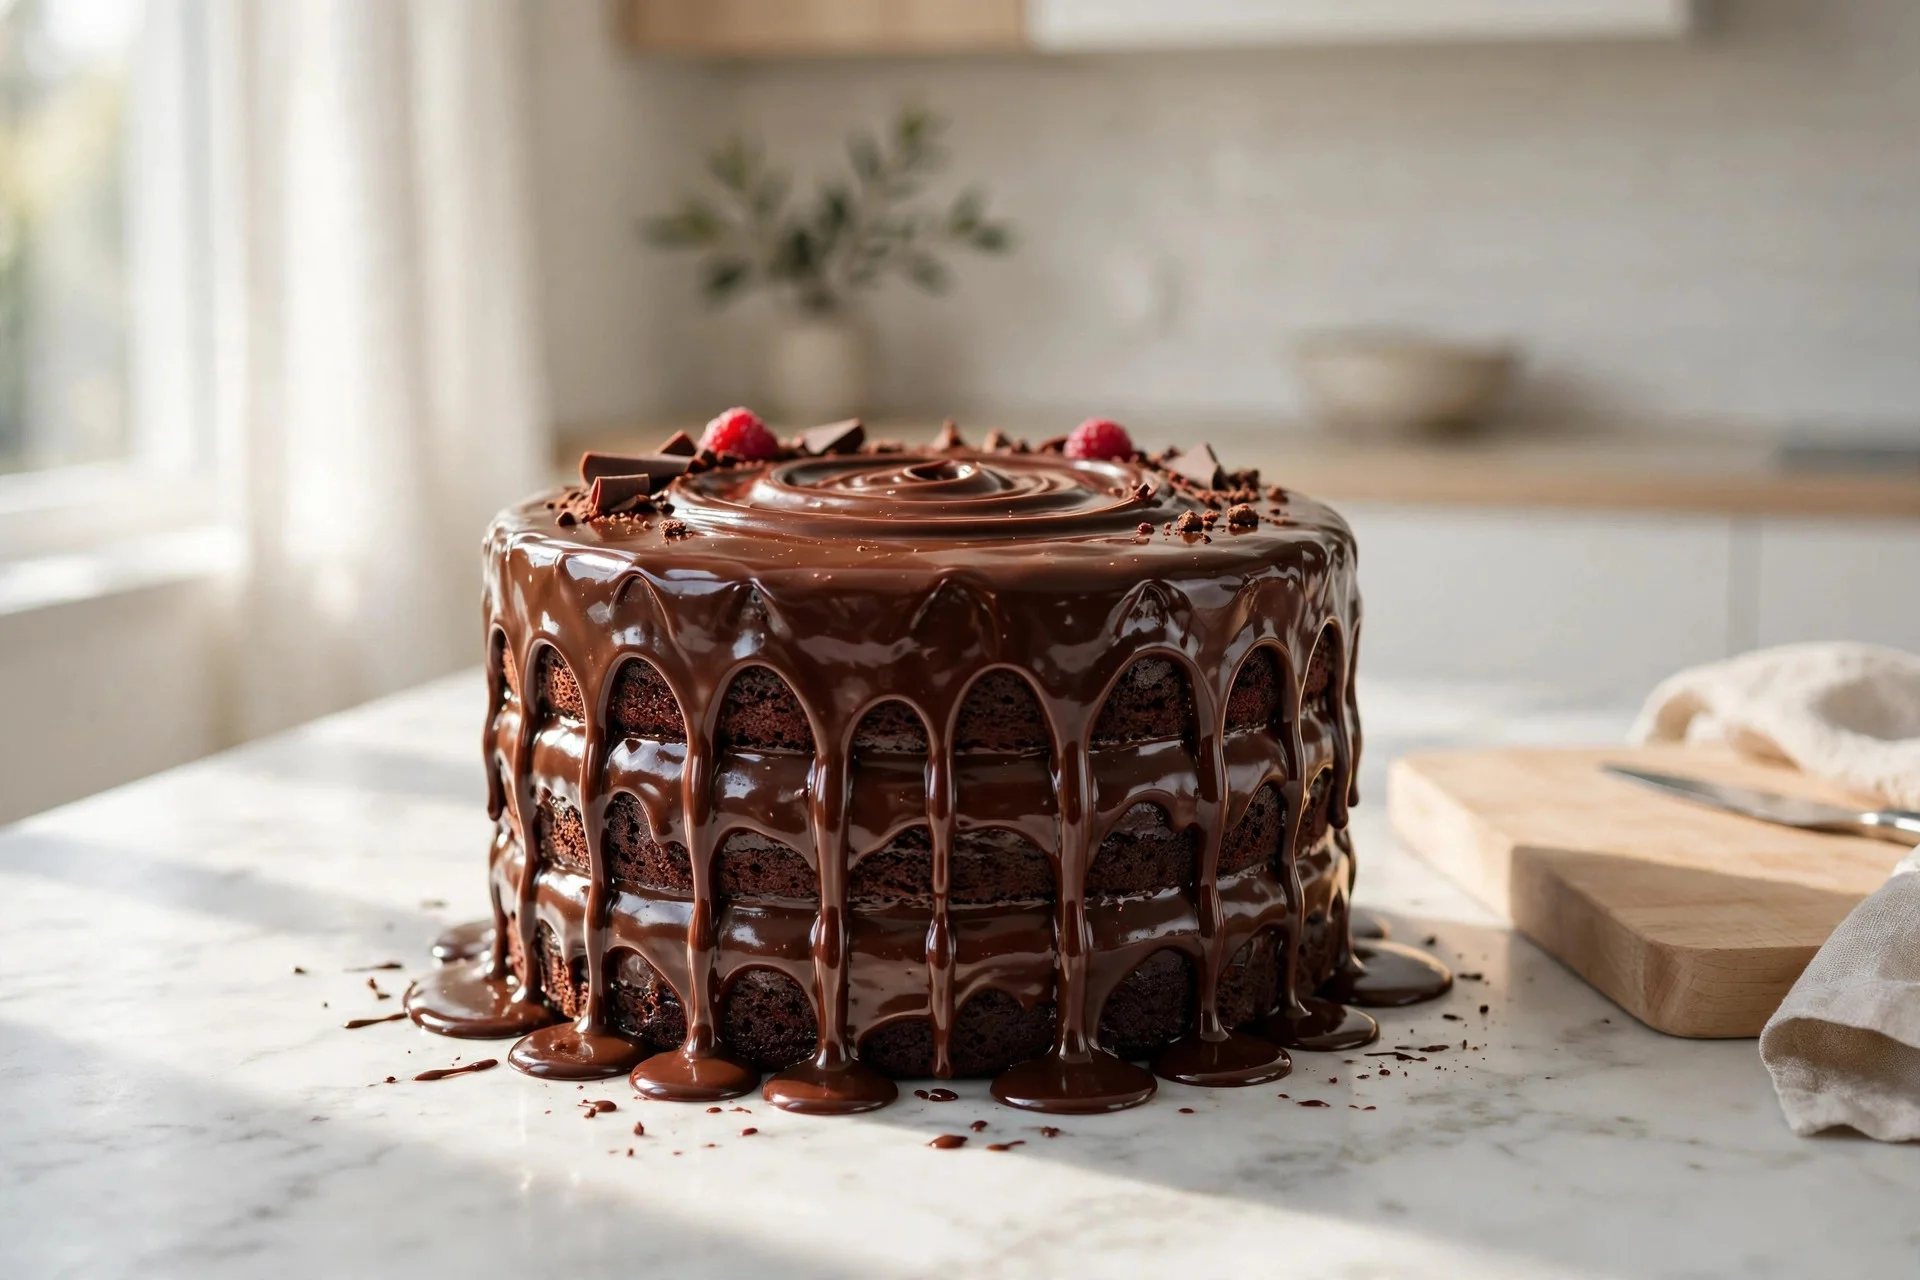
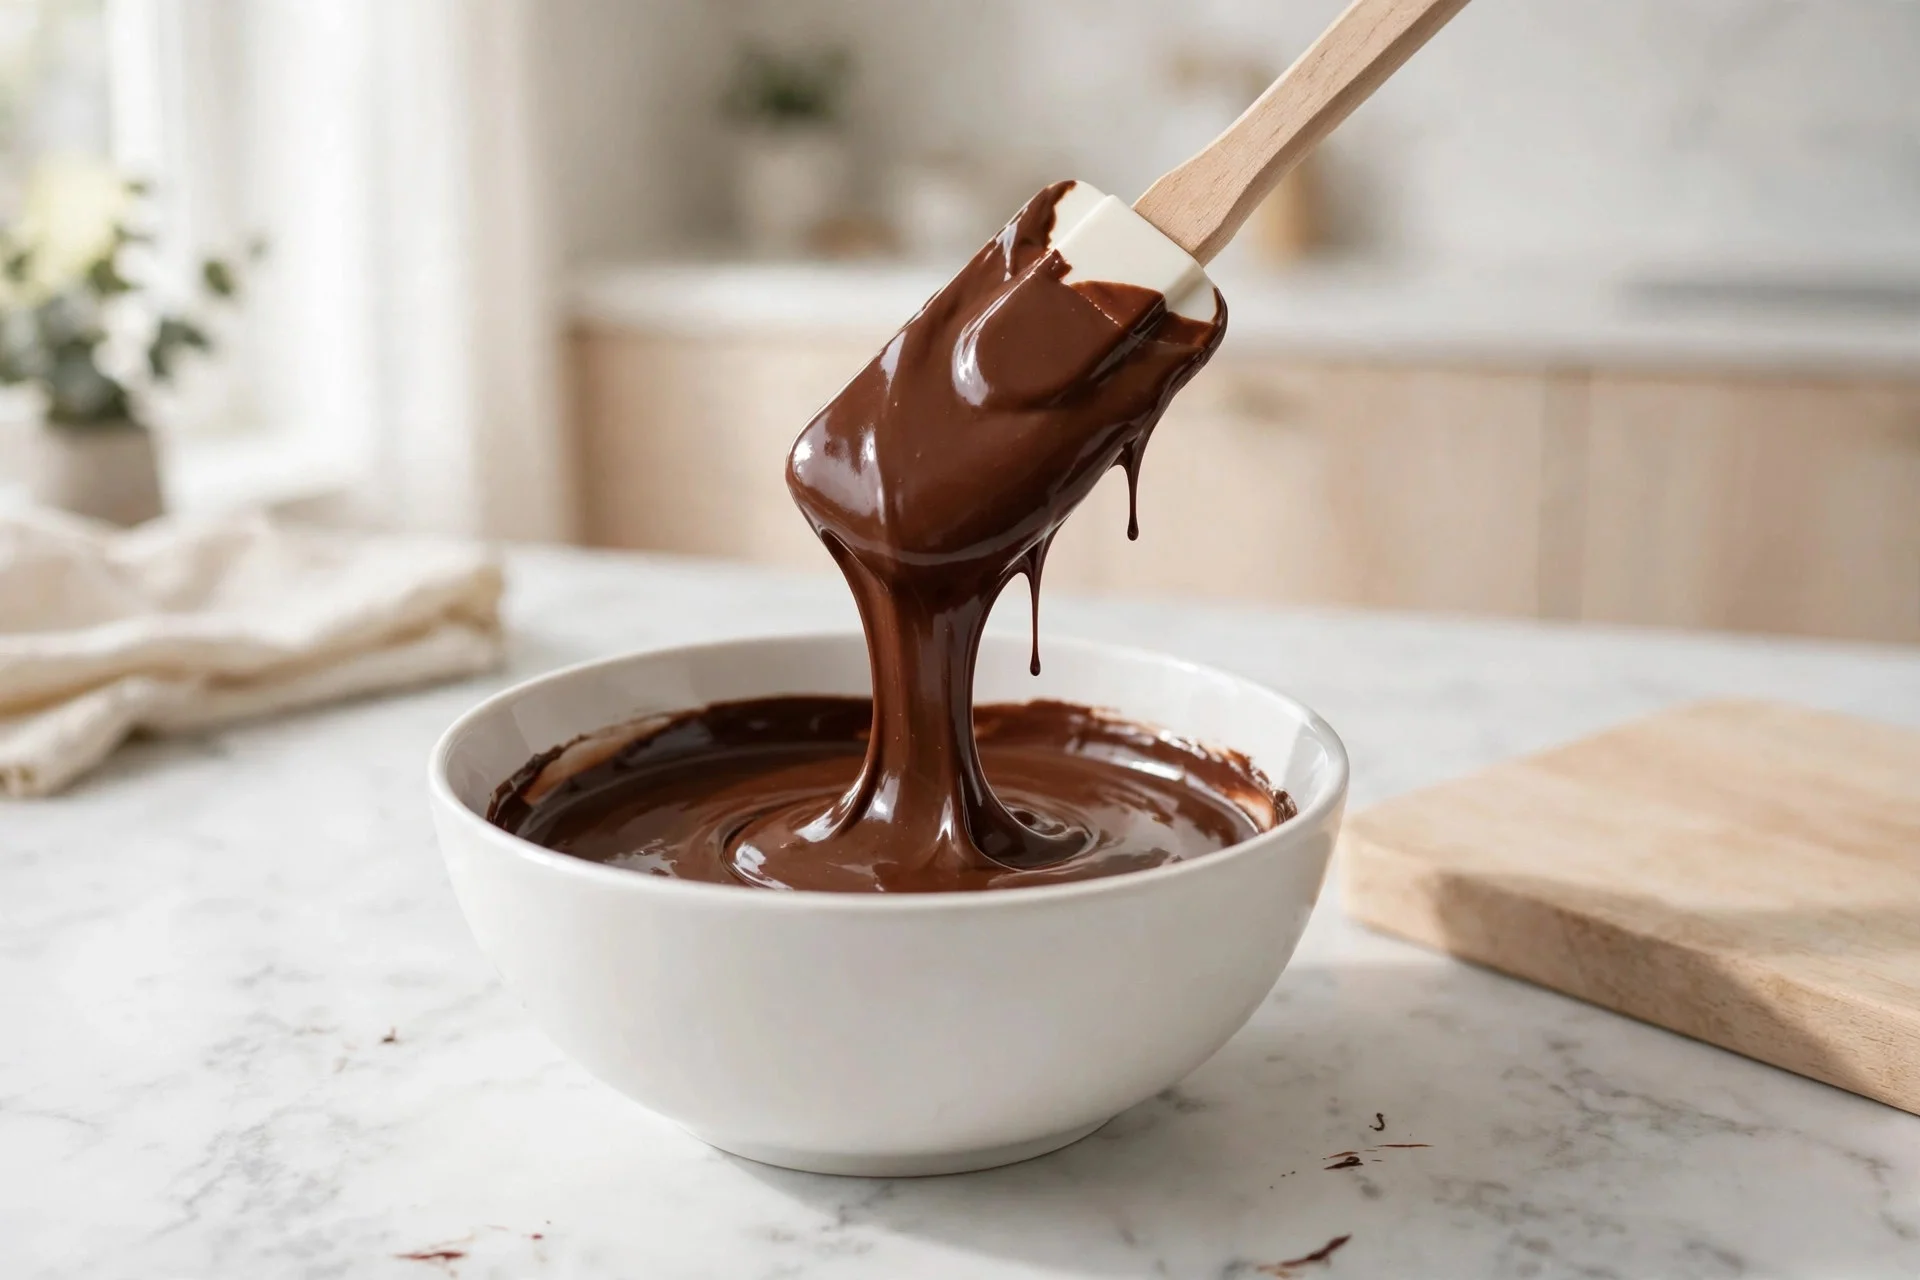
For pourable ganache (glaze and drip): use it while it’s still warm and fluid, about 10-15 minutes after mixing. For a mirror-smooth glaze, pour it over the cake all at once and let it run down the sides — don’t touch it once it’s poured. For drip cakes, let the ganache cool until it’s slightly thickened but still flows (around 85-90°F / 30-32°C), then spoon or pipe it along the top edge so it drips naturally.
For whipped ganache (frosting): make the 2:1 ratio, then let it cool completely to room temperature until it’s thick like peanut butter — this takes 1-2 hours, or 30-40 minutes in the fridge (stir once halfway). Then beat it with a hand or stand mixer for 2-3 minutes until it’s light, fluffy, and a shade lighter in color. It pipes beautifully and tastes like the world’s best chocolate mousse. Use it the same day for best texture.
Troubleshooting Ganache
Even with a good method, things go sideways sometimes. Here’s how to fix every common ganache disaster:
How to Store Ganache
Pourable ganache is best used fresh, but leftovers keep well. Store ganache in an airtight container in the refrigerator for up to 2 weeks, or freeze it for up to 3 months. To reuse refrigerated ganache, warm it gently (microwave in 15-second bursts, stirring between each) until it’s pourable again — never blast it with high heat or it can split. Frozen ganache should thaw overnight in the fridge first, then be gently rewarmed.
Ganache FAQs
Can I use milk chocolate or white chocolate? Yes, but adjust the ratio — both are softer than dark chocolate. For milk chocolate ganache, use a 2:1 ratio for glaze consistency; for white chocolate, go 3:1. They need more chocolate to set firmly.
Why did my ganache split? Almost always overheating — either the cream was boiling or the mixture was stirred too aggressively while too hot. The fix above (warm milk + gentle whisking) rescues most split ganache.
Can I make ganache without a scale? You can, using the cup measurements above, but a scale is genuinely worth it here. Chocolate chips pack differently than chopped bars, so volume measurements are inconsistent — and ganache is all about the ratio.
More Chocolate Recipes You’ll Love
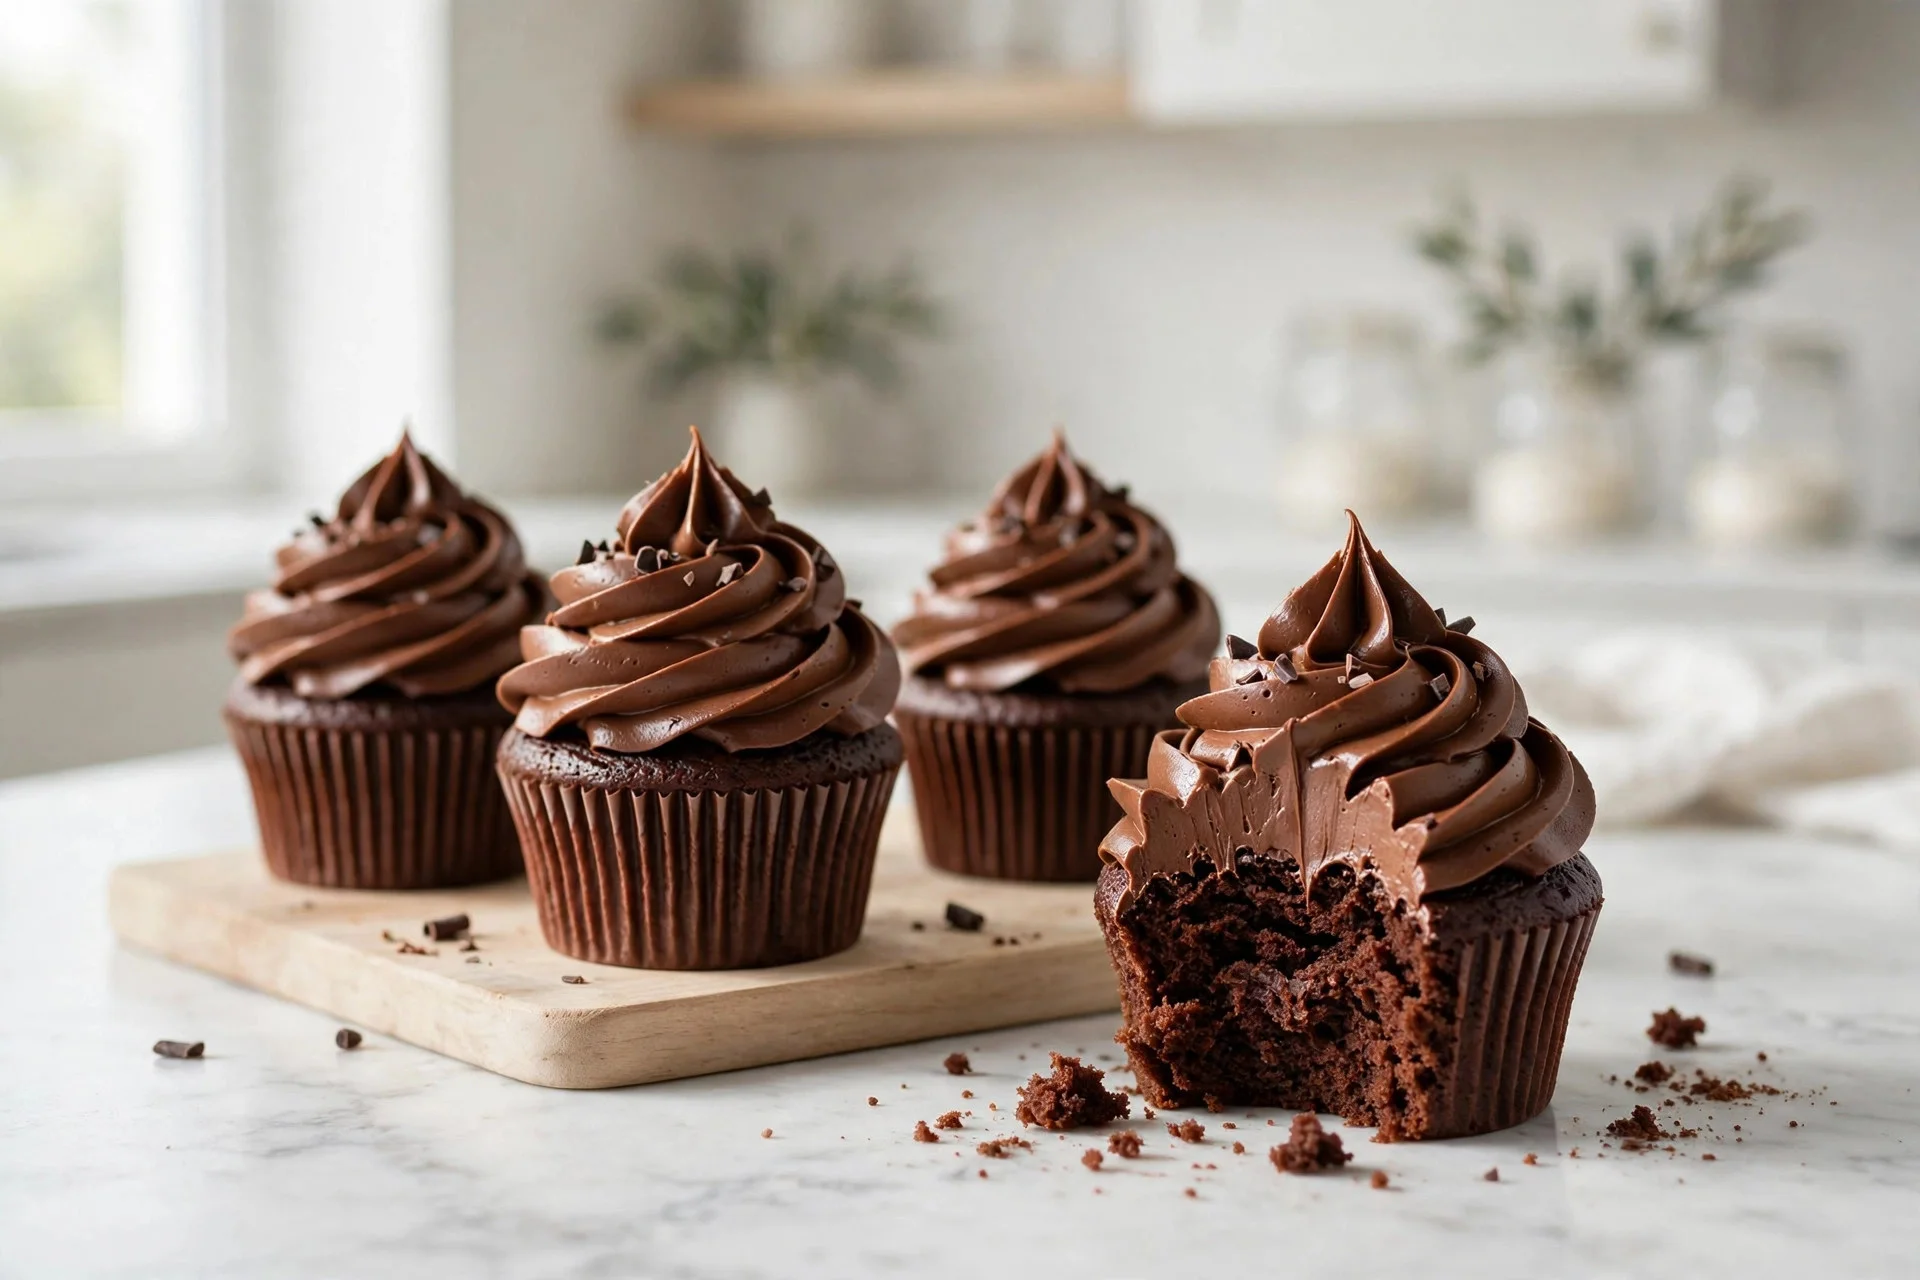
This ganache is the perfect finishing touch for my Best Chocolate Cake Recipe — pour the 1:1 glaze over the top and let it drip down the sides. It’s also made for my Chocolate Cupcake Recipe: either dip the tops in warm ganache or whip up the 2:1 version for a fluffy frosting. Once you have ganache in your back pocket, every chocolate dessert gets an upgrade.
—